We have 8 tx gator at the shop. going on 8-9 years. This is the second one that has cracked the block .
Some pics of whats invovled for replacement.

Engines removed.
I plug any openings like the carburator to keep debris out.

Yes the bolts are wired tied in pairs to keep crankcase bolts from backing out.
I only have one machine that they did not back out ?
Now I used red thread lock on threads and gasket sealer on both sides of gasket ,torgue to spec.
So far it's been working for us.
The reason their backing out is (I'm assuming ) over loaded carts and guy/gals hammering the throttle when taking off causing vibration from the clutch .

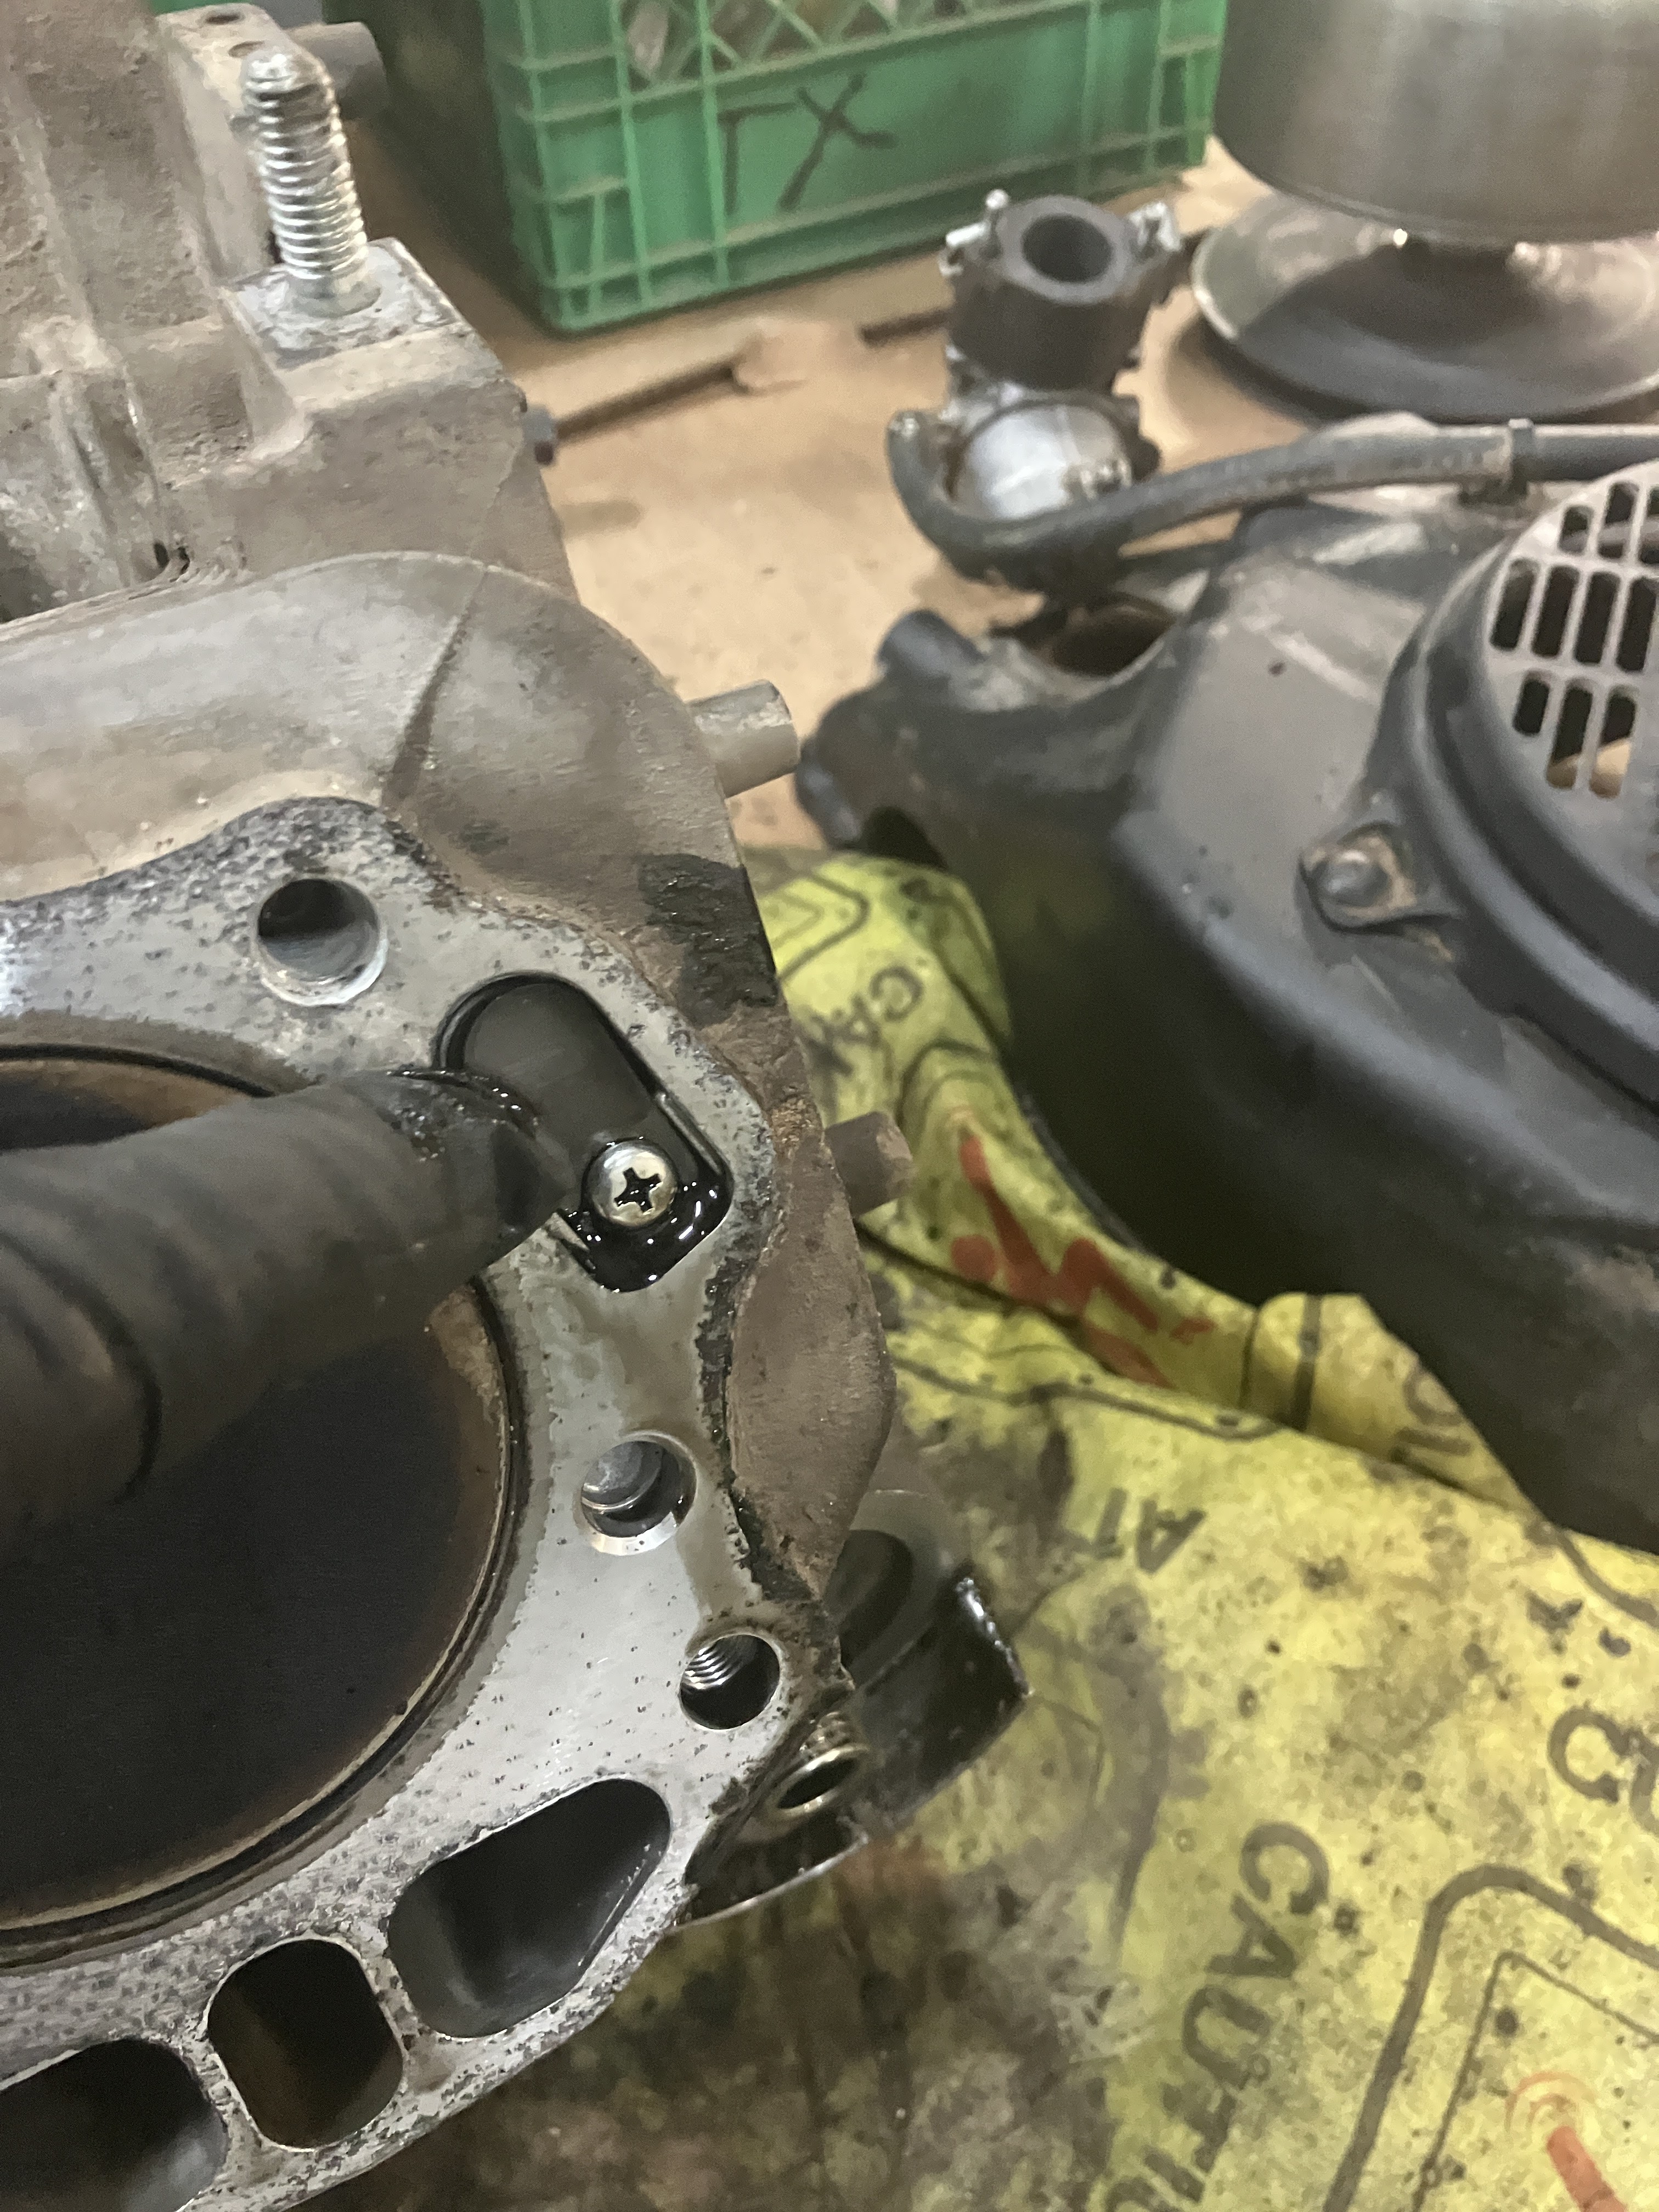
Remove pulse line of fuel pump at crankcase and pump bracket off engine .


Pull the tube off carb to get better access to nuts on carburator.

Remove all the shroud case bolts.
Pull fuel pump, case, and carb off together.

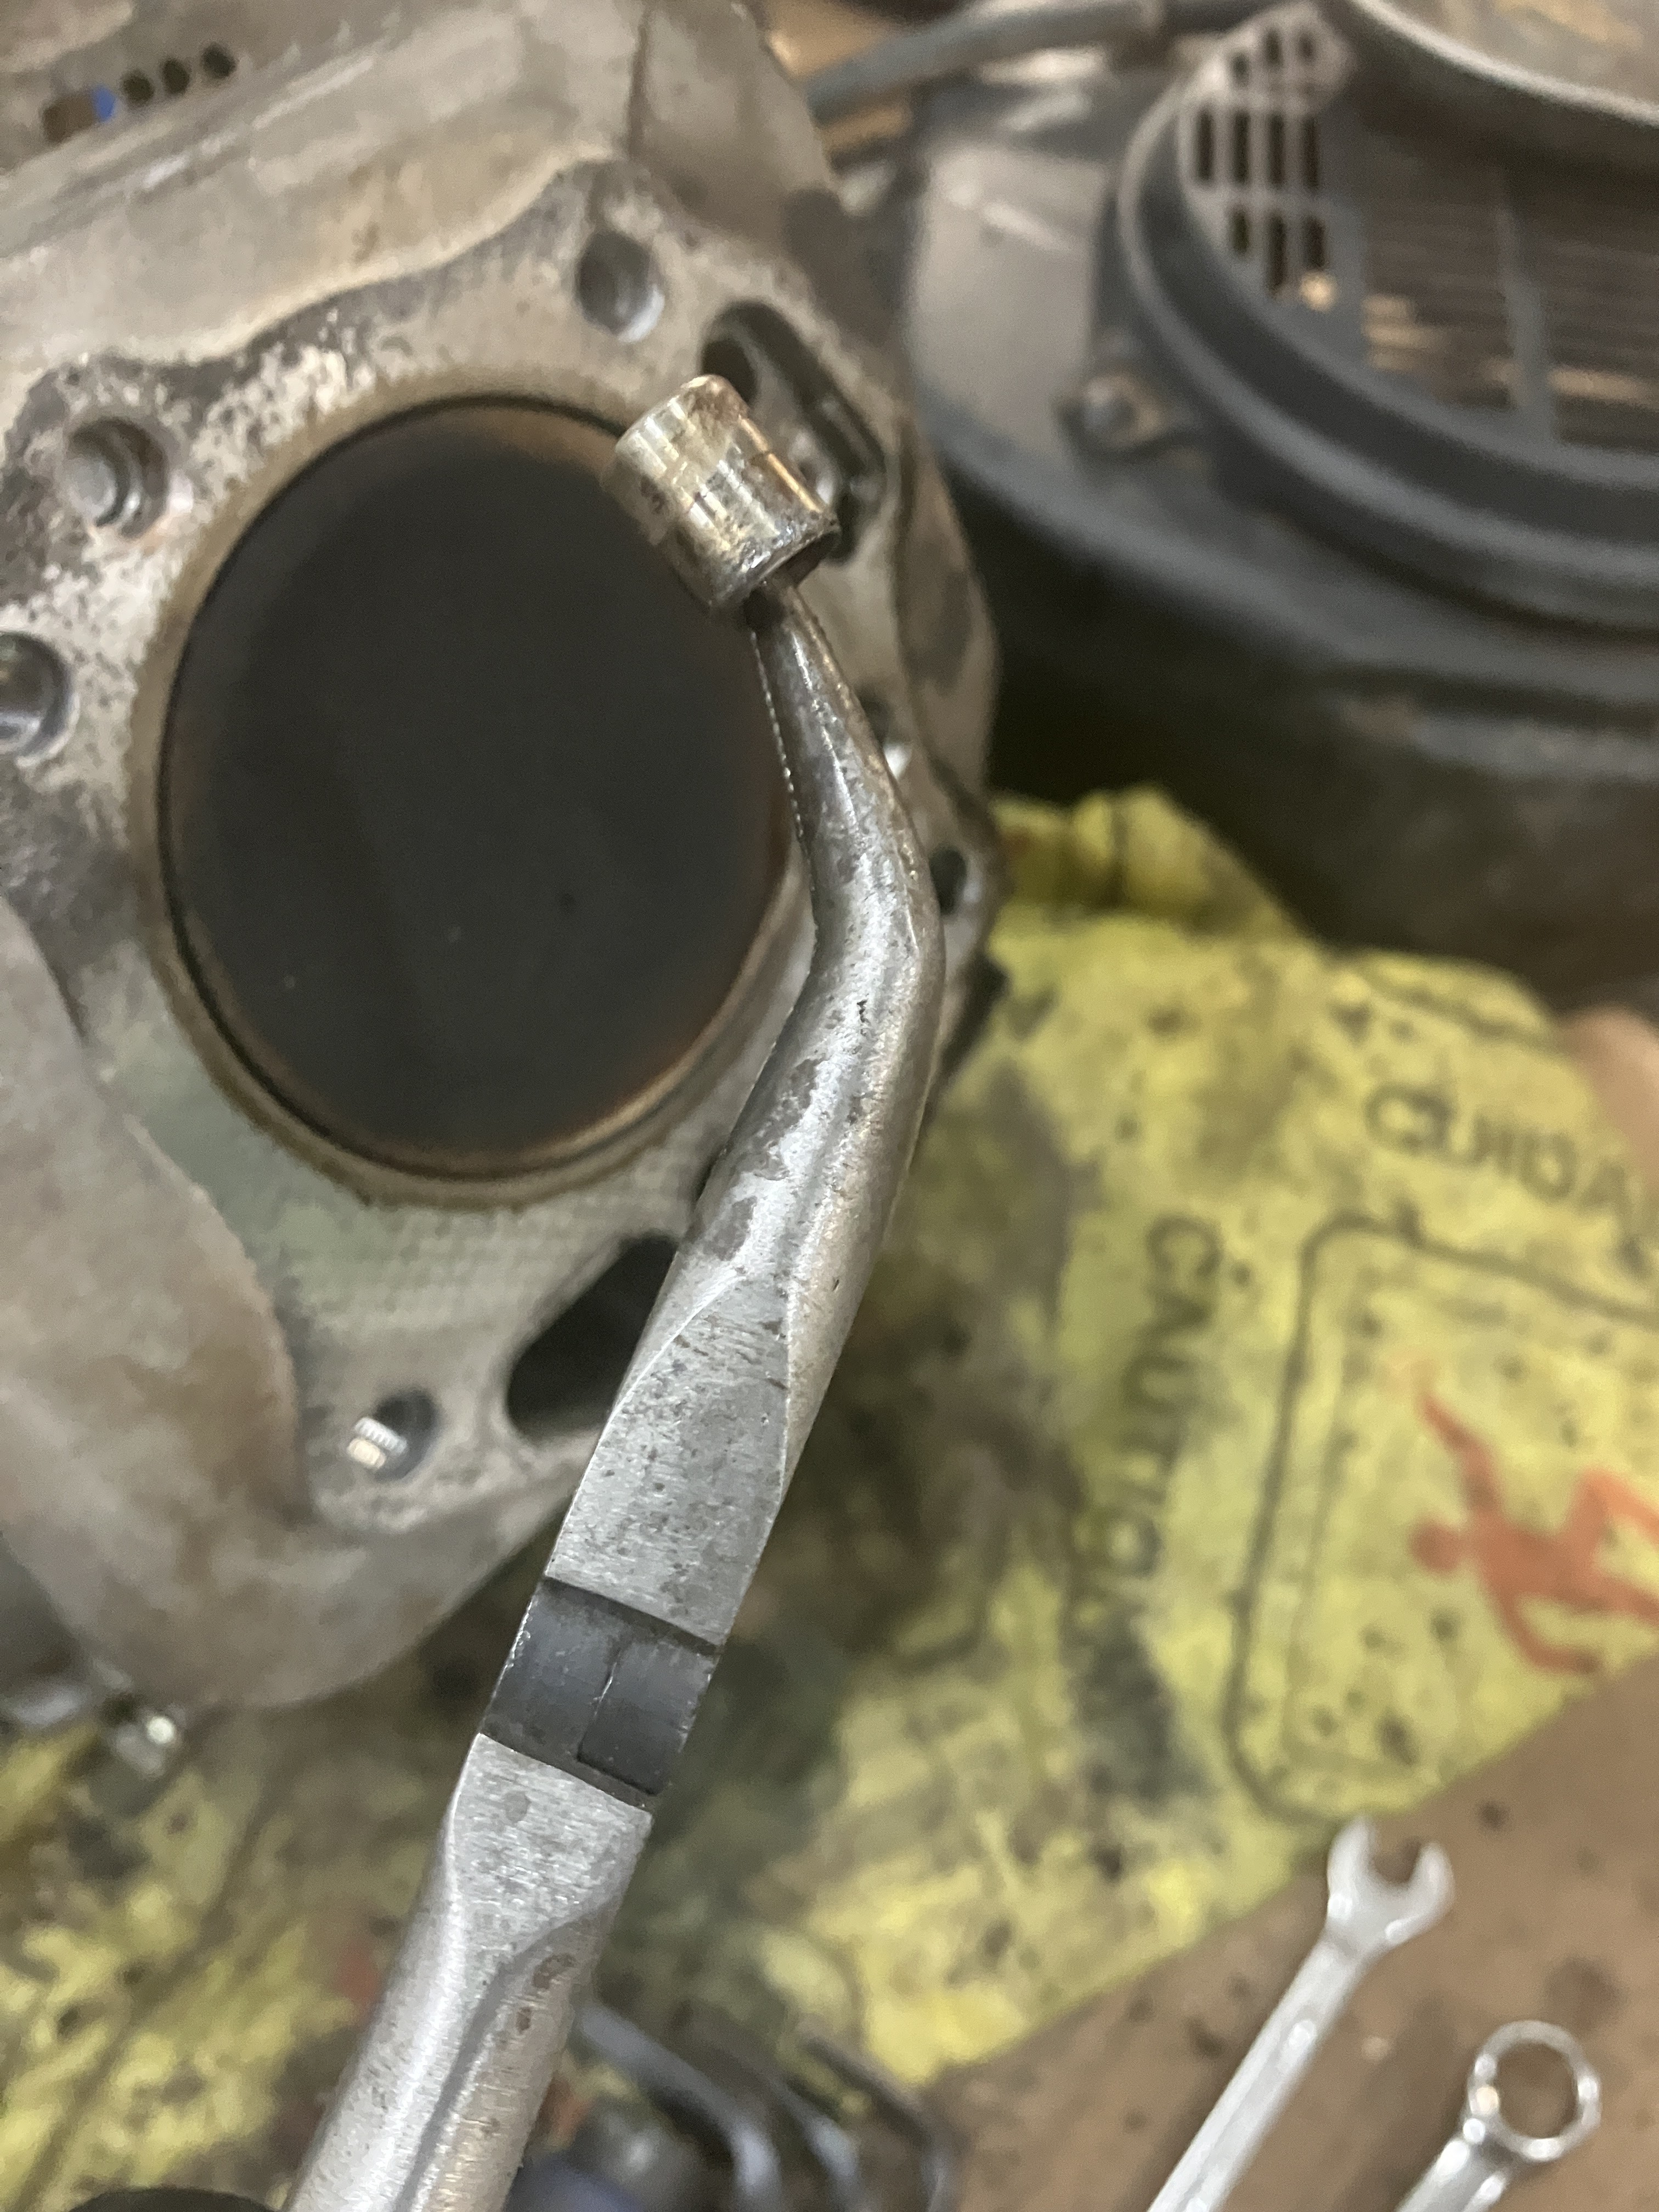
Remove carb studs.


Take a pic of the routing of coil kill wire switch.


Here is why the crankcase is being replaced.Crack goes almost to lifter guides. The last one I did was on the top side just under the head.

Remove coil

Remove flywheel bolt and fan

Pull flywheel off. I used a socket on end of crankshaft so not to ruin the threads


Remove key. I stick it to the magnet on flywheel

Valve cover removed

Loosen off rocker arms, the allen head bolts has to be backed out first.
Take push rods out. I keep them sorted so they go back in same location.

Removing head bolts - only 4 of them

Taking the gasket bushings out of block.
Crankcase vent read remove.

Highly recommend removing it with this tool


Starter bracket studs will have to be removed. There are alot of hardware not on the new crankcase.
I found some nuts to fit studs and double nuting them made quick work of it.


Dont ussually like doing this, but its the old crankcase.
Heating it up to wiggle one of the stuck bushings out.

See that little test plug.
IT DOES NOT COME ON THE NEW PART.
Found out the hard way on the last build when engine oil all pumped out of the engine in 2 seconds .

This does come with new part installed

Remove drain plugs

Use a couple of blockds of wood to keep it level off crankshaft .

Wire ties cut off crankcase bolts

Bolts removed and pull crankcase cover. There are some pry tabs if its stuck on.

Cam alighnment marks.
Cam also drives the oil pump.

Crankshaft timing marks


Carefully pull gears out along with lifters

Information on piston. Take a picture.
Arrow points to reed side

Connecting rod only goes one way to.
This line keeps the cap on the right way and faces crankcase cover.
Remove connecting rod cap bolts

Piston should push up and out

Check removed parts for wear.

Some piston skuffing.
I'll be replacing piston and rings.
If the pistons good I recommend replacing the rings on this job.


More bushings to remove

Nice crack

Remove this cover
Spring then a ball bearing
Use a magnet to get ball out


Pretty simple engine
I'll lay the parts out and clean what needs to be while waiting for parts .


Down to the bare bones
Recycled metal bin


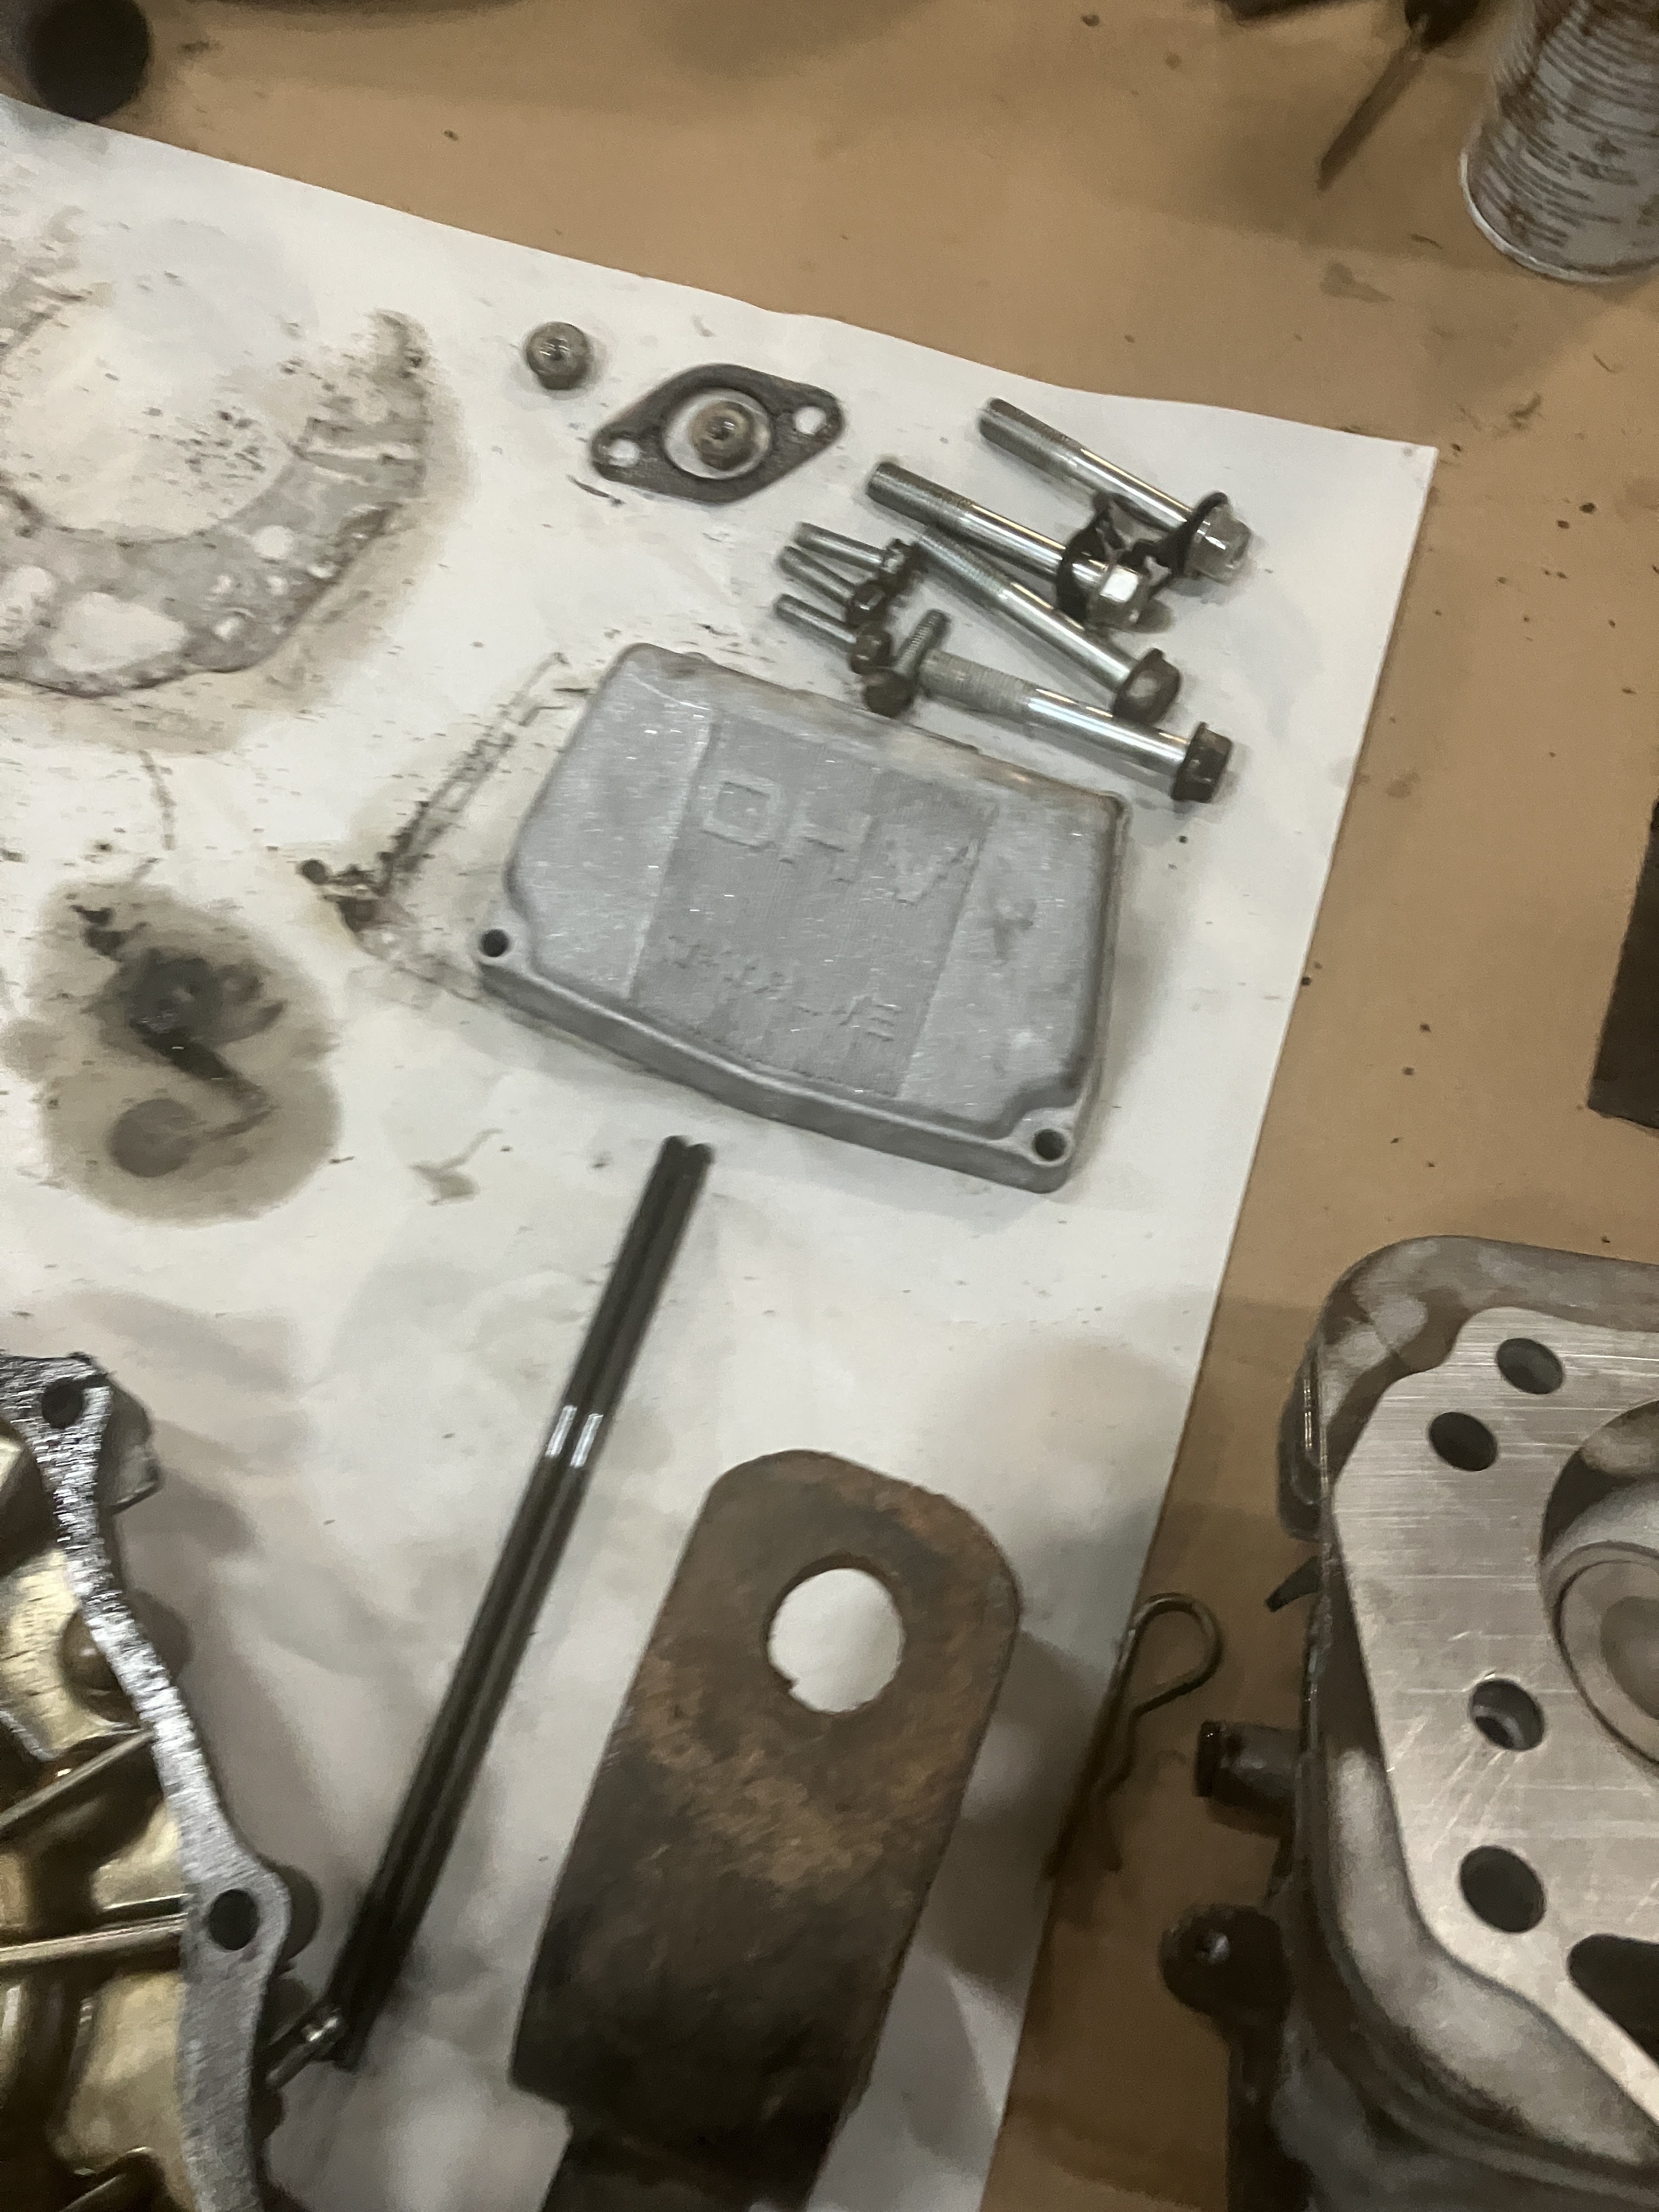

This part does come with the crankcase, I'm just seeing how easy it would be to remove if I had too.


New parts are in.
Only took a few days


Stating of with popping in a new seal

Grease the lip good.

Pop the ball and spring back in for the oil pressure relief


I'm using some blue loctite on this one.


Clean well and check for and nicks or burrs


Use a generious amount of oil when reassembling parts

Crankshafts in

Remove clip to get the wrist pin out old piston

Watch your rod orentation


Some times you have to a socket to get the wrist pin out


Check rod for wear and replce if needed


Install one clip
Make absolutely sure it's in the groove

Install new piston on rod with arrow facing towards reed valve and conneting rod alignment marks facing you and install the other clip


Install new rings
Space end gaps so they are NOT lined up

Ring compressor makes quick work on install

Pop it in from top side after coating cylinder with oil along with piston
Carefully tap it in lining up connenting rod into crankshaft journal
Cylinder was already honed for new install.


Setting your crank and piston rod in this location makes it easy to torque bolts on.

Putting a generious amount of oil everywhere before installing the rest of the gears

Align your marks then rotate crank to get ready to line up marks for crankshaft

Before doing that reinstall the lifters

Check the moving parts and springs before install.
Coat everything with oil


Turn crank till pistons at top dead center

Makes lining up the marks easy

Install head gasket alighment bushings

Oh yes you do not want to forget this part
Red locktite


New oil filter

Both drain plugs installed

Torque specs

Install with thin reed valve first then the plate ( yes it has a bend ) bend faces so it's up, blue locktite screw


If you don't have man hands use a valve spring compressor.
I just put a balled up rag on bench and place head on it, tap spring little with a hammer, push down with fingers and remove the keepers.
Changing valve guid seals


Good way to keep the keepers from flying across the shop

Clean and check valves and seats
Lap in as needed

Ready for install


Head gasket installed dry

Head bolts inside valve cover have rod tabs that need to be alighned correctly to seat down


Torque to spec
I turn them down till they touch and use half to torque amount first to torque in a cross pattern
Ten again at full amount

No not the right location, has to go inside the head bolt keeper

Easy valve adjustment, pistons at TDC already

Adjust with nut then secure it with allen bolt
Double check after adjustment

New rocker cover gasket and install valve cover


Old oil pump
Waiting for the parts

New seal installed in crankcase cover

New pick up screen


Install key in flywheel (tap it in with a hammer ) install flywheel

The fan only goes on one way and these are the things to look for to do it
This tab faces flywheel and goes in notch on crankshaft


Also has these two nubs that go on either side of magnet

Torque nut down to spec. Fan should be flush with flywheel

Installed coil using my business card for gap.

Install all shrouds , carb ( new mounting gaskets ) fuel pump

Just setting the muffler gasket and bolts up till I'm ready for them

Reinstall starter/gen bracket studs. Install brackets in right location.

New oil pump


Install with lots of oil

Make sure the clip is seated in groove

We have major issues with crankcase leaks here and I know a few other nearby courses having the same
I smear a bit of gasket sealer on both sides of gasket

Red loctit on bolts and back of washers ( thats just my issue solving problem idea )
otherwise if you have no issues ....dry gasket torque to spec . JD recomends new bolts

The oil pump has to line up with cam shaft
You will know when its aligned the cover will easily go down tight to crankcase

Torque to spec following diagram in manual ( basically like proper tighting sequence on wheel nuts )

Grease in the new seal will help it go in on the oil fill tube

Skip this step . It's what I have to do here to keep them on. If they vibrate loose they have tension to keep them from backing out.


Attach muffler and ready for install

Engine bay was cleaned while waiting for parts
Dropped in place

Then install all the motor mount bolts lower muffler bolts and top link bolts loose
Snug the top link and lower exhaust bolts first, then I'll tighen the engine mounting bolts.


Got ahead of myself ! Leave exhaust tip off till after belts are installed.

Hooking up linkages to carb and air intake.

New fuel filter and install line on fuel pump

I left the wires on starter gen and flipped it to seat side .
Flip it back and hook up the ground on starter /gen
Also dont forget the ground that goes on 8mm harness bolt

Primary cluth installed and torque to spec

Belts and cover installed
Started right up
Great Job! The TX gator that I have that I have had trouble with the bolts backing out also developed a crack in a similar location about 2600hrs. Same vintage. Thinking next time I do a crankcase seal I'm going to use Toyota FPIG.
ReplyDeleteThat's great , Thanks
Delete