Bobs Shop: Toro 5800 pump Heads wearing out (golfcoursemechanics.blogspot.com)
Continuation .
There are a few of us with a reoccurring pump and or head failures . I'll try to be fair in this post Toro did replace most of our pumps ,heads etc. after the fact .Even went as far as asking one of their guys vacationing up here to pop in and check out our SET UP and operation ... talking to spray tech and salesman was also there . He wanted all the pumps and heads sent back and shipped us this last pump.
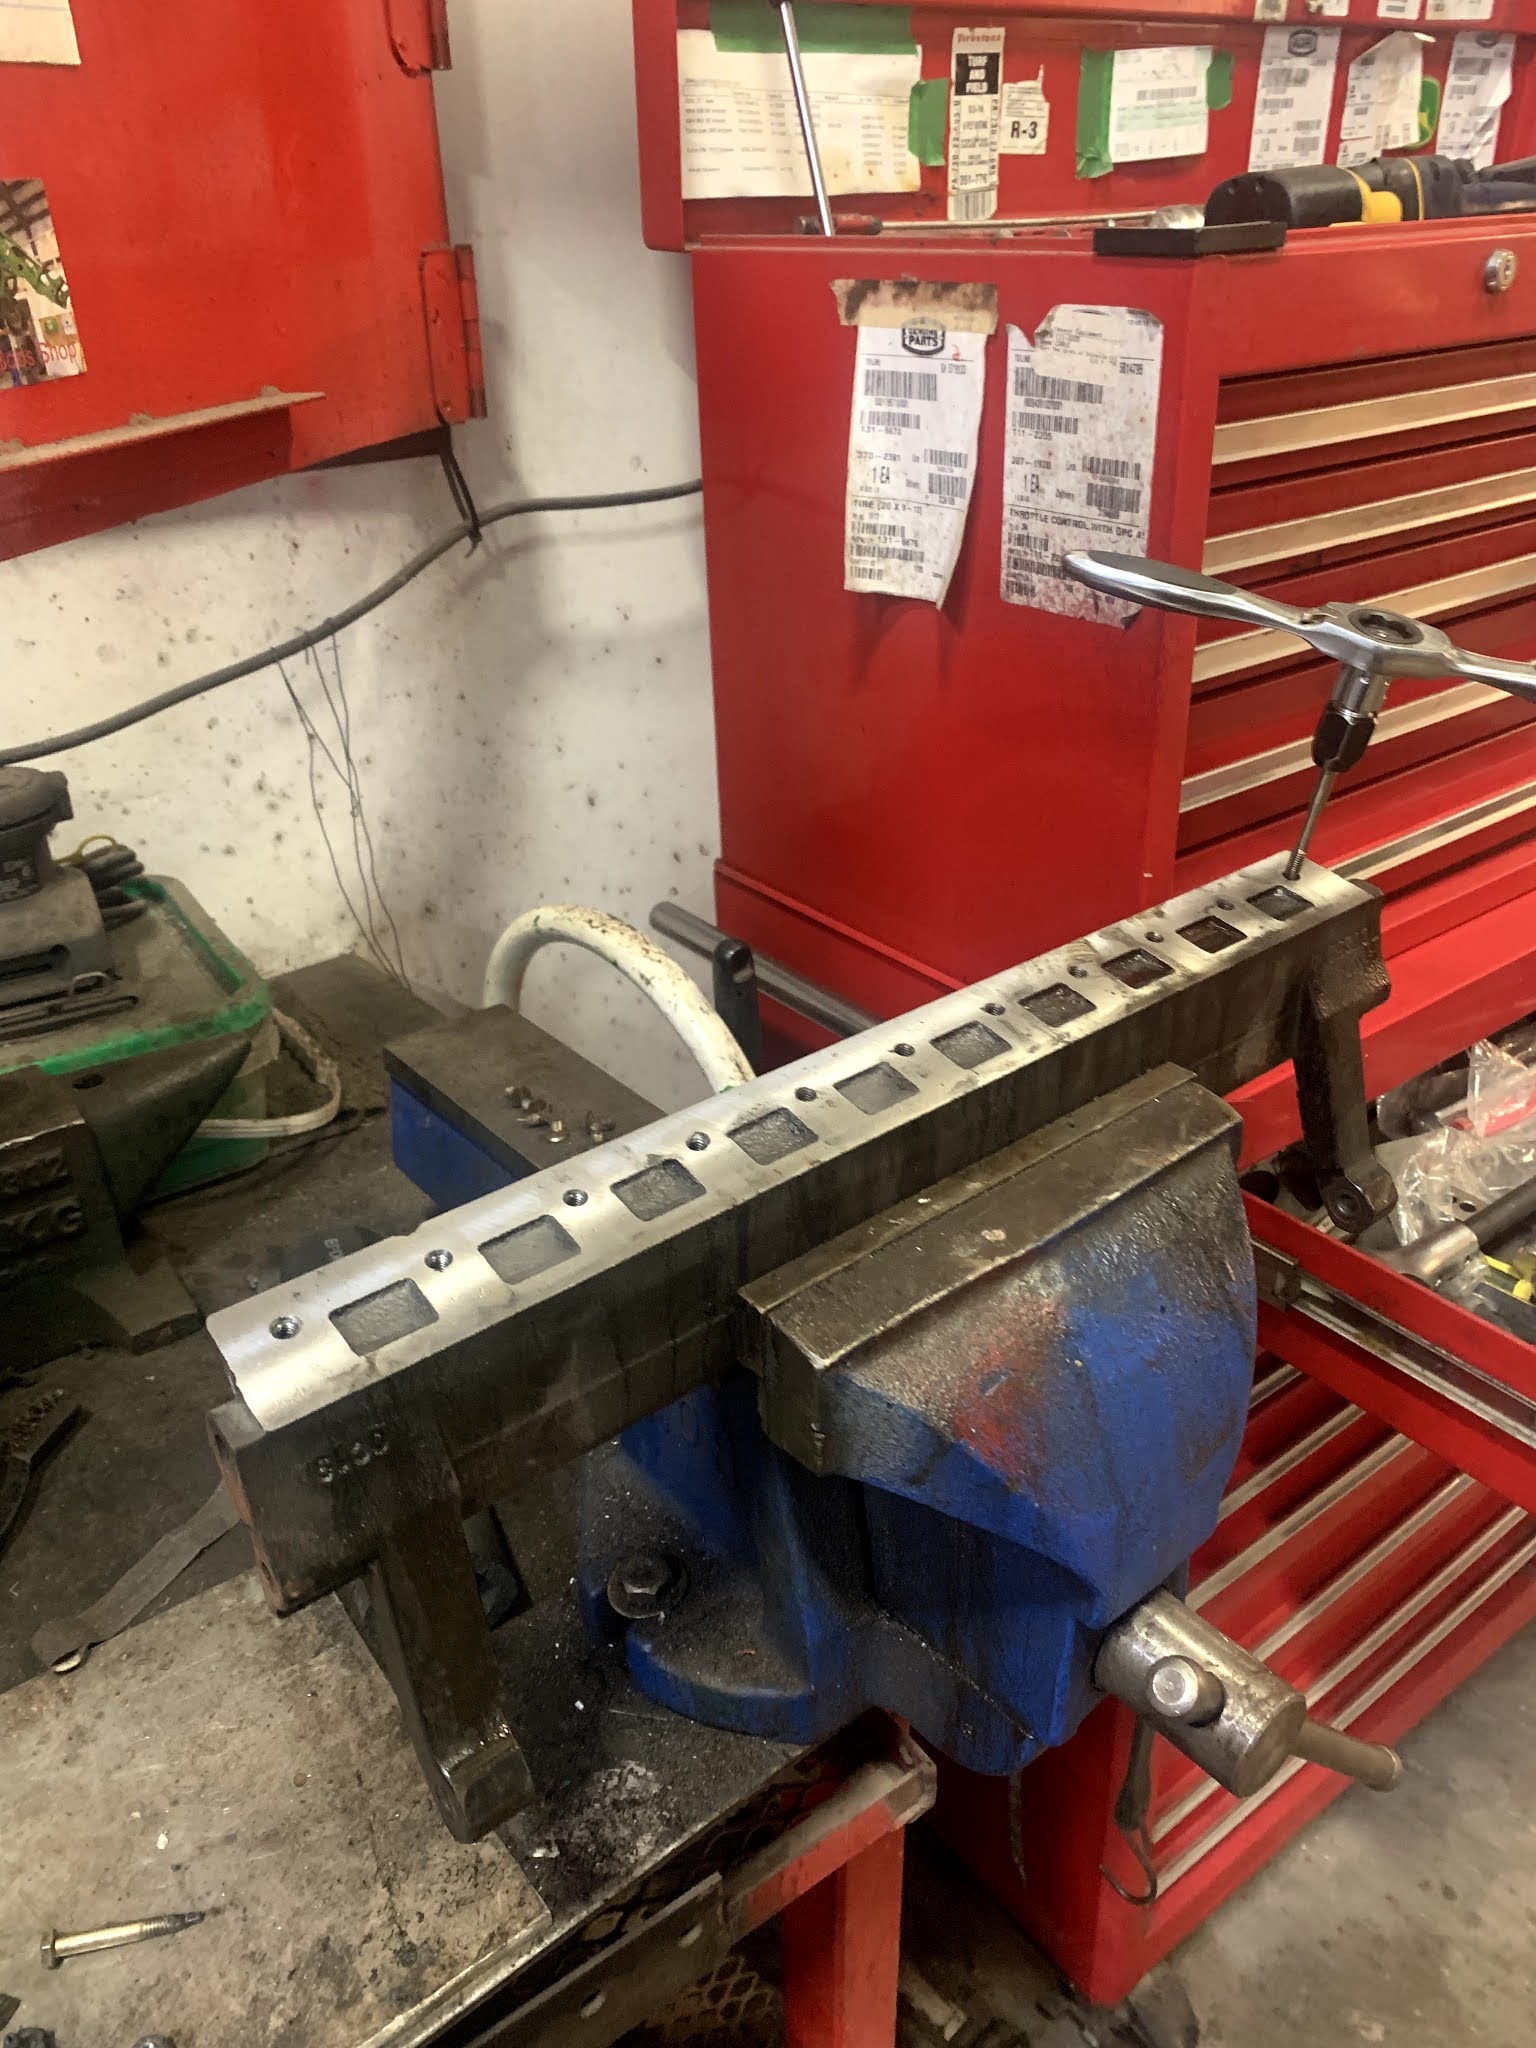
It was looking pretty good almost 600 hours but after pulling a few heads I could see the issue is not going to go away . Repairing out of pocket to have it fail every year or bye yearly doesn't make sense . Parts for these pumps are very expensive . For the price of 4 hardened heads we could go a different option and install a new aftermarket system .
This was the last pump we received under 600 hours .Lasted 3 times longer than some of them .
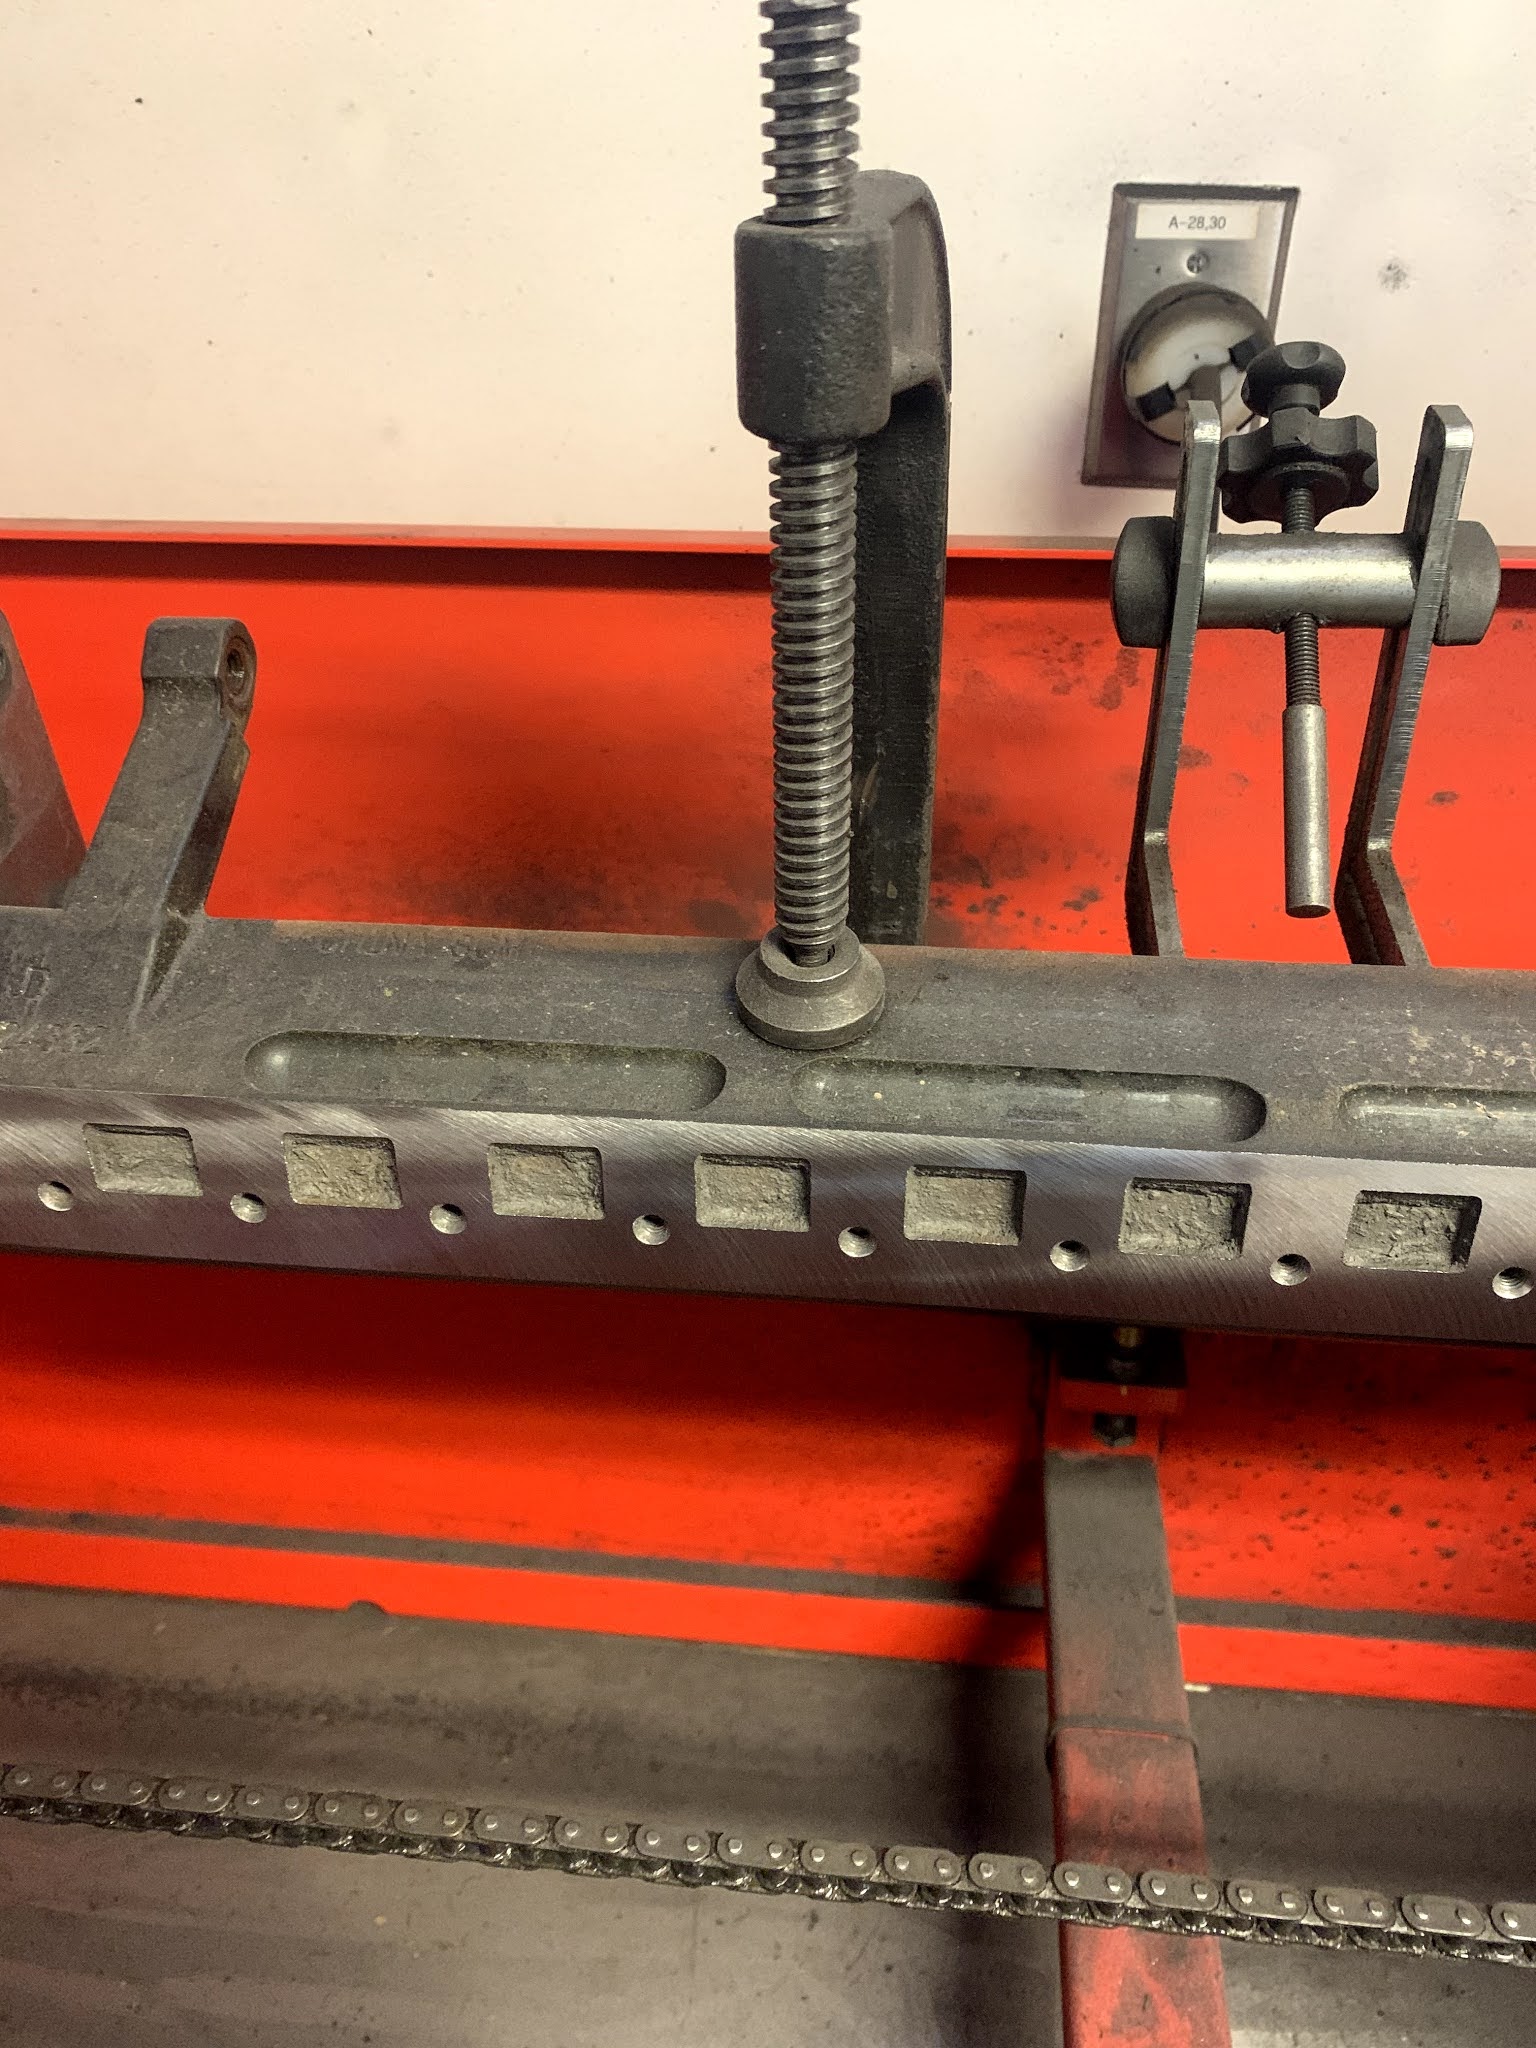
Still getting a lot of scaling
They get very thin in this area .
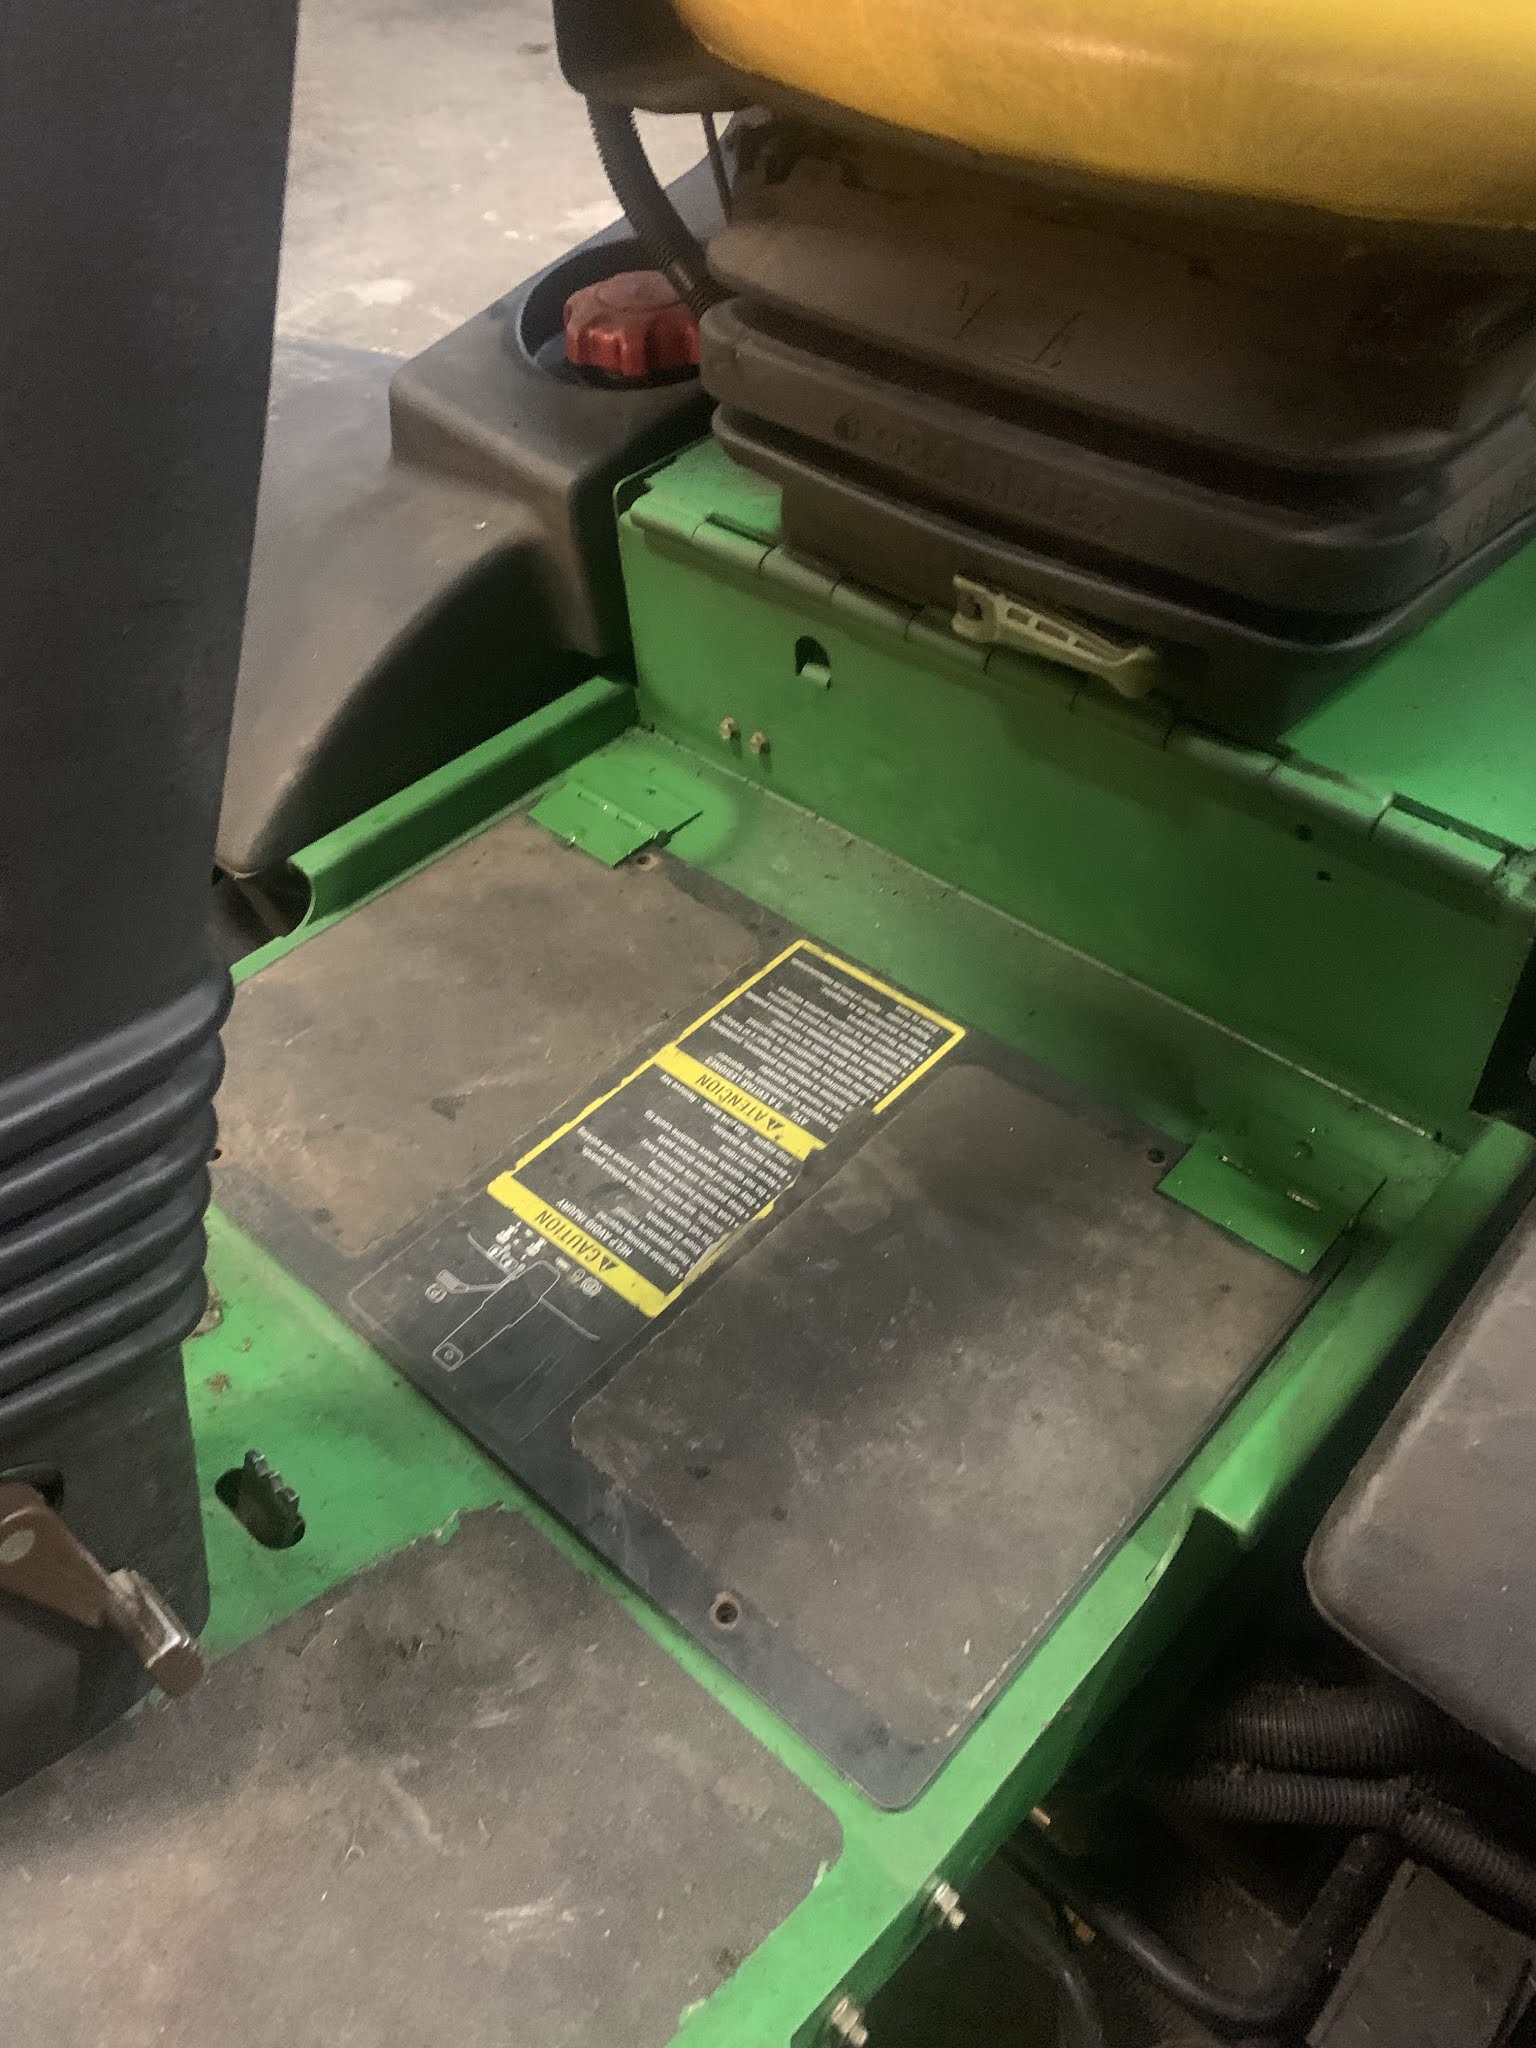
We have a pre mixing tank prior to going into our sprayer . Yes its flushed out and tank cleaner is used occasionally during the season .
I use to get great feed back from service tech or salesman or sometimes Toro but in this case there was zero feed back about our issue or what possibly could be going on .
So now we have to move on from throwing $$$$.$$ at an unresolved problem .
And I'll leave it there
Going through Halifax Seed Turf we purchased ALLTURF precision TECHNOLGIES Hypro D115 3 diaphragm pump .
.
My kit included the common items needed for this model. Ours machine has a few bells and whistles, so I need an additional item. Frank and Wray where 100% engaged on any questions I had and replied promptly to resolve them.Made the retro fit stress free.
Came in one little package. Frank and also Callum both sent me PDF files for me to look over before arrival. For the guys that do sprayers all the time the instructions are pretty good. For the rest of us keep reading my blog. Very surprised at speed of delivery too.
Getting these pins in where a treat. No press here for that set up . I put that part on the horn of my anvil and started one of the roll pins.
Need to support the end. Didn't want to bend anything up.
This set up worked great. I was able to drive them in flush.
I'm using blue Loctite for vibration. Looked up some torque specs for bolt (none in manual) I went with 54 ft.lbs . 3 shiny or chrome plated ones, flat washer and lock washer attach the 1" shaft.
If you pull up on torque wrench by pipe wrench, they torque up great.
Before attaching mount clean these threads out. That way you won't have to fight with it. It's fairly tight spot
The longer one goes in the rear mount you just cleaned out
Leave the front two bolts loose till rear gets started in well. Gives you a little wiggle room. Tolerance after assembled is snug.
Pic of rear mount again .
Done ready for install .
Now onto hoses and hose questions. Instructions doesn't mention this white hose location. I'll get back to that later.
Remove suction hose from top back of tank. The one the guys are always removing to clean screens. the red connection part it's being reused.
Remove all hoses in instructions. It was pretty straight forward.
I may reinstall my manifold filter to protect and avoid having individual nozzle screens. Worst case scenario I could just leave screen out if there are any issues.
Drilling 1 5/8" hole. One time deal here. Check the underside too before drilling. You need it to be a flat surface on both sides. The manual had a great trick off placing the tank fill screen inside to catch the debris.
Perfect location for ours.
Didn't realize how thick they are.
This is why I asked you to keep following along. Upside down !!lol I was told. Goes the other way and the 90 elbow goes inside the tank along with the clear tubing. Instructions are lacking here for us guys that don't work on sprayer every day. Plus, it's a different system install. The old OEM pressure relief has been removed.
Softening the hose in a bath of hot water makes them slide on easy. This is the hose that goes inside the tank where the cut out was made.
The missing link lol. I think a thread / spigot male was sent by mistake. Not a big deal.
Attach relief valve parts as per manual.
Missing the key too. The OEM will not work on pump side. has to be square stock.
My shop has a fair amount of hardware. Key stock was in stock

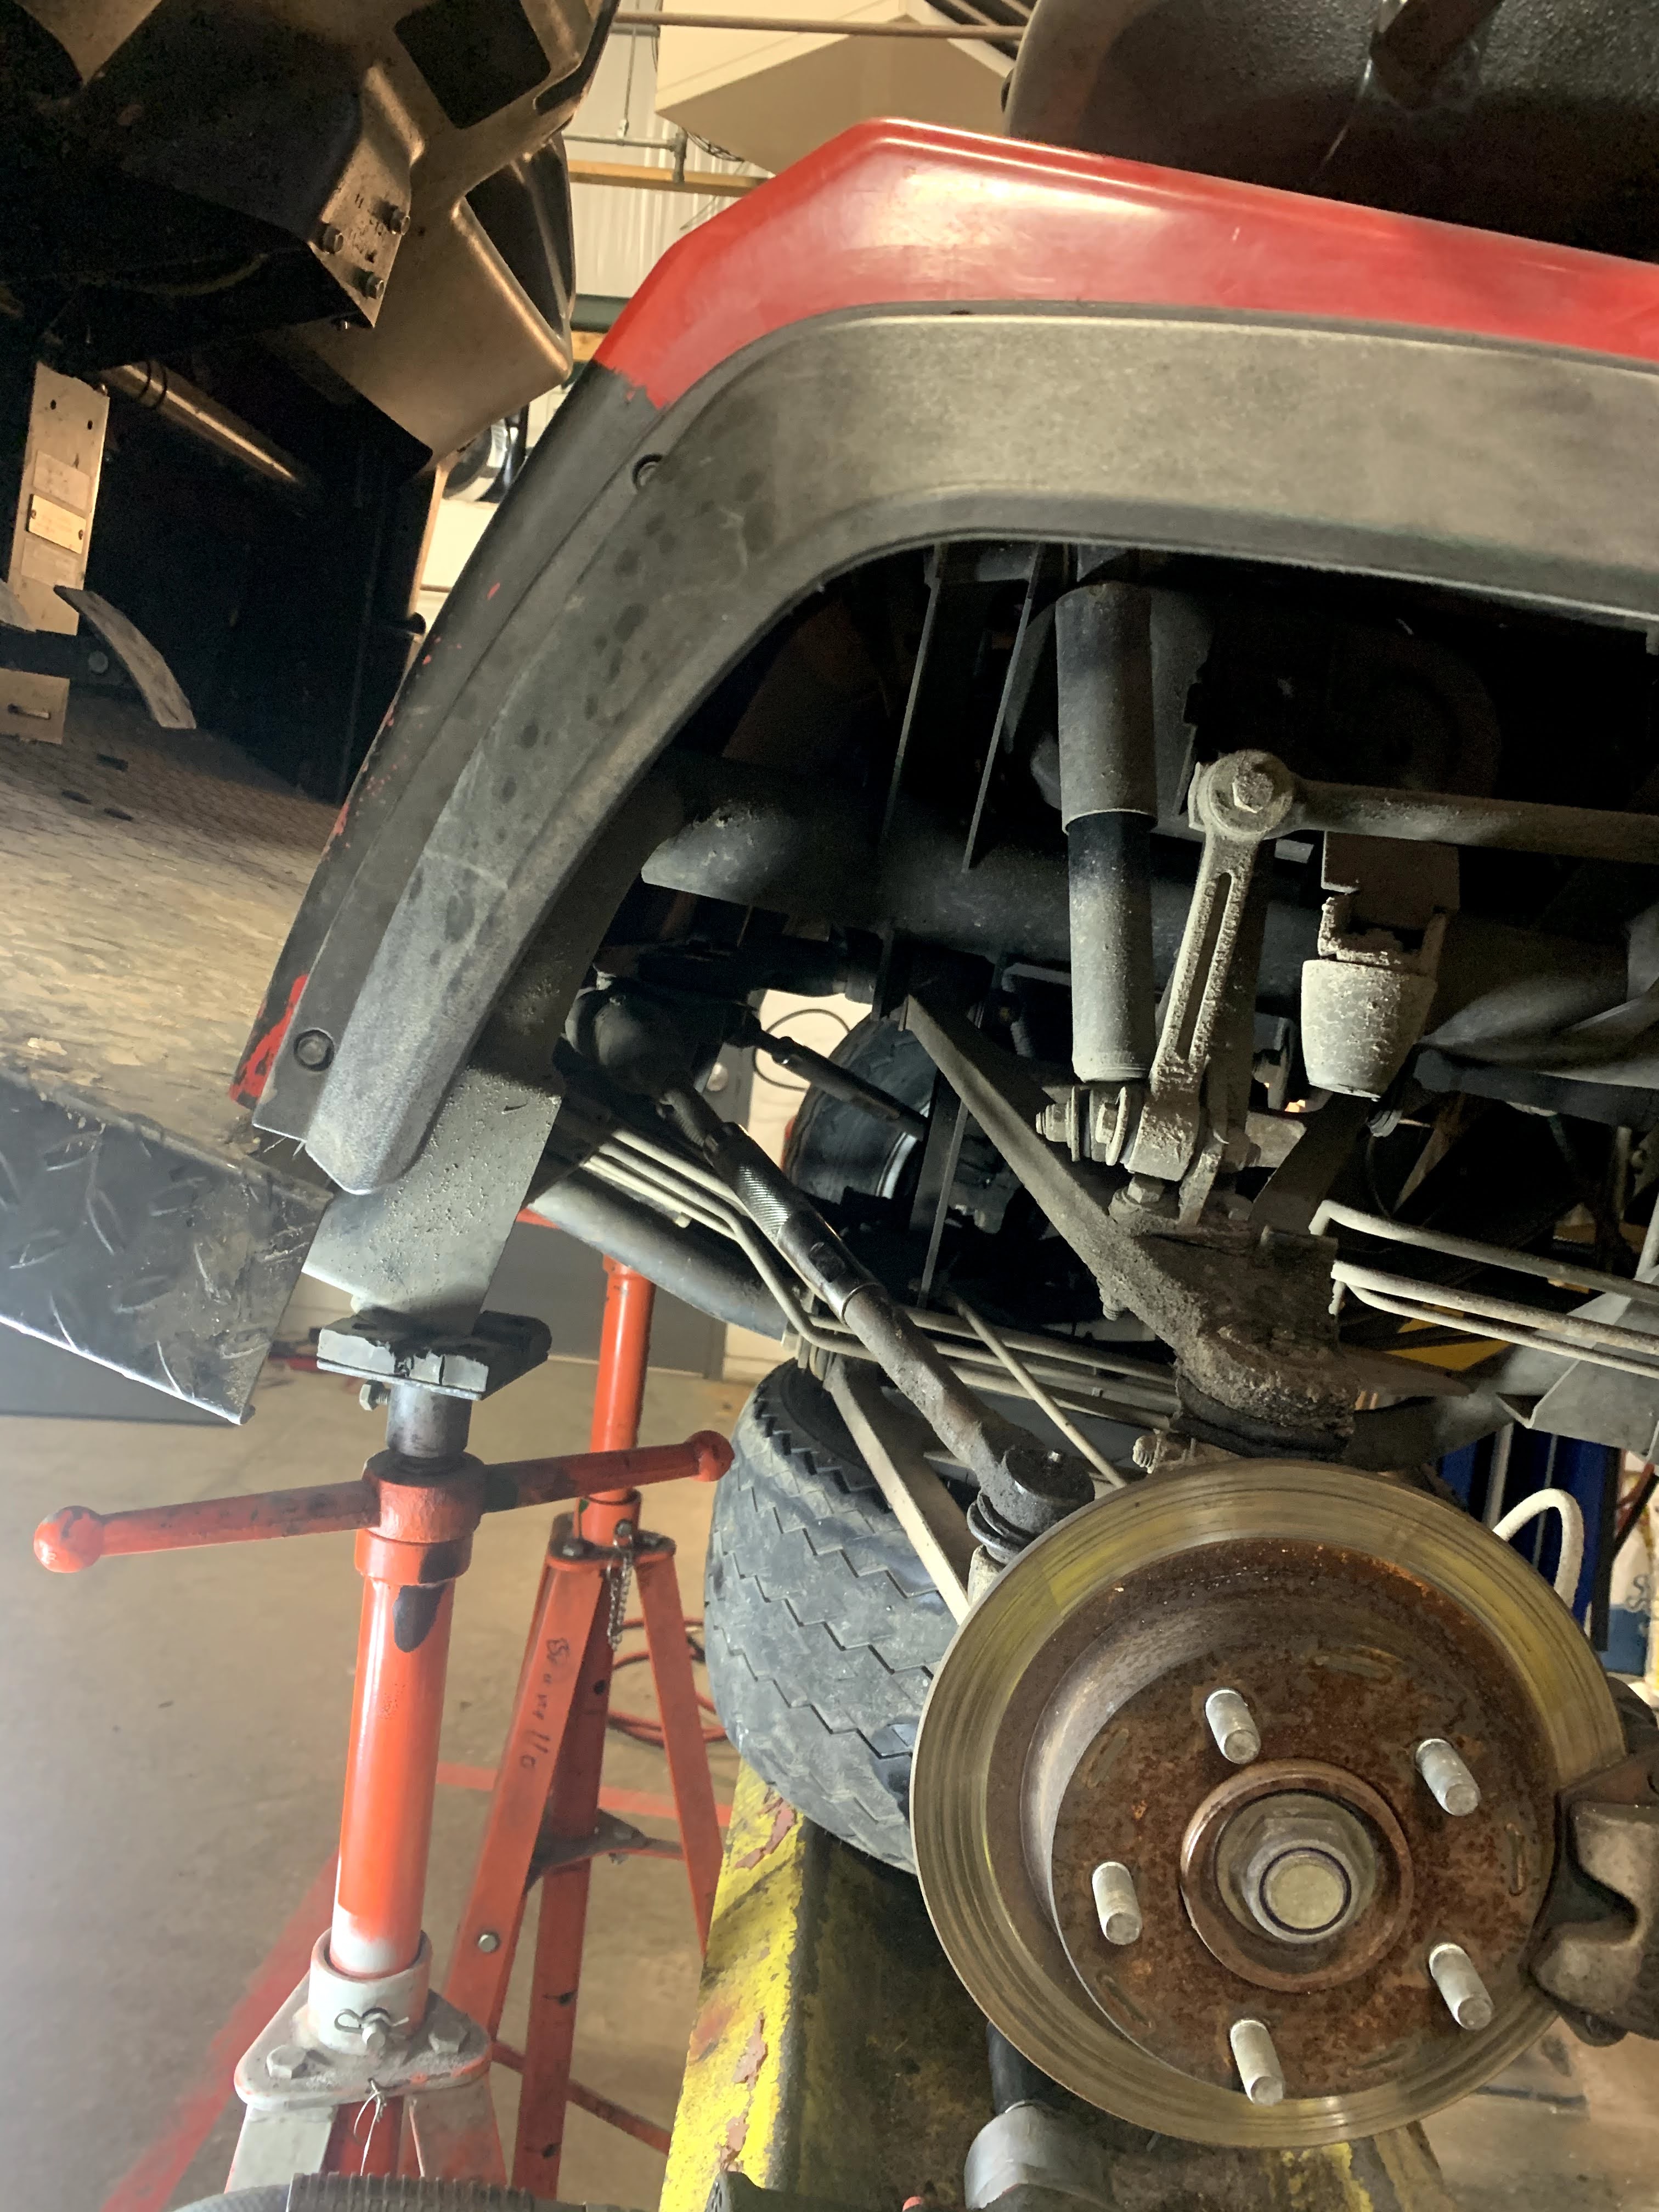
Reusing the Toro OEM coupler. Attach it to pump drive. Using a bungie to hold drive in place.
Test fit.
Heights good with provided shims. Slide onto coupler easily.
OEM hole will have to be re-drilled. I transferred edges of pump bracket to base with a white marker pen.
Easiest way I found to make a template.
Cut out
Use special Bobs Shop tape. Nothing else works,
Drill out in 3 drill bit size steps.
Another little set back. Spacer bracket holes don't line up either. I used a step drill bit and widened the holes out till it fit. It's just a spacer.
Final fitting. Good to go.
Pump is in.
Copper anti seize the coupler before final assembly and tighten bolts. I do the ones on the key first.
Install the guard . Had to tweak it out a bit . Was pretty close to rubbing .
This one is part of the old relief valve system and can be capped. Their sending one out soon .
Time to attach hoses up.
Softening the big suction hose.
I you twist it clockwise as viewed in pick it will go on easily. The big wrap coils release tension this way.
Suction hose is on. Only 5 points of possible suction leaks. OEM I counted 15.
Black hose is pretty soft. Join from valve bank to other side of pump. Leave enough slack to splice the T in.
I splice mine directly over this valve.
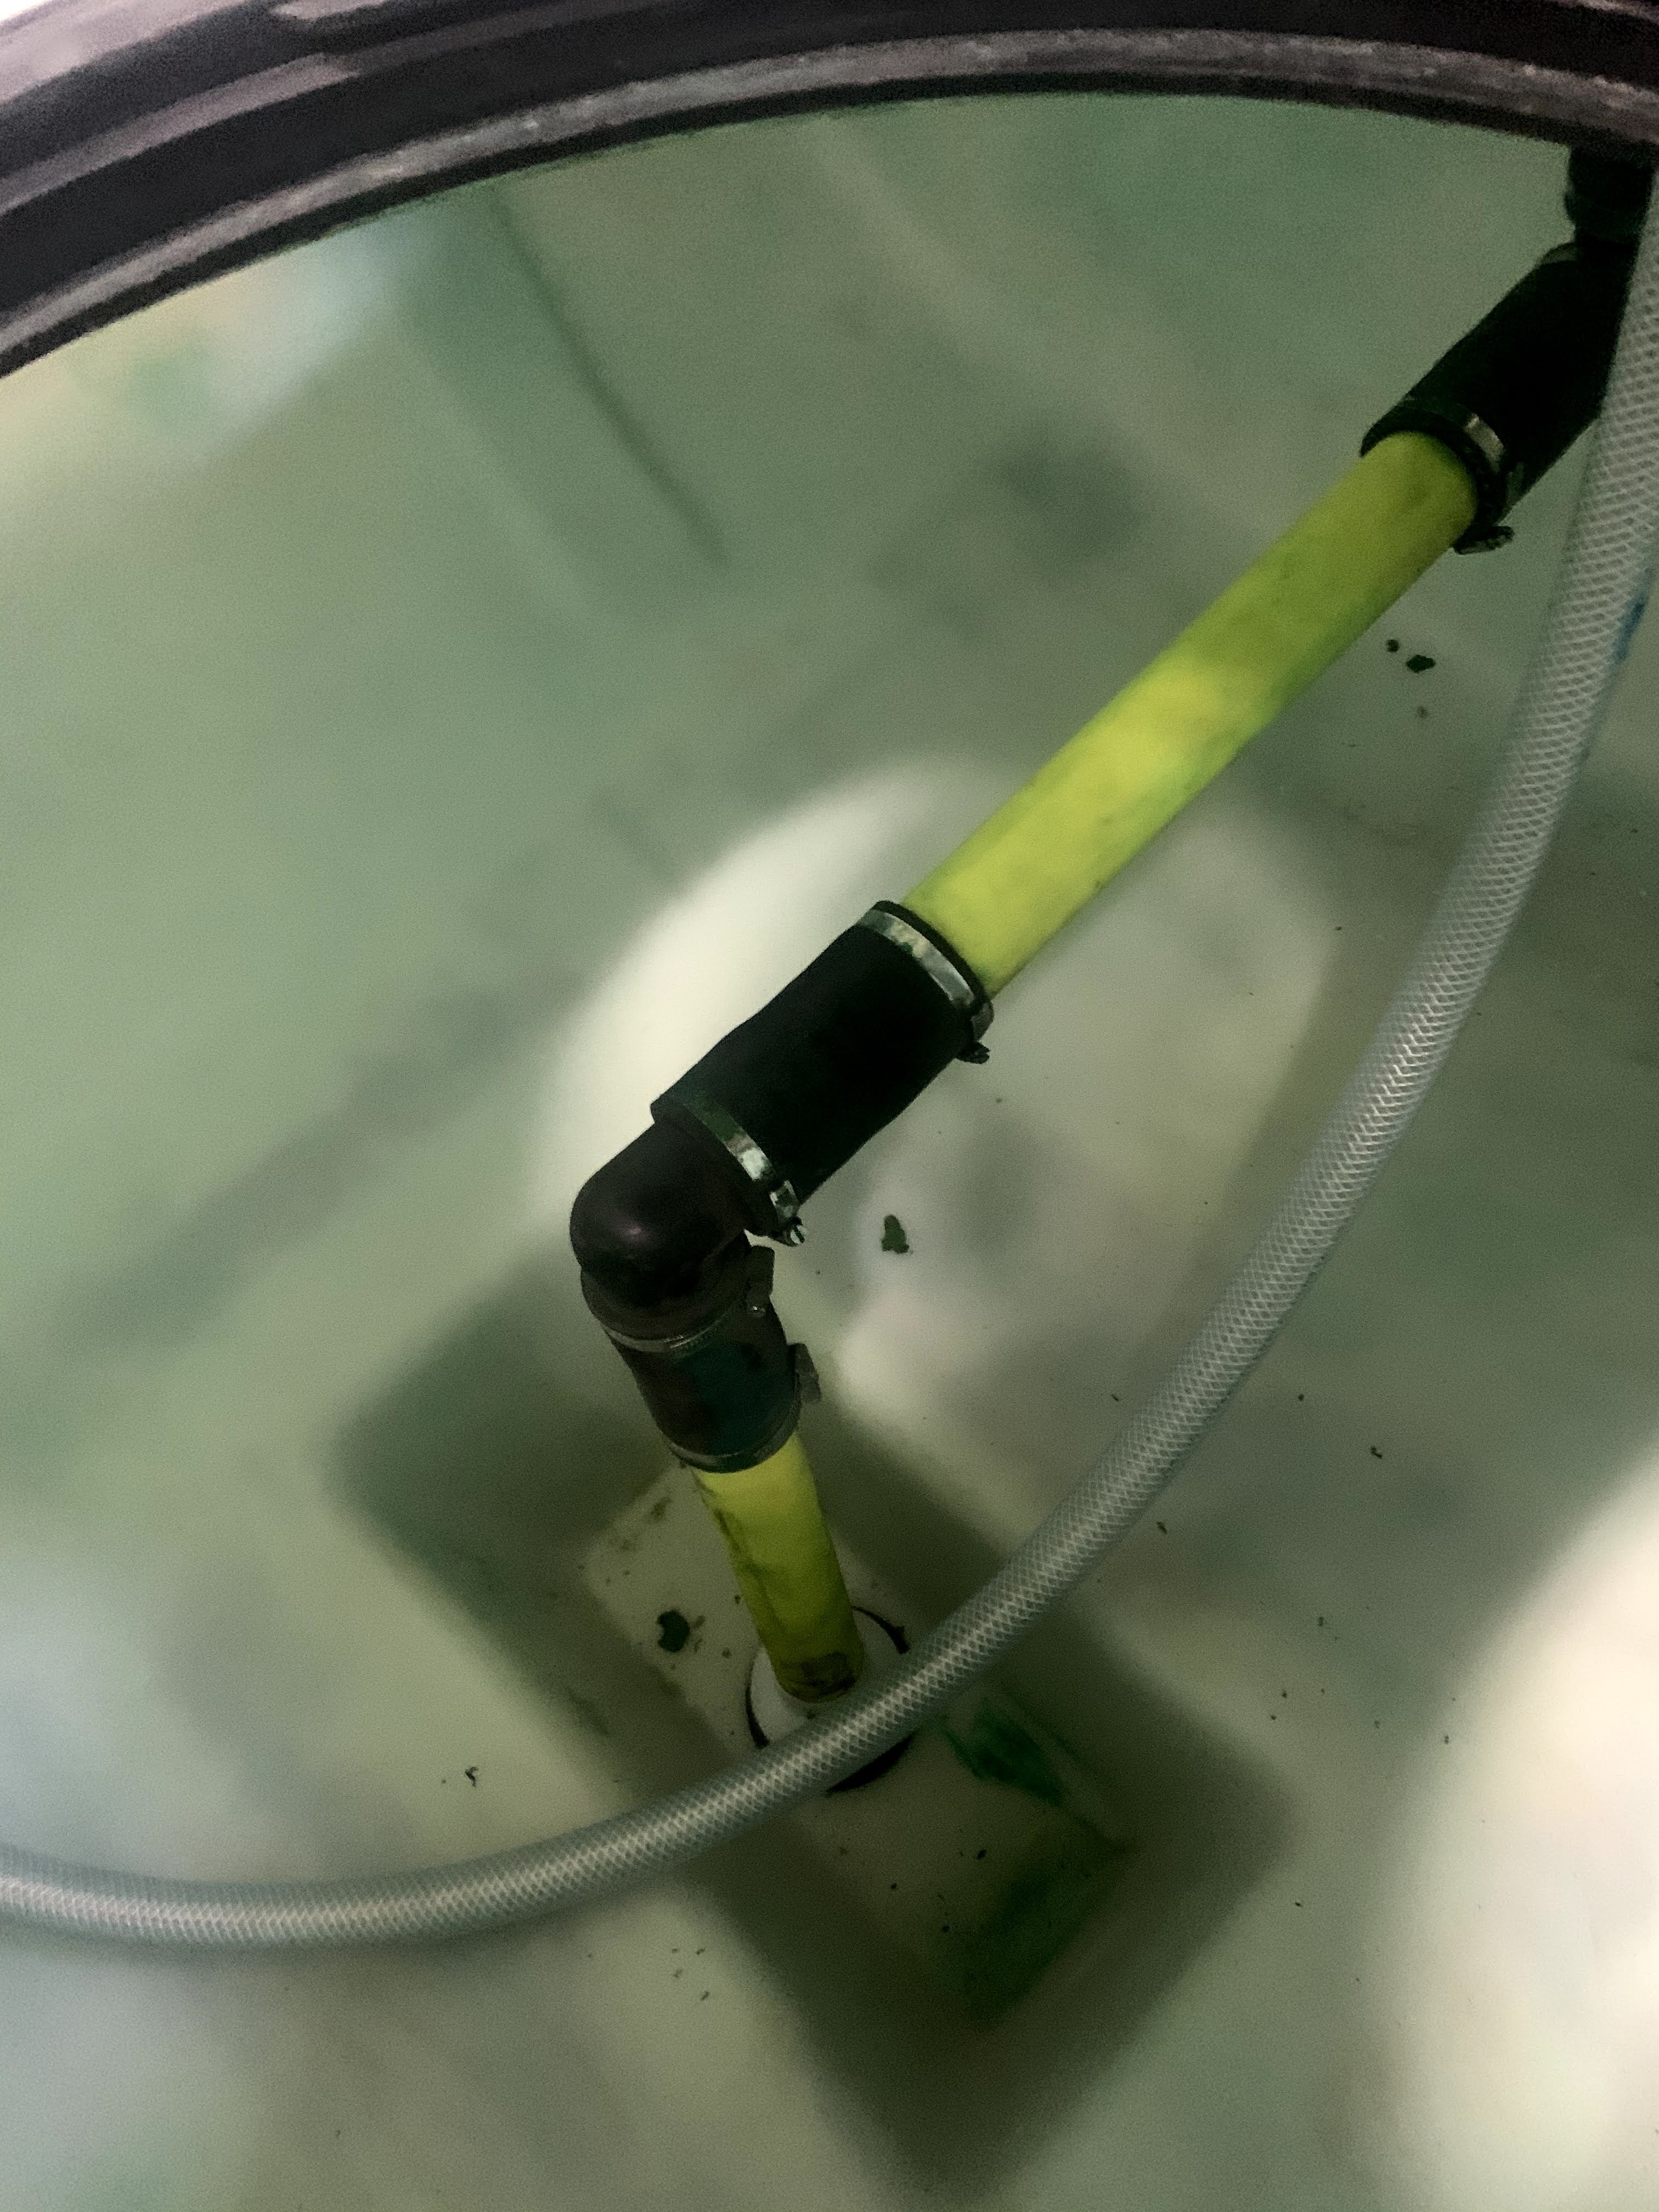
Attach another piece of hose to run up to top of tank where relief valve will be mounted on pressure side instead of OEM suction side.
The 90 goes inside tank on clear hose. I went and got the missing male treaded coupler to put relief valve on here. Black hose from T connects to it.
Looks great. Like have the extra room around pump area.
Shorten up the green hose a bit and still my pre manifold filter
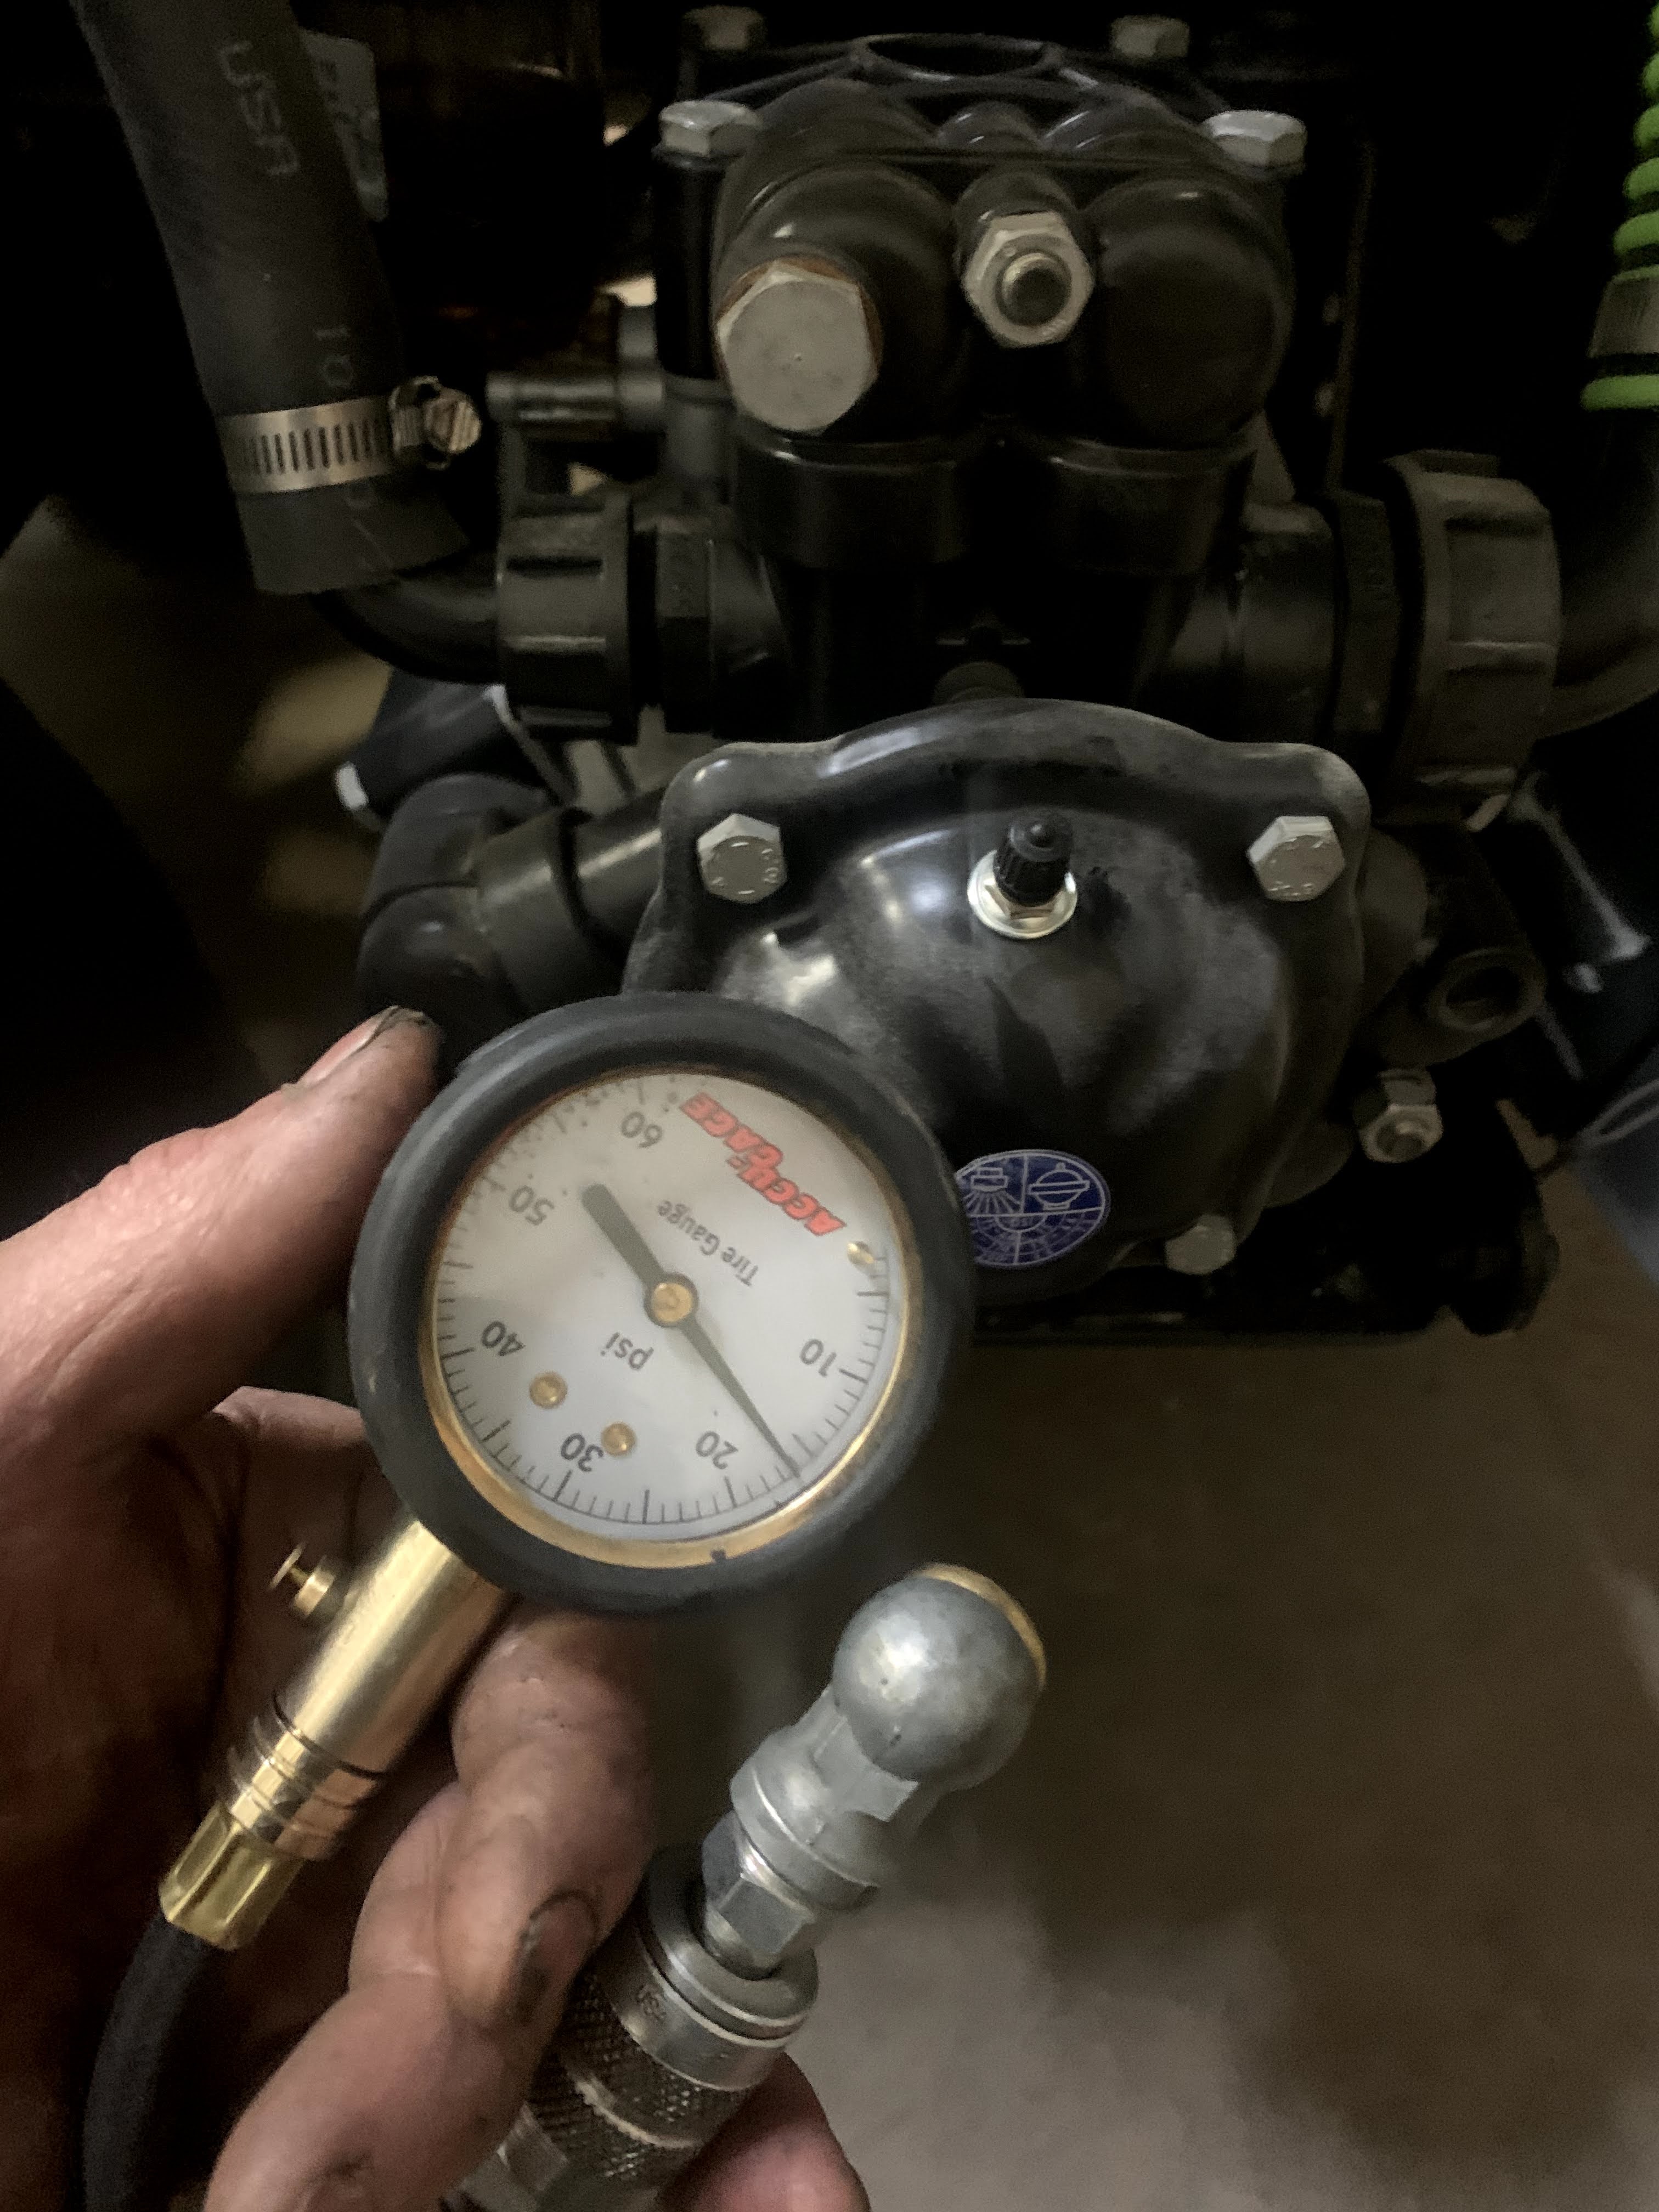
Stacked a couple of threaded nipples an installed relief valve. Also picked up a gauge for adjustment later
Just received the one-piece suction tube. Toro #121-5003
It should eliminate 7 more points that air could possibly get in on suction side
Fits right on OEM screen assembly
Goes right into drain at bottom of tank.
Just waiting on flow valve kit and it will be finished.
95% done.
I'll be updating later on setting up relief valve and how it's going for the first season.
flow valve kit installed
Topping up back pressure diaphragm before first starts up.
Measuring 100 gallons to test flow manager reading
You can laugh but I've dump and lost track do to other things that come up in this business. My dump tracker.
Tried to set up pressure relief as per instruction. Had a few problems with spiking pressure etc. when agitation or nozzle pressure dropping out when activated. So, Halifax Seed Turf wanted to drop in a see it running. Explained what was going on and between us (Mostly Callum) figured it out. Very similar to JD sprayer set up.
We had to set the agitation at a desired setting and also the boom sprayer pressure. Then do the set up in instructions. This agitation valve cannot be moved after setting or it will throw everything out of whack. So, we removed the handle,
Capped it
Then taped it to prevent slight vibration from moving it . Or being tampered with accidentally.
Checking for individual boom control pressure. These controls don't need tampering with.
The guys went out and used the rate preset and the pro controller takes care of boom or multi boom pressure. keeps them the same. Assistant (Joel) says it working great now. Phew!!!
Great agitation and nozzle pressure
Just calibrate the rest in the spring and we will be good to go.
Looking good so far.
Post an update next winter when I install a kit in and check the pump over.
This is a long blog but with limited skills and my blog very easy install.