Thursday, December 10, 2020

TORO HDXD and Relays for lights

Nothing worse than a dead machine that has to go out on a job just because the lights where left on !
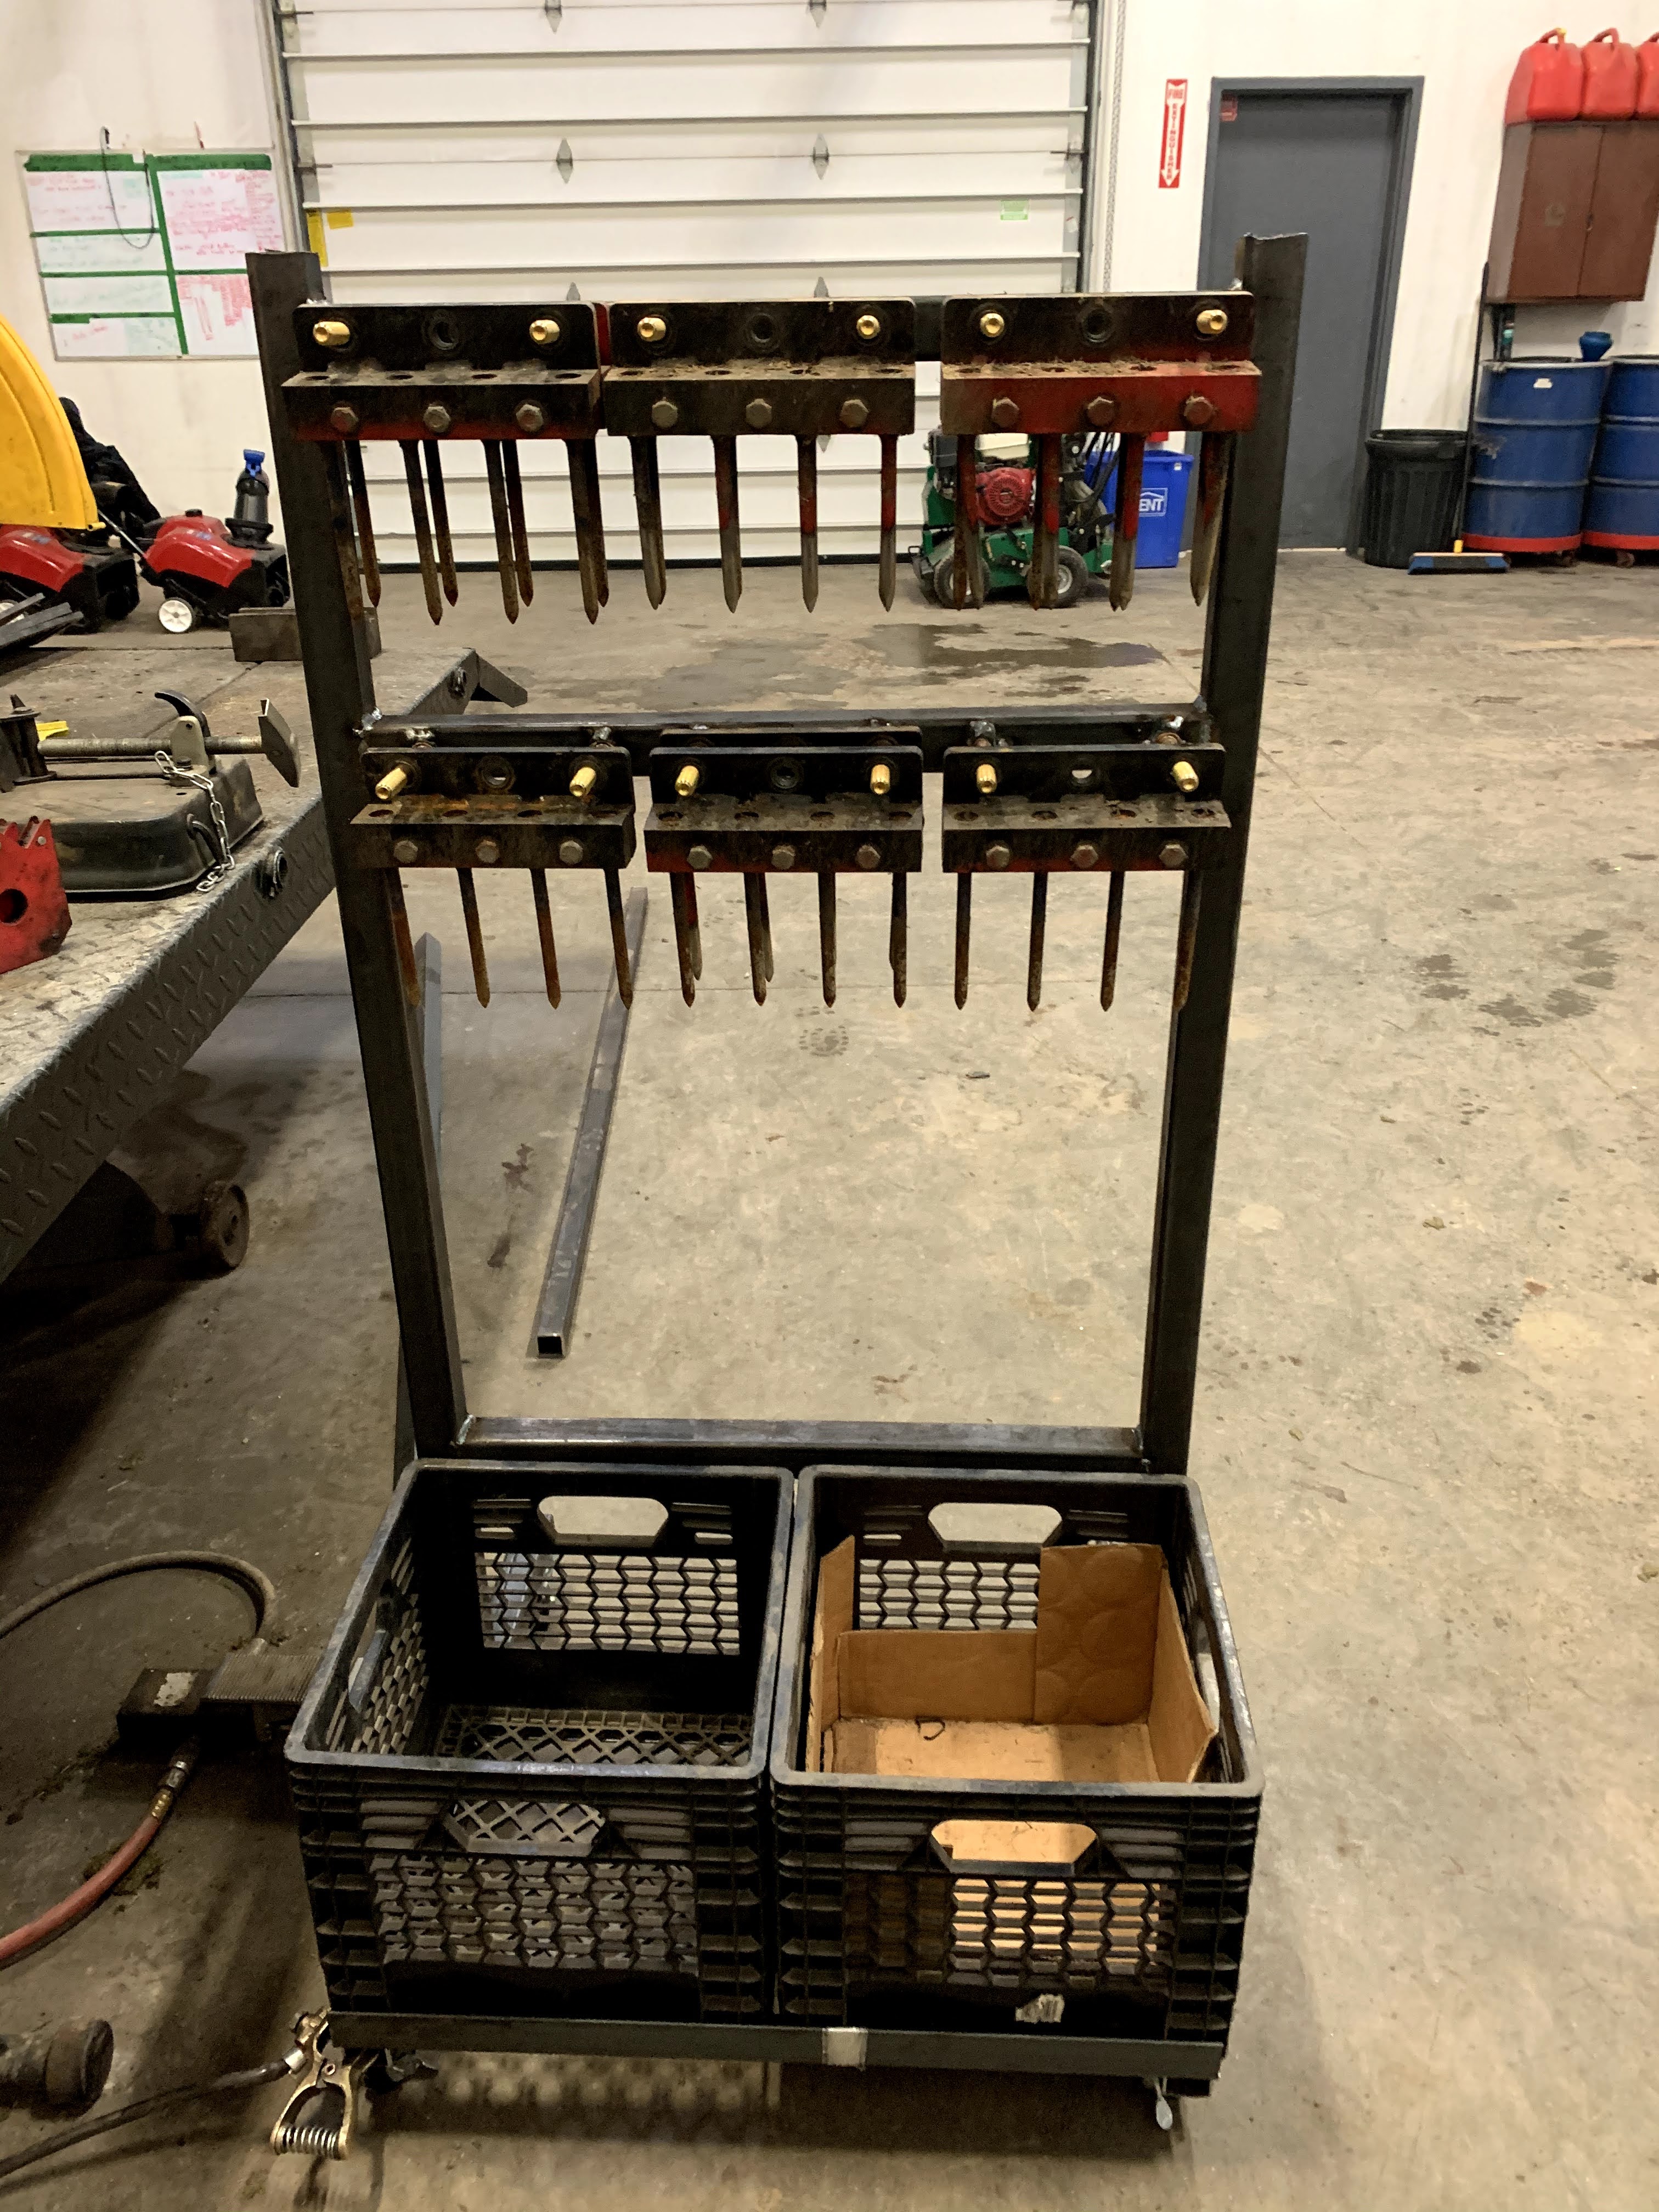
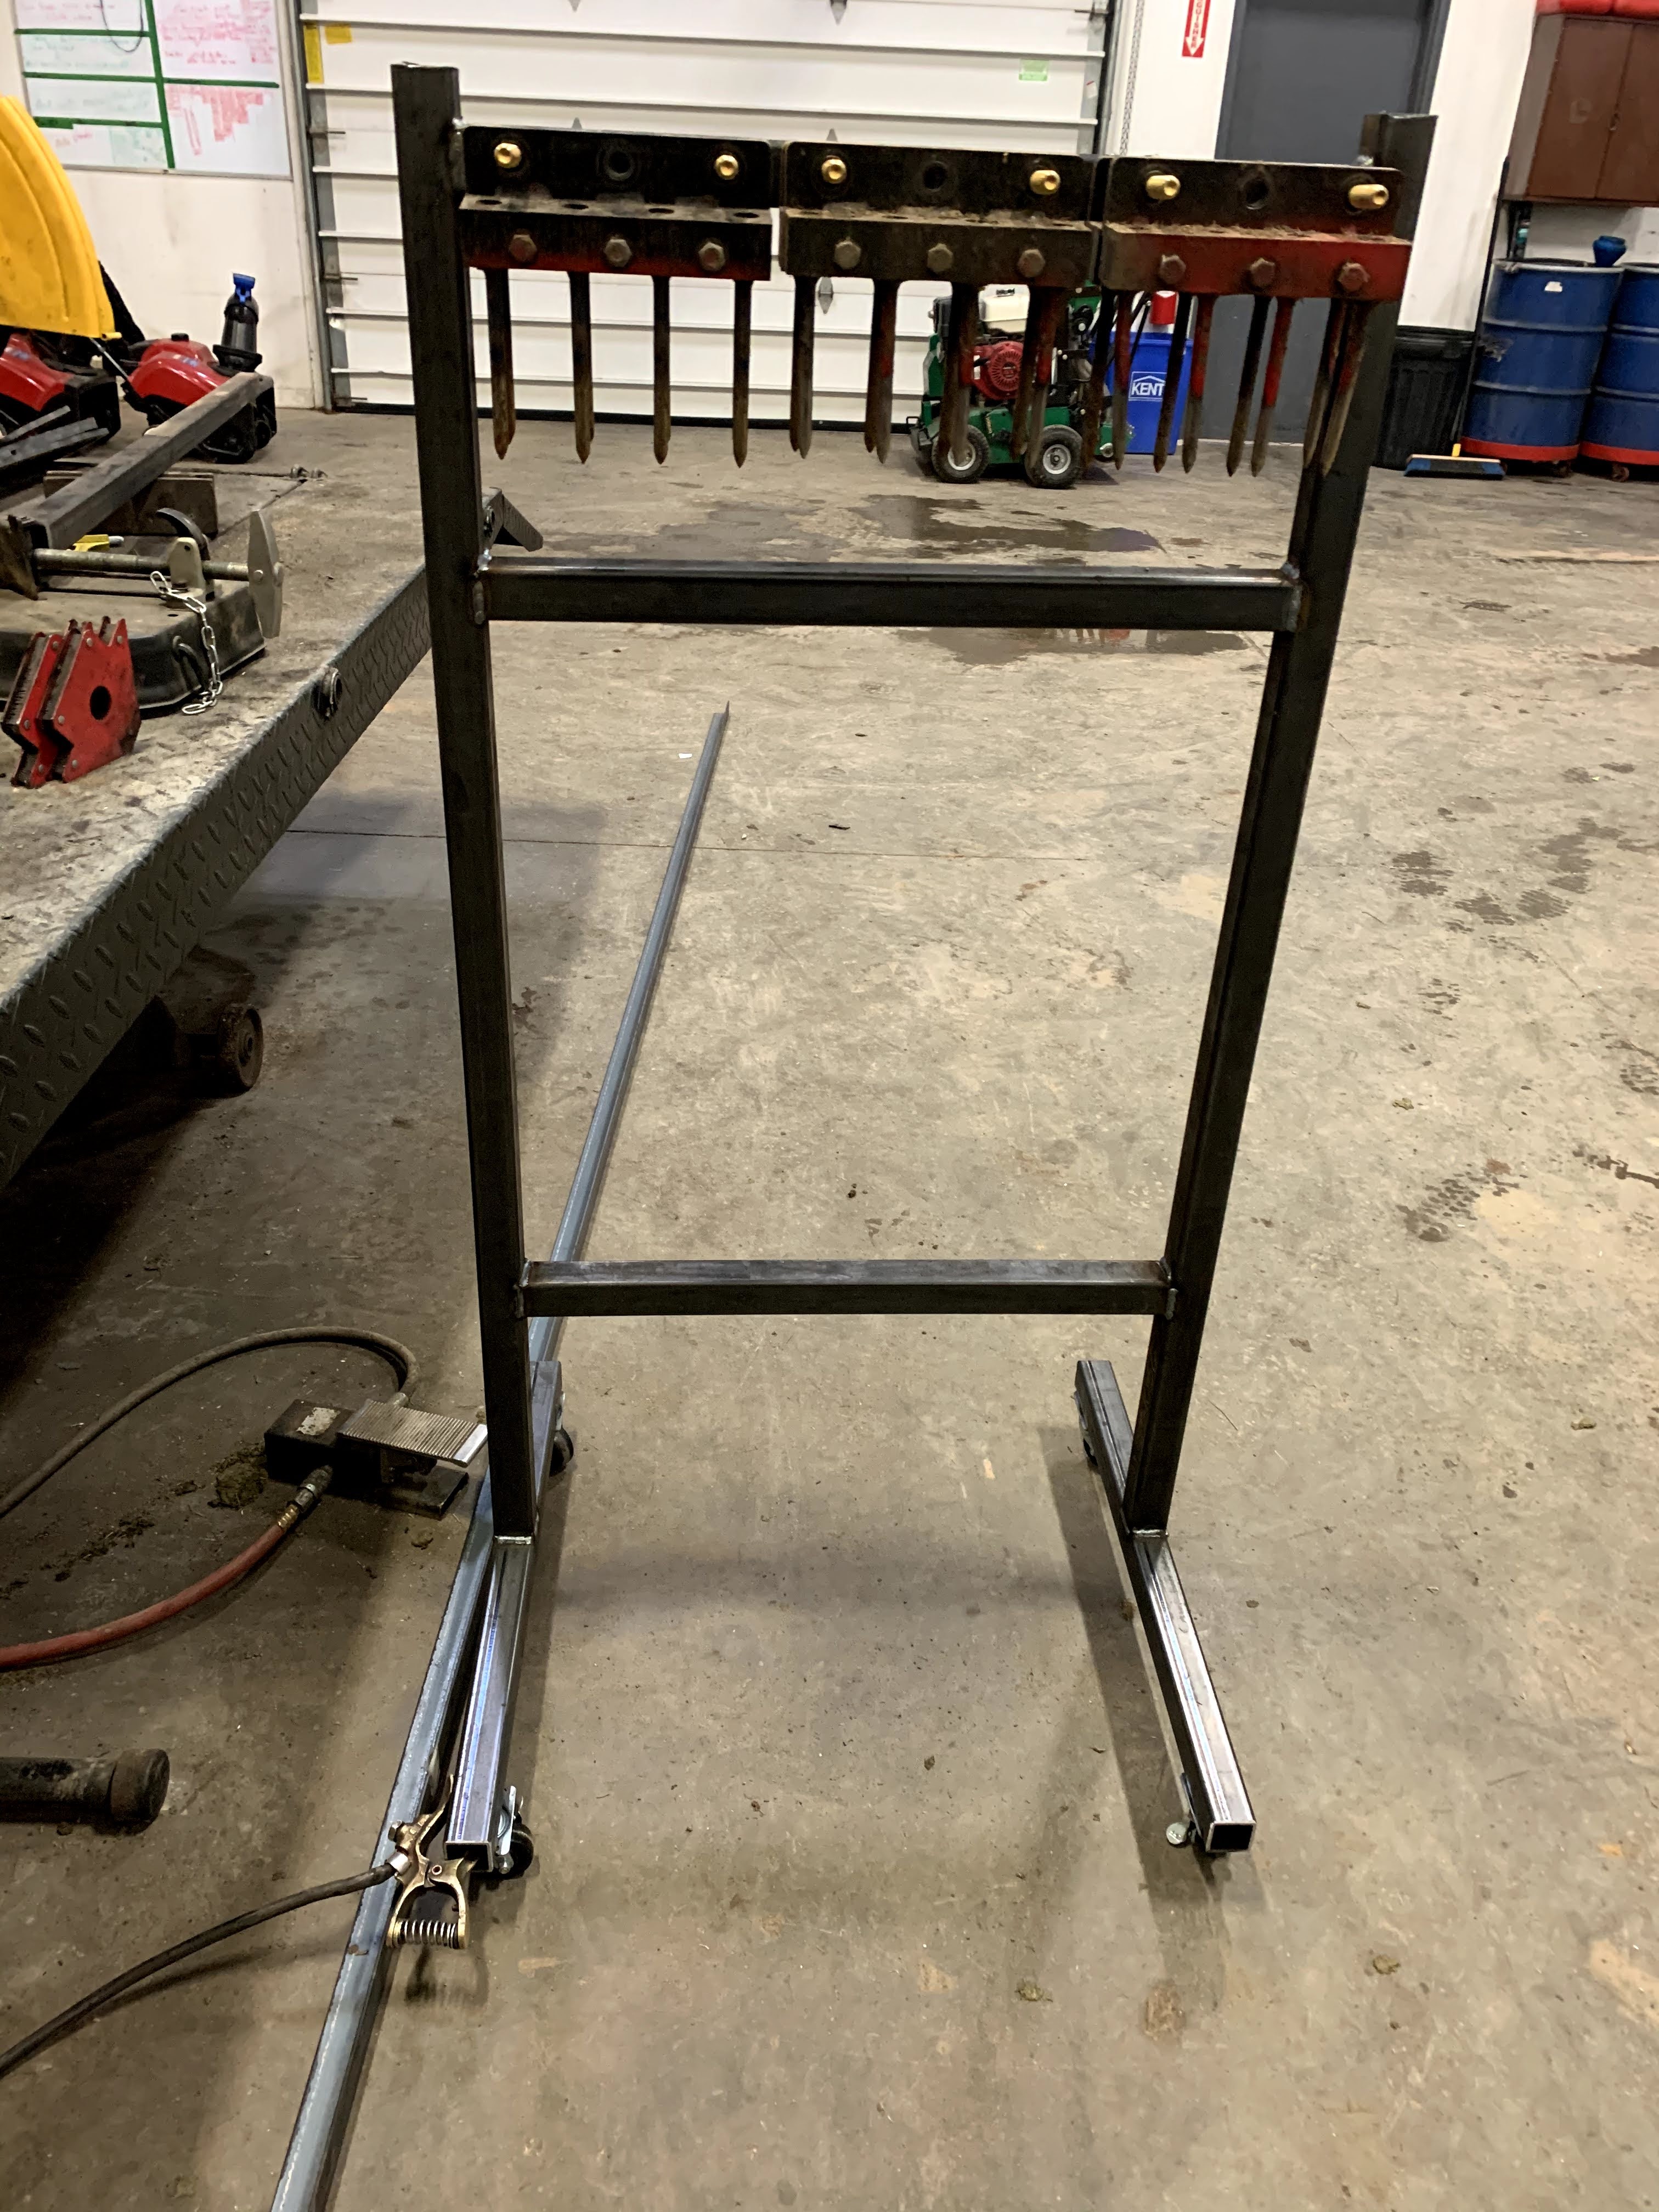
Like our HDXD heavy haulers .

Using Relays can be confusing .
 

Looking for a low amp circuit to activate relay (it's just an electric switch )not going into crazy detail but I'll show you what I did to make lights shut off with the ignition switch.


My plan off attack . Basically pull 15 amp light fuse . Cut the wire in back (green on 2015 model ) use a 12 gauge wire and attach it to panel side splice to #30 on relay, take to other spliced wire (circuit side )run to #87 on relay . Then splice into white 14gauge wire and run same gauge wire to #86 , #85 goes to ground . Done . Wow that was easy . By doing this you just cut off the power to light circuit that can only turn on by the white wire that's keyed to ignition . Basically you turn key on and white wire magnetizes the coil pulling the points together  to activate the "switch" to power lighting circuit as per usual except it shuts lights off when key is off now . 


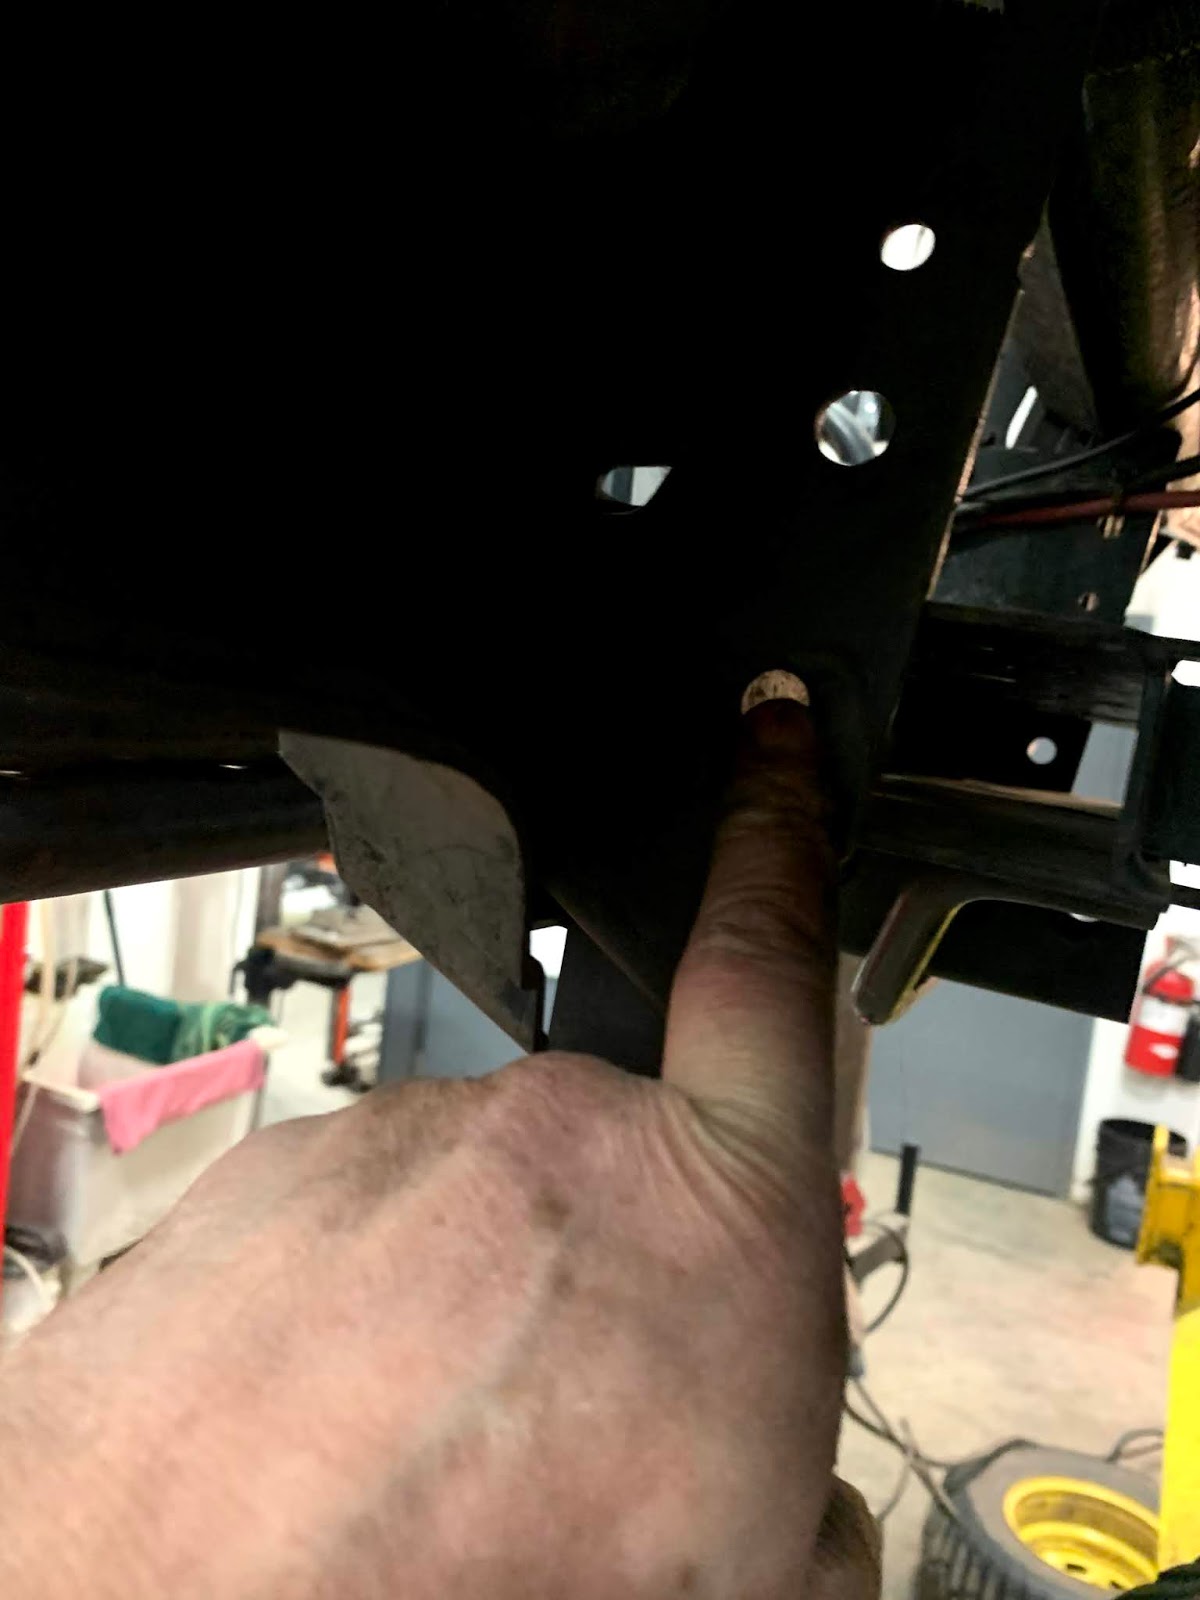
A few pics ., green wire ( light circuit )


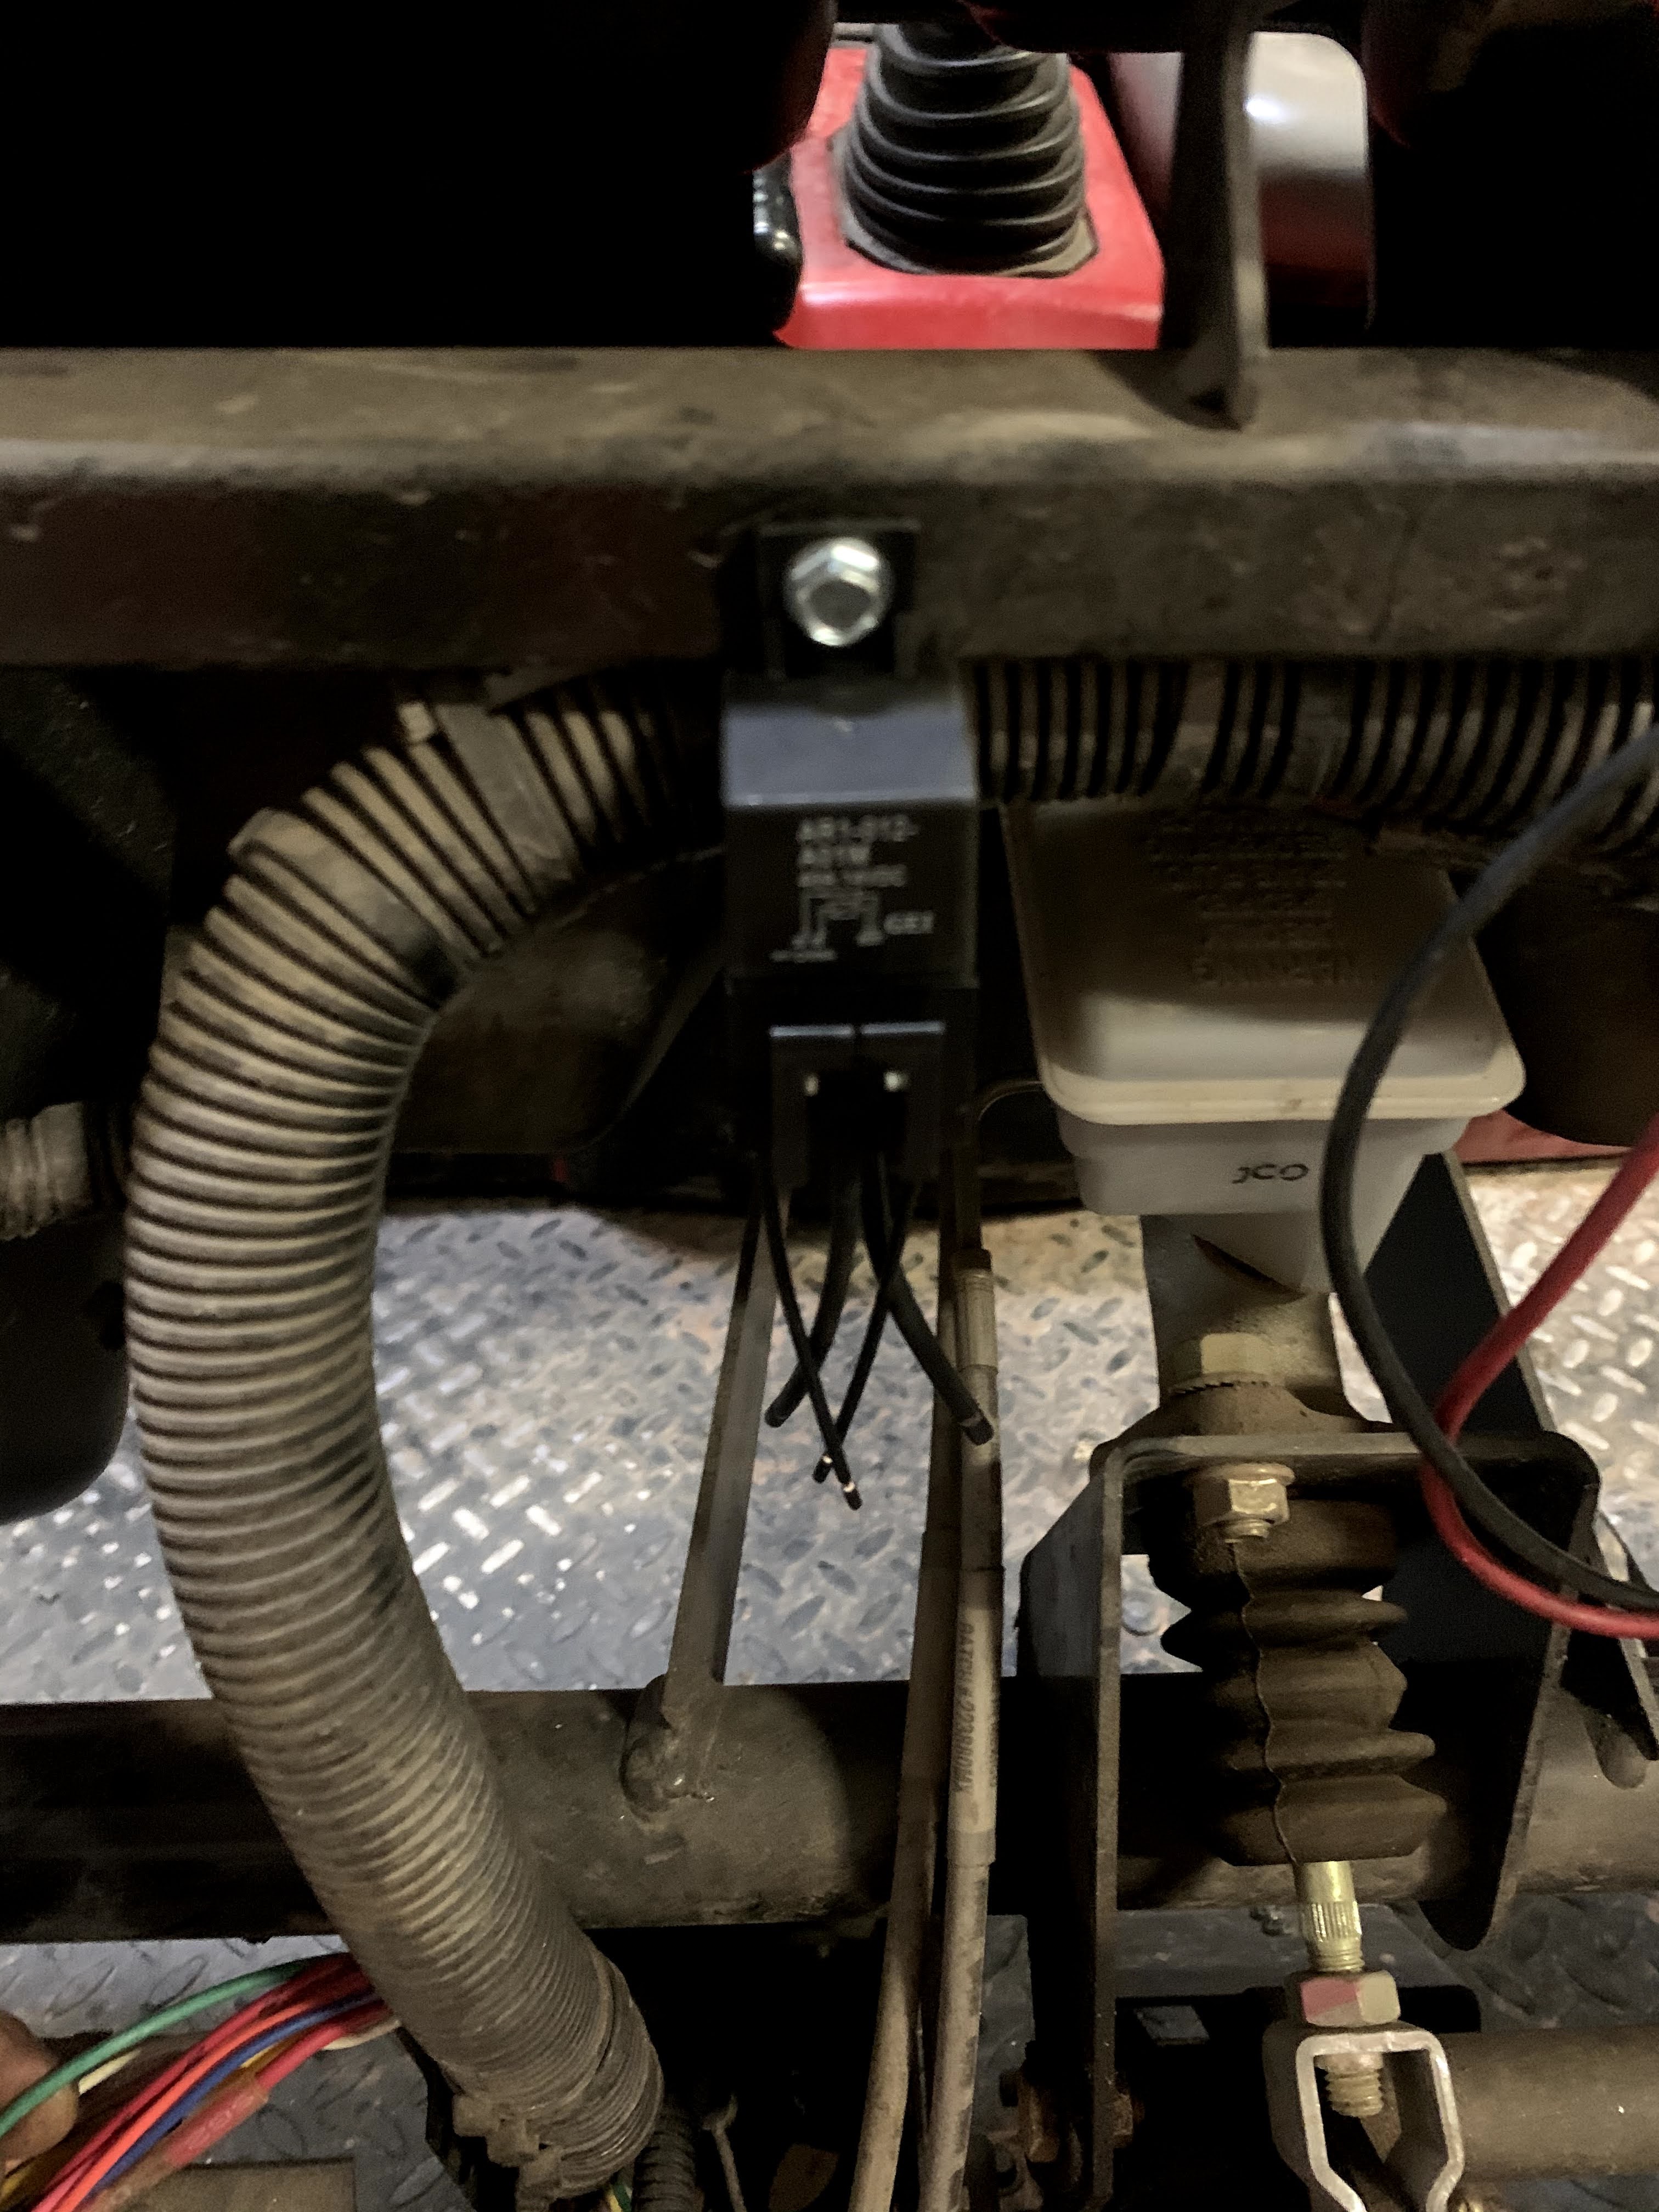
Mounted relay on this rail like the other OEM ones . 


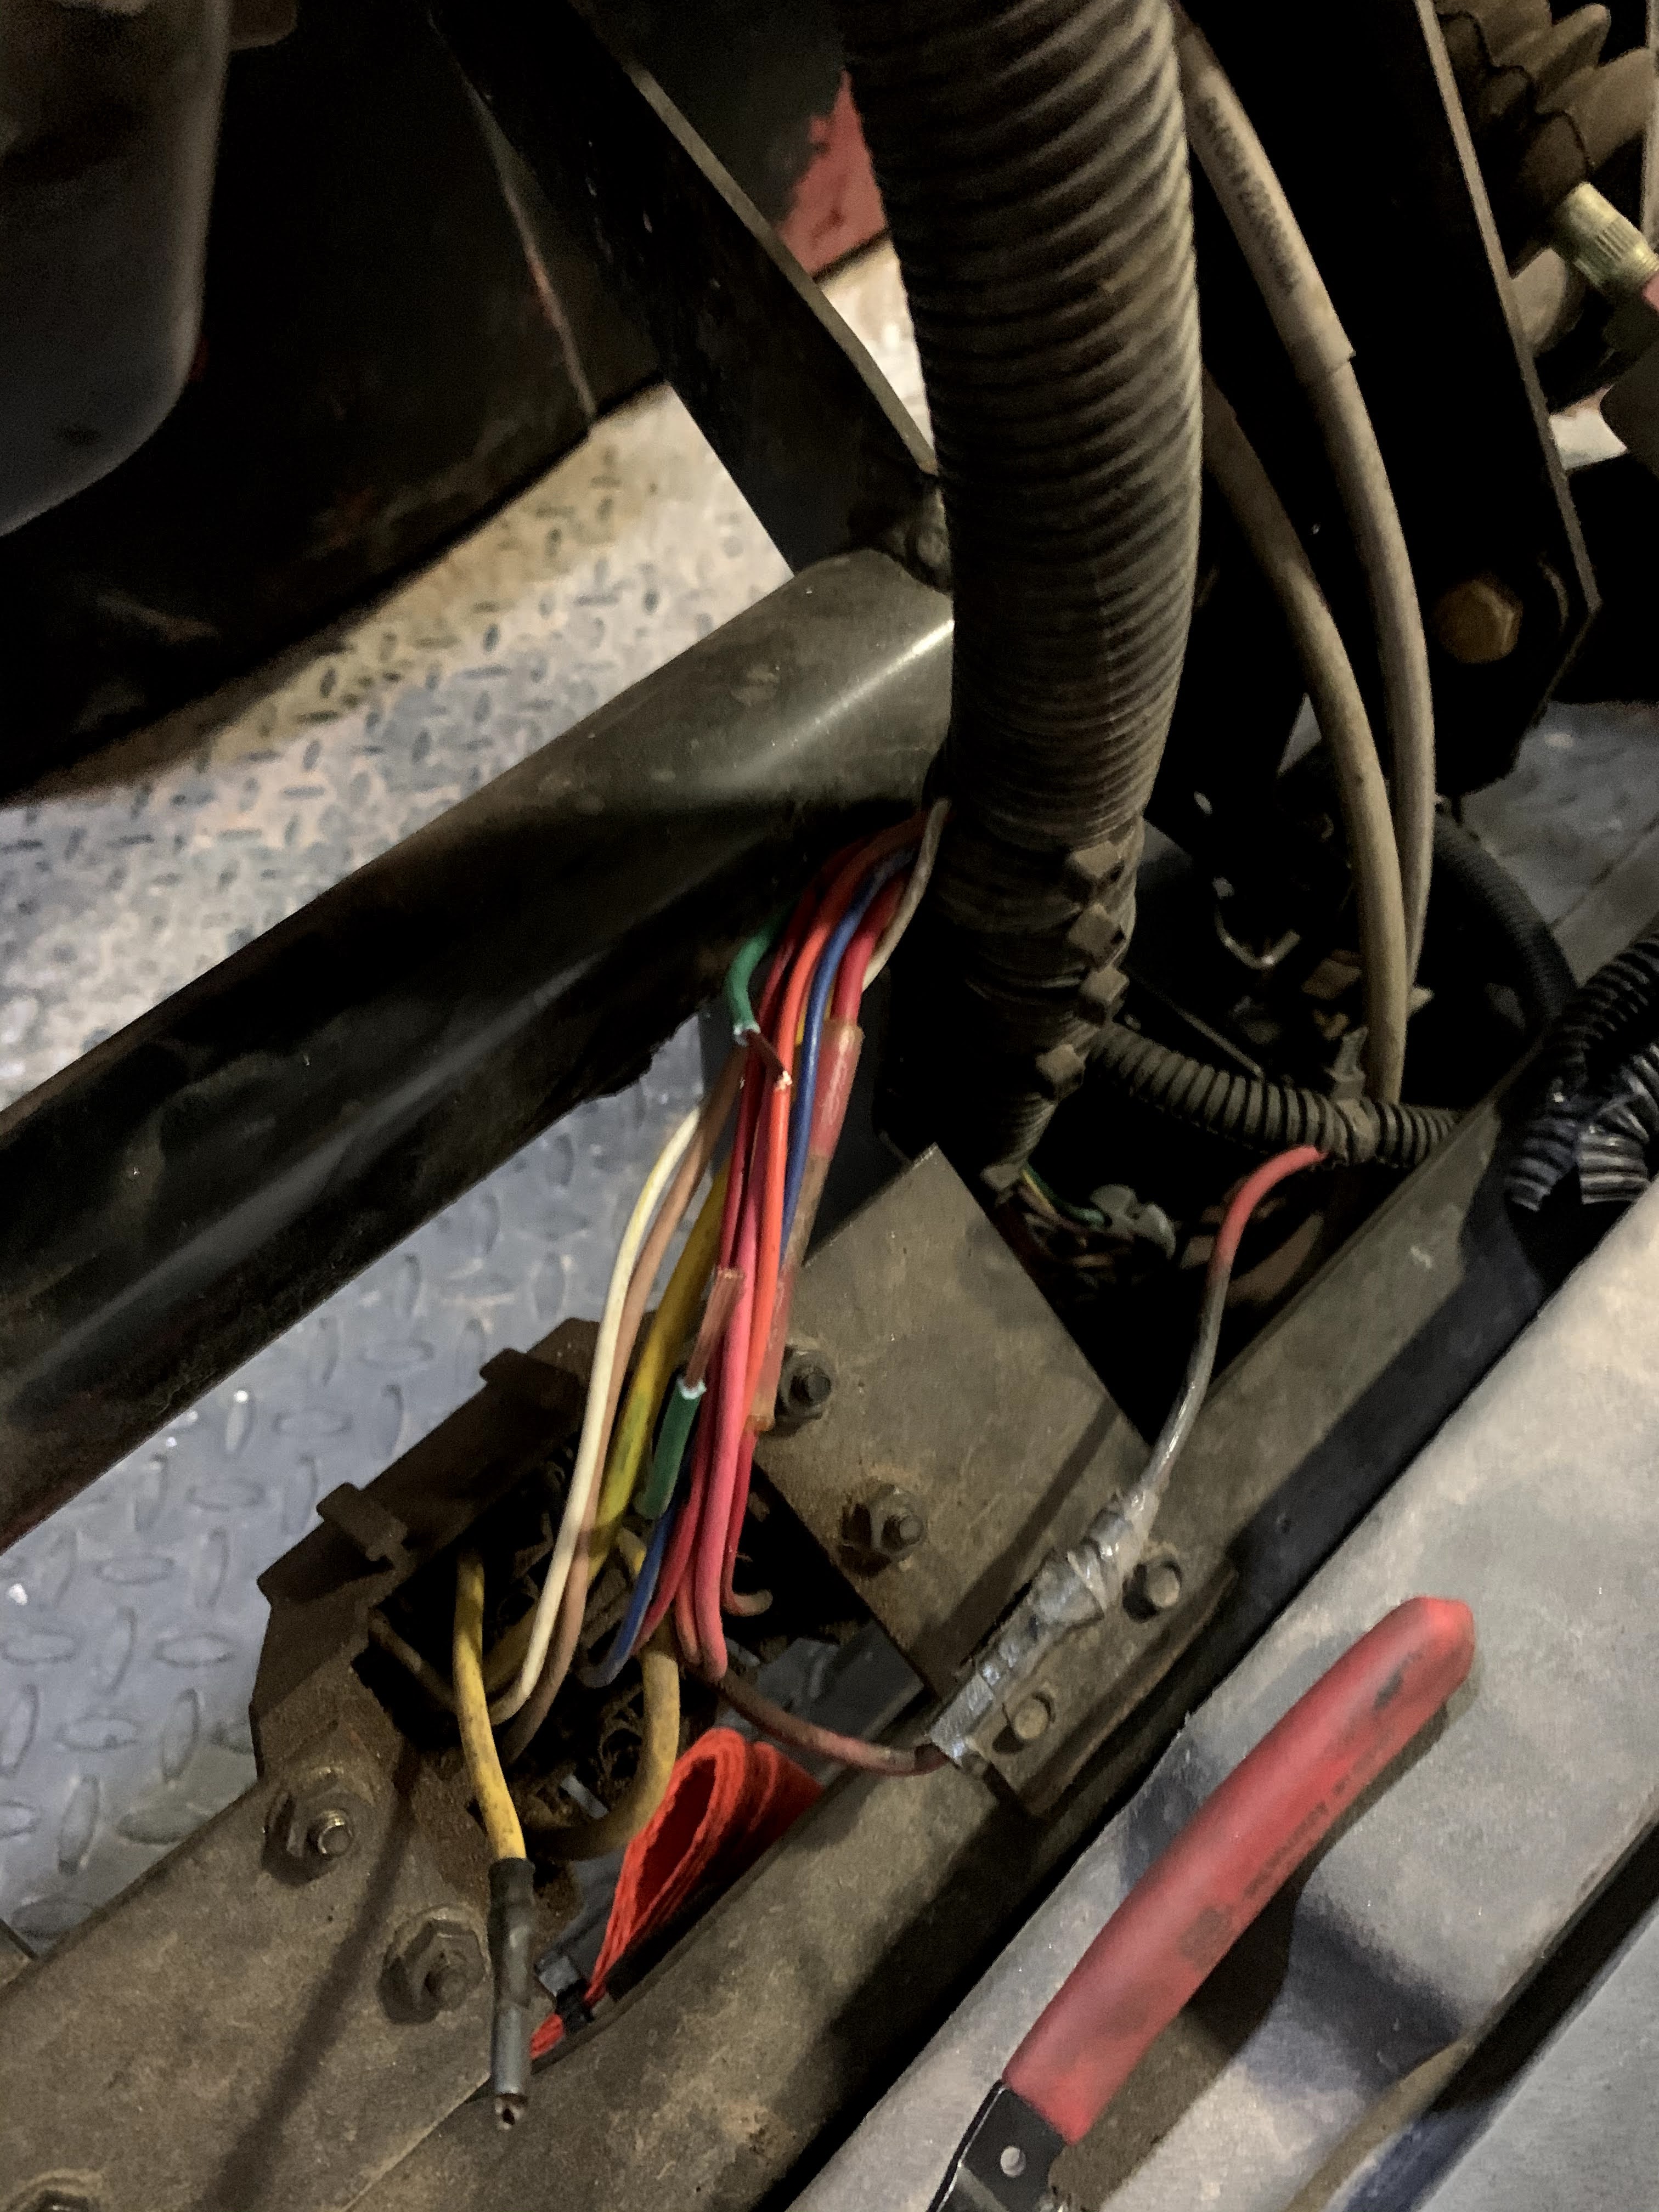
Cut and and strip green wire 


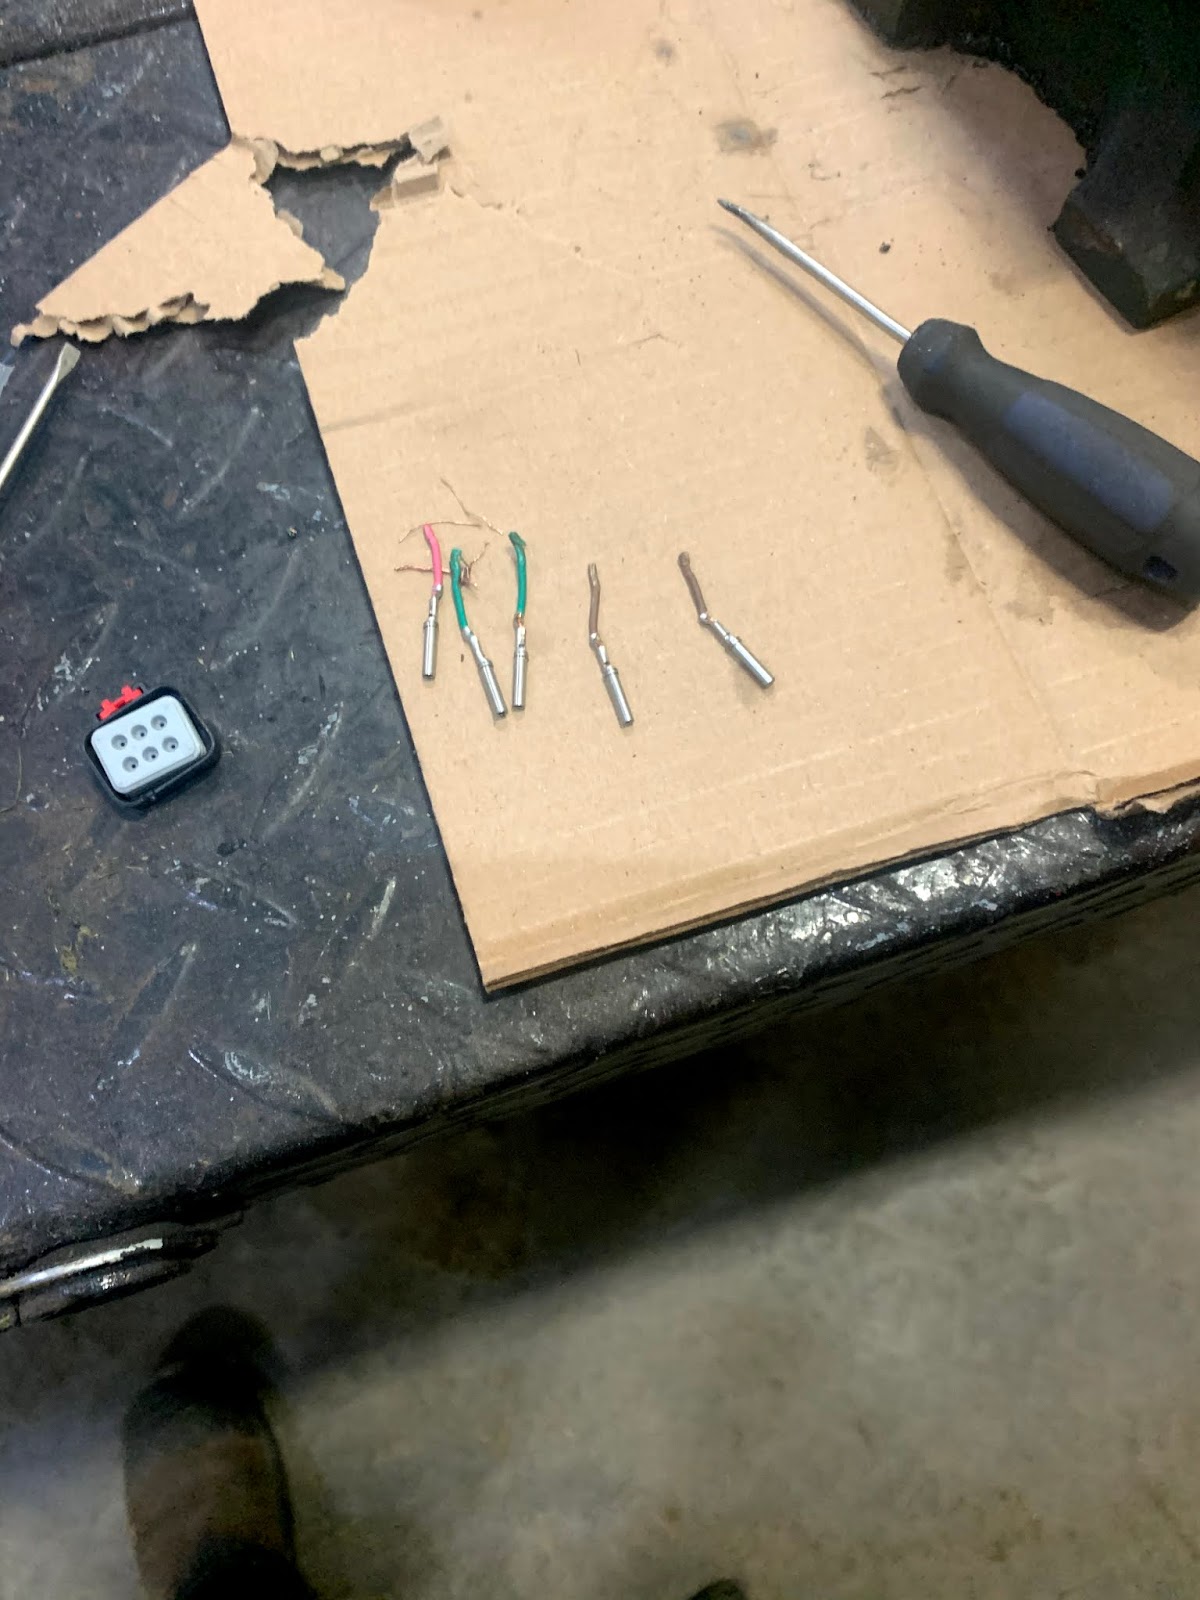
I solder my wires and shrink wrap where I can . Personal favorite way . Never fails so far 


attaching wire to #30 terminal, green one above it is going to #87


splice into this wire off panel . Small gauge wire most likely low amps . Relay barely takes any amps to activate electric switch . 


#30 and #87 hooked up (power side )


oops !! I said splice in and solider .

Spliced white wire goes to #86 and ground #85 beside relay . ( doesn't matter if this is hooked the other way )

Turned out great.


A little video 

.................................................

HDXD top dresser mix of LEDS and OEM lights . Using 2 relays .Lighting was ok before except for the fact that lights did not shut of when ignition switch was off. Also when I added the big LED on front it started blowing the 15 amp fuse . 


Left relay same as above post .The Right I went from a direct battery hook up and installed a 15amp inline fuse that went to #30 on relay. The red wire on the amp sucking LED wires to #87.black on LED lights went to ground . #86 went of the exact same spiced white wire . ( both relays are (take very little power to activate coils on relay ) ) now take #85 wire and run to your on/off switch  and of the other side of switch just run to ground .  In this hook up the switch activates the circuit exciting the coil pulling points closed to activate battery power to LED . Easy  


A few pics . Amp sucking LED causing the fuse to blow in light circuit before 


Fairly clean install . i could have laid it out and thought about the wire runs a bit better.


Ground for light switch.


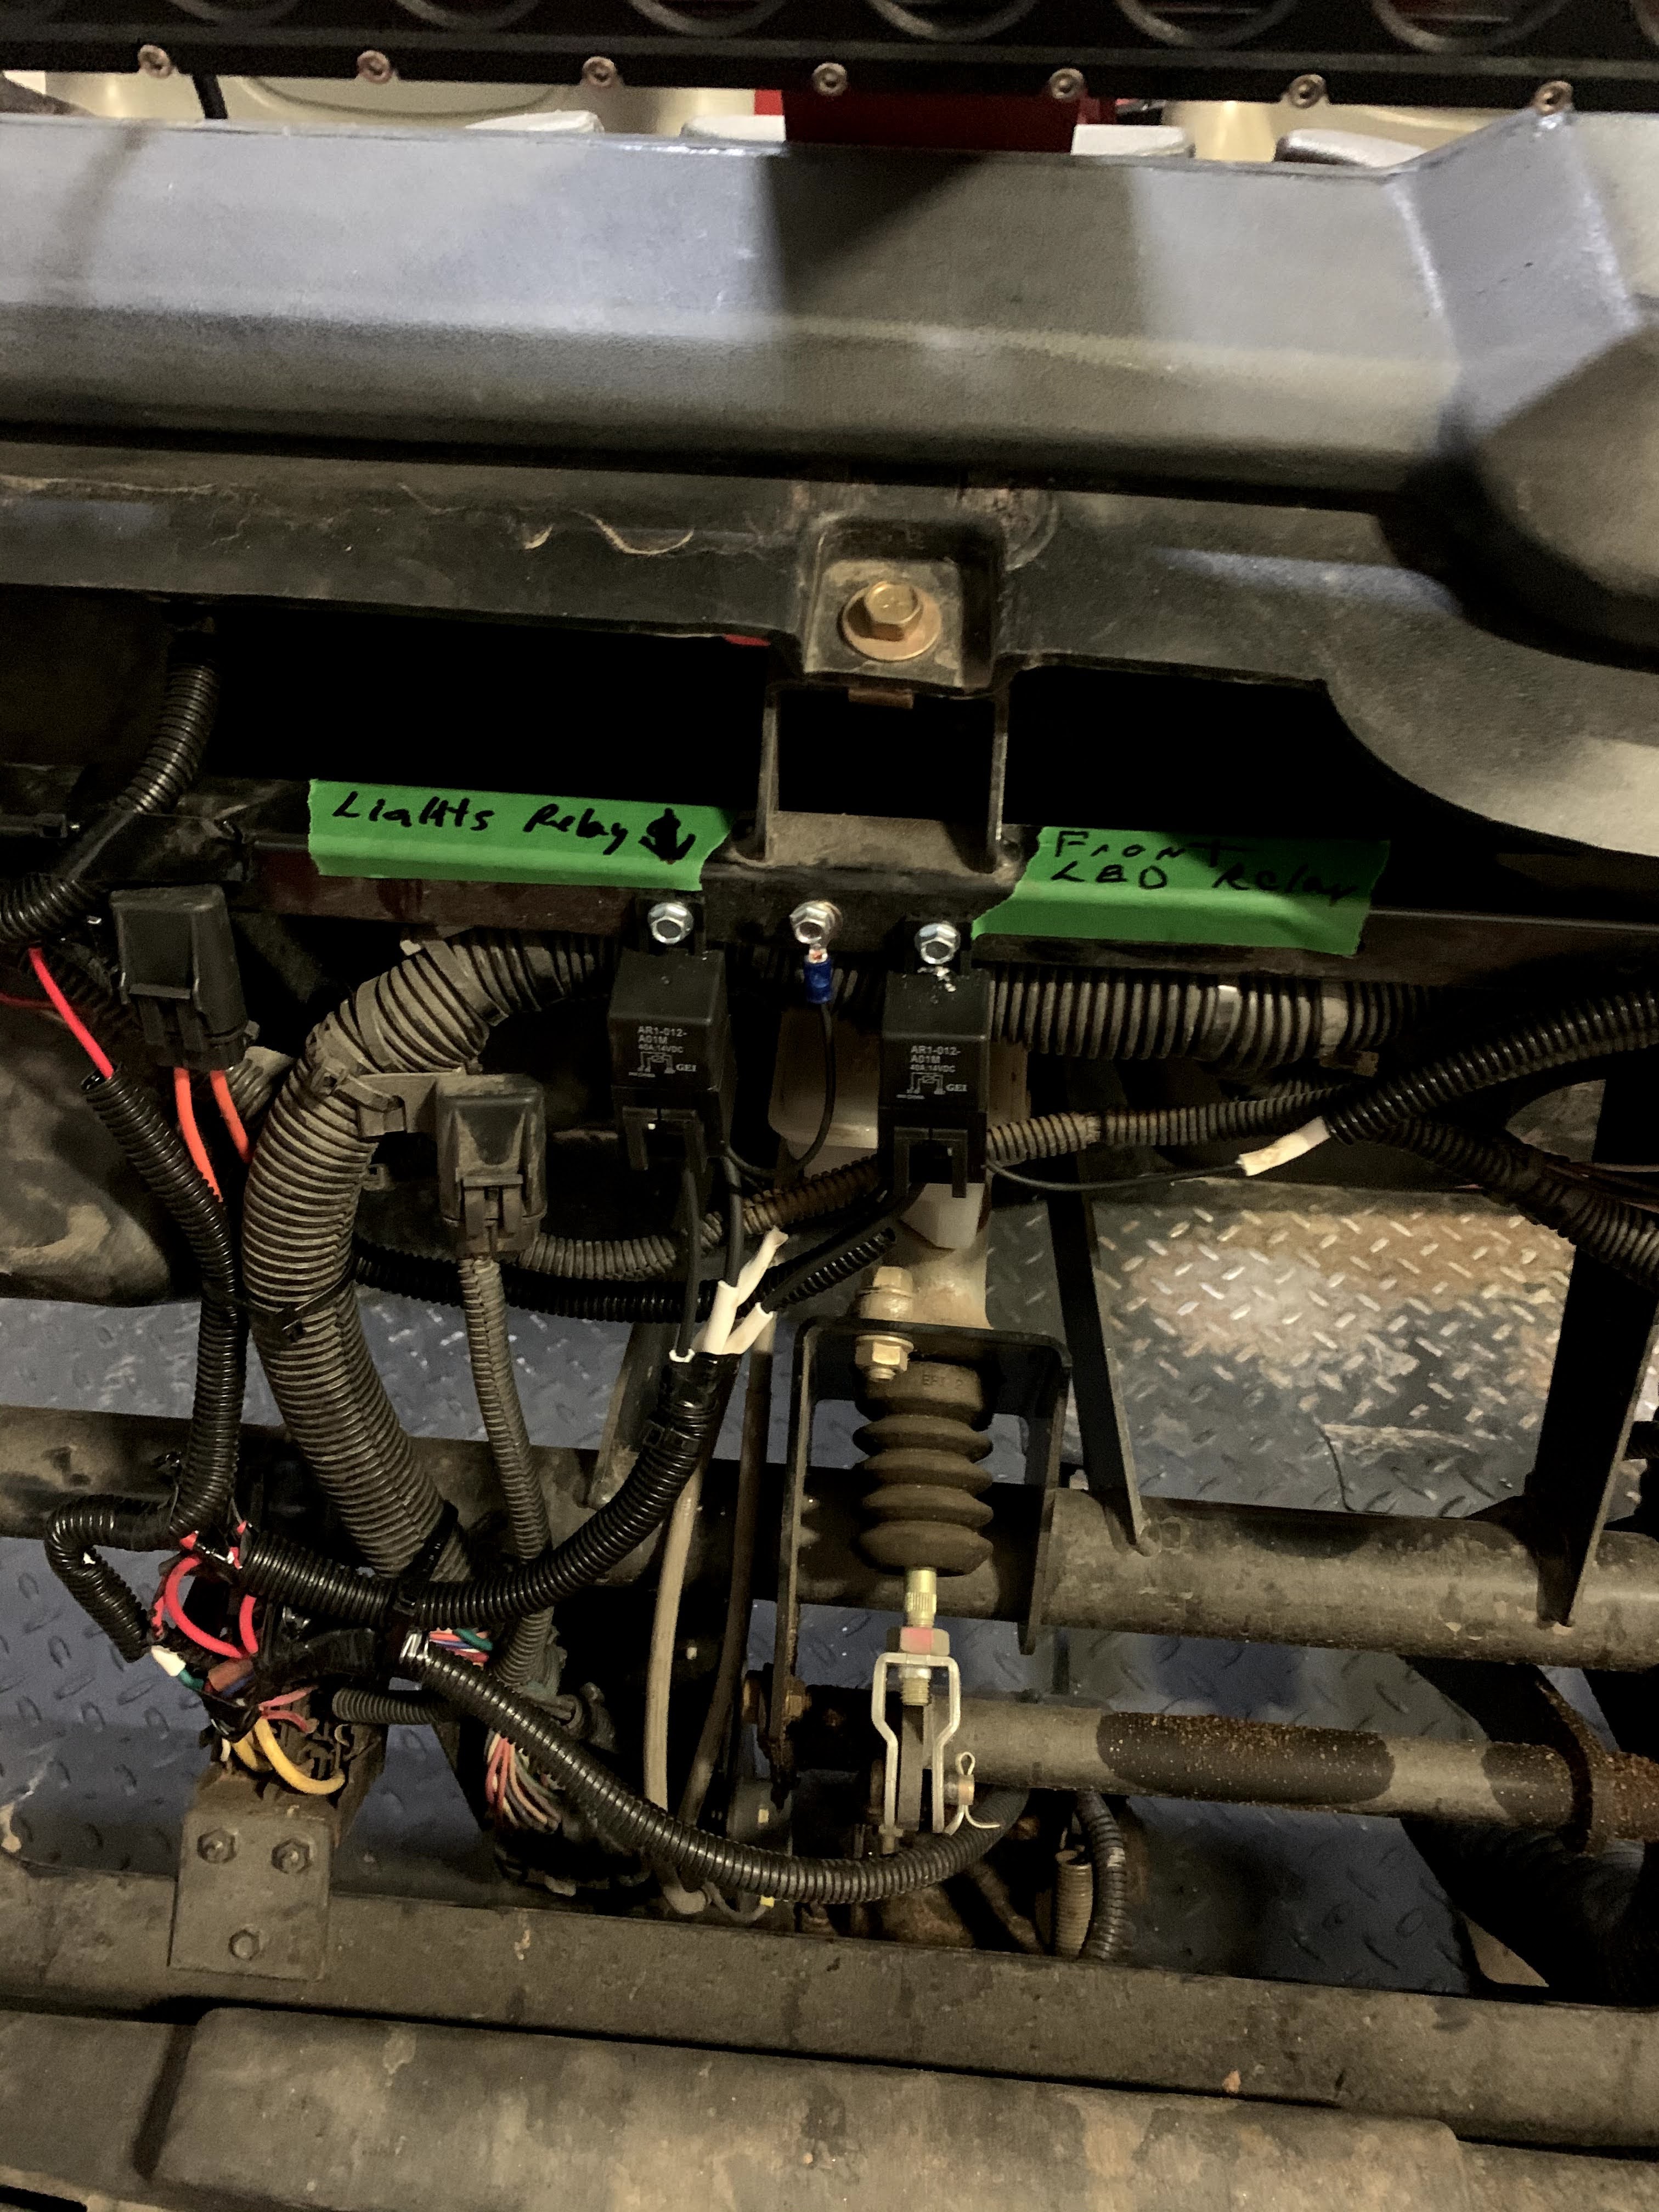
Label them for later reference.


Another Vid .

A relay is just to circuits in a box . One turns the other on . The other is the power circuit . You can have power fed  switches or negative .  Depending where your switch is your switch circuit could be live activated by a switch on the power side lol . now your confused . Follow the above instructions you'll be fine 


Sunday, November 22, 2020

Toro Tine holder storage stand


Recently on twitter I seen this . What a fantastic idea to Free up a confusing mess in parts room .It will keep it all together and organized . Original Build by @DiarmuidGriff (twitter handle ) 

If you have a new welder and would like a nice easy creative build this would be a nice project to do . My build was modified for what I would like to use it for but basically exact same idea as original build . Took some measurements and started welding it together .Mines about 4' high. 


Using the block tines you can lay out the mounting bars pretty quickly . Welded in 3/4" bolts to hold tines. 


Casters I just tac and weld in place .If they fail in the future I can just grind them off to replace . Cheap casters rolled well . Wasn't overly heavy.


These magnets are very handy to square things up for welding . I added baskets to keep spare tines in 
 

Paint booth lol . Hanging projects under my lift so I can paint all sides at he same time 


Add my hand tine bars to rack to . Also easy build . In the past I made the block end until I figured out I already had the blocks so why not just make handles for them ? Looks great . metal stock I used was 1.5" square tube stock , 3/4"x 3" bolts ,and 1.5" angle , primer paint and red paint .


A walk around . Great east Build .Well done Diarmuid .

Thursday, October 8, 2020

Toro HDXD shifting lever repair

 One of our 3 HDXD Workmans has always had a shifting problem since new . I've adjusted it many times with out much success . Recently something let go completely and had to be investigated . 

Here is a little trick to do so you done forget that you have the safety bar installed on ram . 


Remove seats ,back pan, and seat cab to get to the shifter asm . Seats probably the worst to get off .

remove shifting cable ends and one through bolt holds ASM in . 

Tearing it apart on the bench . It's pre loaded with grease so its a pretty messy job . Checking springs and pins for wear .

Some wear but couldn't see what was causing the problems . Notice the half washer in picture ?

Wasn't in parts book .Noticed it was actually the frame mount . The slotted section is wear shifter assembly locks in and through bolts goes through broken section . See the 2 long bolts, when finished reinstalling adjust them so they don’t over travel shifter cables causing gear lock up or shifting issues. Should be adjusted at end of gear lever travel on transmission end . 2022 I replaced the shift Asm and resolved the gear lock up issue I’ve had on this unit since new. 

After cleaning all the parts off I decided to trim a little more rubber casing  out wear it mounts .

Like so .

Next welded in the broken piece.

And reinforced the top so it can't bend and break off again . Original mount looks pretty weak for the amount of abuse it has to take in the reel world .  

Getting ready to install it back into the machine . See these 2 wave washers . They where in between assembly and frame . I'm putting them on the outside against frame where I think they should have been . Now thinking this was the problem all along ! might be looking to do the same to top dresser this winter ,its also slightly finicky . 

Used my claw to get wave washer in through access hole .and installed a new nylock nut . Wave washers are there to keep a little tension on shifter caseing against frame but not so much to crush assembly . 

All in . Feels good . Actually feel it going into gear with out binding 


I just squished a full tube of grease in it . I think it acts as a seal and lubes the  mechanism.

Reassemble everything . It was out all day today with no issues . Staff where saying its the best one now to shift . 


Sunday, July 5, 2020

JD 7400 forward pedal sensor wire Parts issue

This has happen twice now . One of the 7400 is used for cart path edges on tree side of course . Usually it's the one operator that does it and he knows where every issue is on this labor saving job . Recently went out with a new operator and it struck an object on front right deck bending the lift arm to deck bracket. So this time it came up and sheered a few forward peddle sensor wires and crushed the rest .  


Last time his happen I ordered the connector but to my surprise there are NO connection pins inside for replacing the damaged ones on machine . machine wound up going back to dealer to get a new brain  separate issue. They had a chuckle at the Mickey Mouse repair they had to redo . Same deal this time . Asked again (more than once) about if the connecters are available for purchase to no avail. So back to square one and made the repair the best I could using the old connections and trying to pry them open to reuse .   


Deutsch type connection I found out after spending many hours reaching out on twitter and web searches . 6 of them I managed to reuse 1 of them got launched across the shop and managed to find and the last one snapped in 2 pieces but it took solder well to hard line it into connection. 


cut them all even to be regripped to reuse 


Setting them in the vise so I could put a lot of down pressure with a pic I was able to spread crimps open on 5 of them 


Half done here 


Finished it up with one soldered connection . No codes came up when I tried it . 


I'm posting about this repair because I find it idiotic to go through so much foolishness to what should be a simple repair . That connection plug with out crimp on connections included is a big waste of everyone's time  John Deere ( mine , sale/parts/service peoples )  . For the price of it it should come complete . Course lost a weeks plus use and for what should have been a half hour job with proper parts . I managed to locate those connection crimp pins on line and ordered them for future repairs . 

Oh on my quest I noticed all connection plug in COME with the repair crimp on pins too in other mechanical fields  !

Wednesday, March 25, 2020

XUV 885D frame front end straightening

On the John Deere XUV 885D we purchased the trac system to groom trails and gives us mobility during the Winter season . The trouble is there is more mass to move and can be hard on clutches and front ends if your not careful . I don't think this machine  was originally designed for this option . Follow the instructions for use with tracs or you may bend up the lower control arm frame mount. If a curb is hit on front corner of front tracs it WILL bend things up if your going full speed . Last winter one of the guys lost control on ice and dinged the front up pretty good . Tracs DO NOT like ice and recommend not taking it out in very icy conditions . 


Purchased this kit at Princess Auto on sale .169$ ? from 289$ paid for itself on this one repair ten times over . 


My delima lower control arm pushed back twisting framing . Tracs kit has re-reinforcement plating  that bolts on it . Trouble is instead off snapping lower control arm it bends the frame . Right front


Left front looks good but steering is all out of wack and alignment from by temporary repair to keep it grooming .


A few degrees makes a big difference 88.84


impact on front end of trac moved control arm back enough to tip it in at top towards machine.  85.45 


Sleeved  hole in frame I installed grade 8 bolt and washers to push off of . 


Control arm I installed a pieces of angle to hold bar in place . Push slowly and watch mount points to see whats going to move . This worked excellent on this set up . Total control . Pushed it past the point I needed by a degree or 2 for spring back . 


Looking at these holes in control arm framing I decided to add a little more support .


More picks

   
bolted angle iron in and welded the final point . Removable support 


Almost done 

  
Looking great

  
Lots of room for skid plates to go back on 


 Alignment next . 

Ends and bar used from kit 


Pressures off . Readings 


I'll take it . 1000% better than tree chain method . 


Lining things up 


Looks great 


Now back to regular service work on her . Highly recommend this kit . It is 10 ton kit and easily moved things back in place .