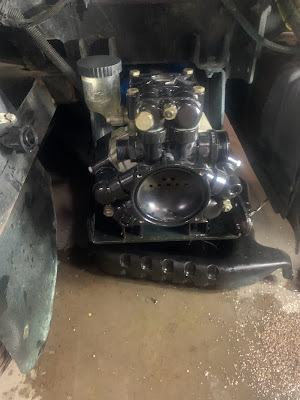
This unit does all the dirty mowing on the course. Instead of ruining four units we decided it would be cheaper overall to do it this way. With the cost of new equipment, a lot of us will be hanging onto gear longer. This year I'm going over this unit well. Hard working machine and cart paths have taken a toll.

Finally broke down and purchased a roller. Buying metal at local metal distributor I had been retubing them with remarkable success.

Rear steering bushing was worn out. Getting to be too much play. Catching it early before it ruins the shaft section.

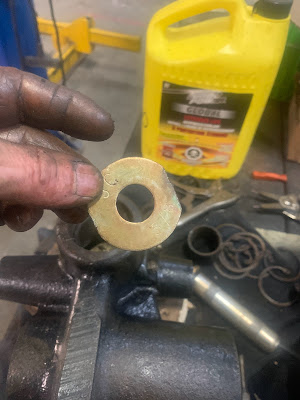
Self-centering bushing was also trashed. Nice to see the part keyed. can only be installed one way. I marked the upside position.


Cleaning it up while waiting for parts. It's been a bad year for getting parts in a timely matter.

Yes, some parts have arrived

That should take the play out of the steering.

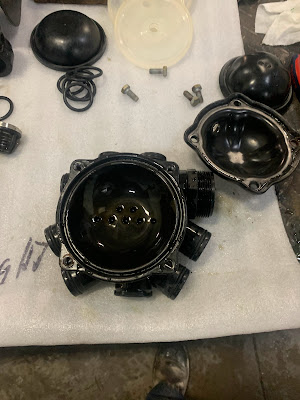
Onto the fun stuff. Remove the wheel

Many times the hub is stuck on well. It must be removed to get wheel motor bolts off to make it lighter. I started with just the puller then added heat and it wasn't budging. using the air hammer, it finally popped. Tech tip always leave the nut threaded on 2 or 3 turns and always stand to the side. Some techs have been severely injured when they pop off.

She popped big time.

Throw a wet rag on to dissipate the heat as soon as possible. I've seen seals melt creating more work.

I used my tripods on this job set up this way. Worked out well. If you're worried about weight distribution on a 2-post lift, get the area you're not working on close to posts.

Remove the rear wheel mounting arm. With the screen in cab off they are accessible enough to punch the old bearings out .

A bit of work but doable

You will need 3/4 threaded rod or bigger and large washers or plating with holes drilled in to press bushings in place. Lots of torque to get them installed.

Reassemble in reverse. had to use a 5 pound maul to massage it back in place

Put a block of wood on a bottle jack to hold it in place on the underside so it doesn't just slide back out.

On to the front. Lots of sloppy bits here. Decks were moving side to side (not using controls) a good 3" causing unwanted mowhocks around green surrounds.
Surprisingly, JD CD has instructions on removing the entire unit for rebuild involving drain hydraulics a few lines if you wanted to do it on the bench. I'm blocking the front frame and removing wheels to slide the tubes out with parts for rebuilding. It was also doable. some bolts need wrench levering method to remove with a 5 lb. hammer to get them to loosen.


Driving the old bushings out.
Knocking the sides of a large washer I managed to punch it in place to take the first side out.


LOL One guy on twitter mentioned that you could have just welded a bead inside and knocked them out. Did not cross my mind because I'm thinking they were bronze or brass. These ones had enough metal content to weld maybe. I didn't try it this time but suggest it to be a quicker method if it's

Yeah!!!! the parts are here.
Brutal parts waiting game. While waiting I managed to service 4 TX gators and 2 HDXDs the old school way off the floor.

Surprisingly assembly went really smooth. I thought for sure getting the big sliding knuckles would give me issues. But not even a problem. Blocking the front frame made the room slide tubes in.


These bolts are like 320 ft lbs. I do believe. Probably the reason to remove it as an assembly. I would install the wheels back on the machine before double wrenching them back on for all your worth. I'll be rechecking these bolts after the first mow in spring. There is no room for torque wrenches.

Solid

I could have lowered the machine and muscled the decks and arms together but with my experience it's worth the time to remove lift arms for reinstalling in new bushings.

ZERO side to side deck movement with machine off
Unit has 1785 hours of hard labor.