Fairly big job but doable by yourself.
If you have a loader or ceiling winch it will make the job alot easier.

Also a good time to change the sprocket hub oil.
Not much for instructions.
On this machine it's every 500 hour service or when tracks are removed.
also the plugs are behind the sprocket.
So they will need to be removed.
New tracks are better suited for snow and pavement use.
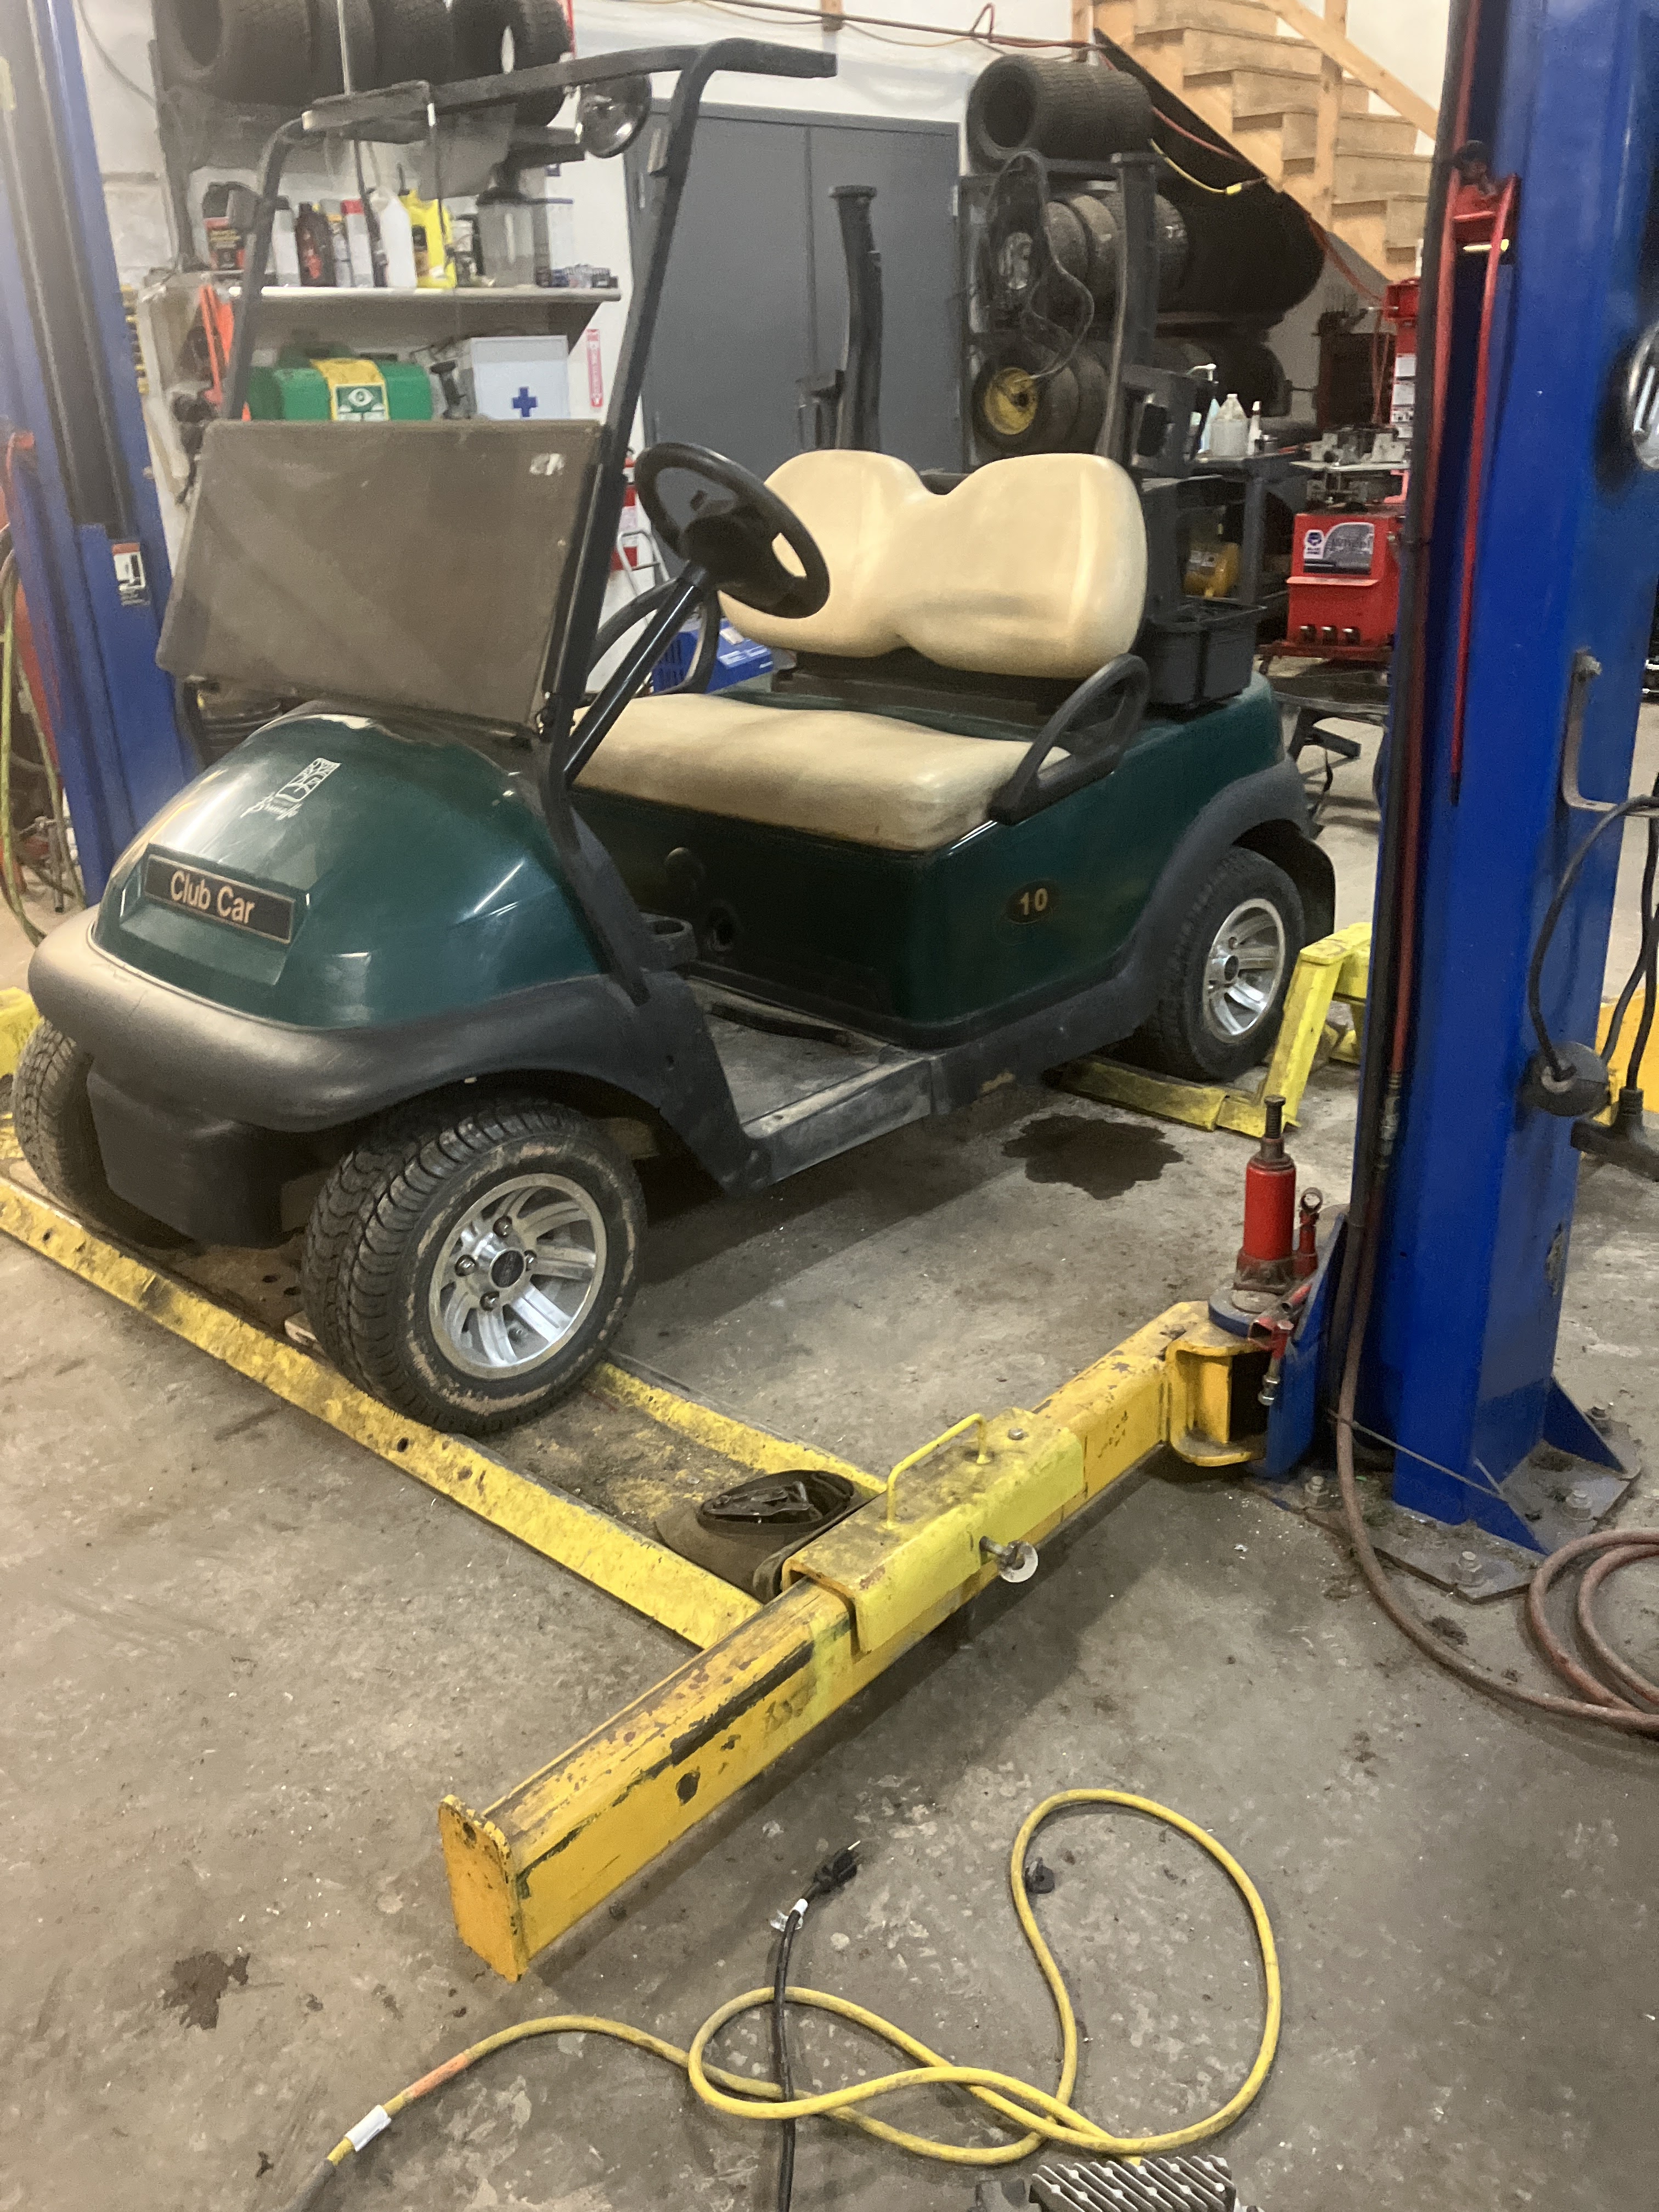
The little beast.
Tracks have some life left so will try to sell them on Kijiji.
Start of by getting it off the ground on jacks on all four corners.
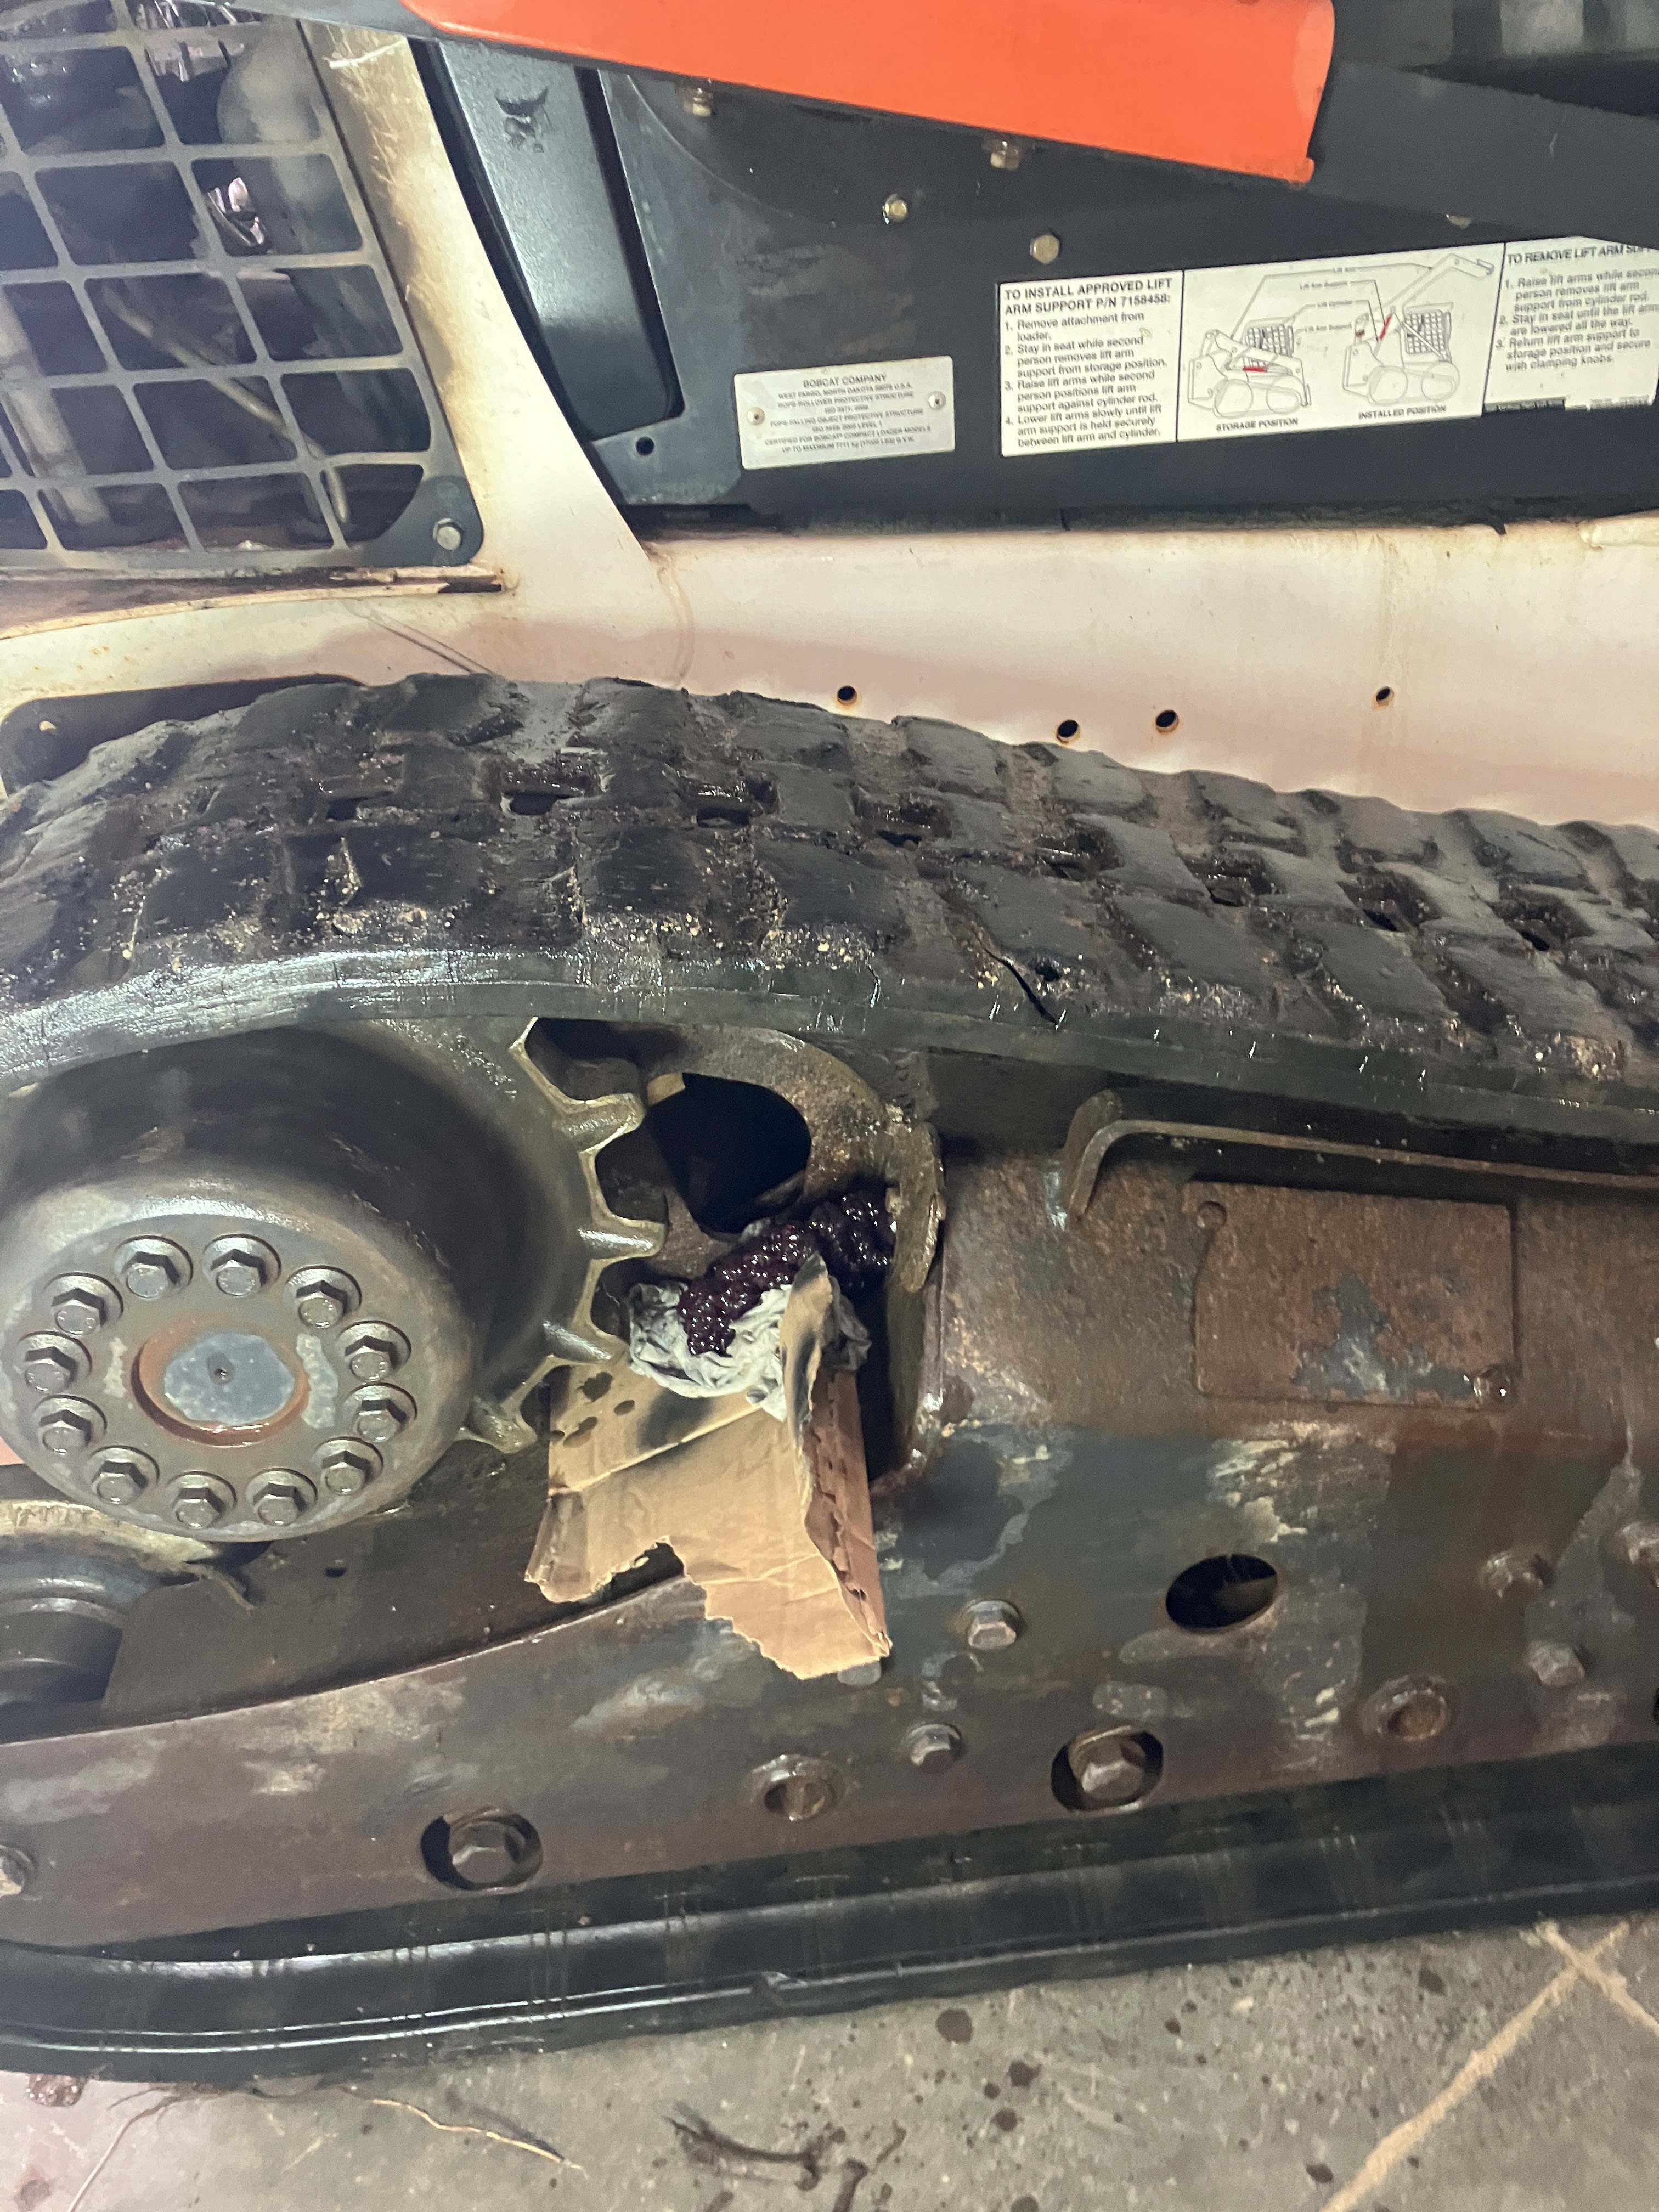
Next loosen bolts on access plate to let grease out so tracks will retract for removal.
2 grease looking nipples.
One of them you loosen off to let the grease out of piston.
One of mine was plugged and wound up removing the grease nipple to let the pressure off.
Better shot.
I placed rags on top of a sheet of cardboard to make it easier to clean up.
Going to remove about a tube of grease in each.
To compress the piston I used 1 1/2" square tube stock ( I didn't have any pins or round bar ) which worked out great. Run the machine with the guard down so tou can activate the levers standing outside the door. Do this very slowly to allow enough time for the grease to weep out.
Using a rock bar I wedged it off the front and backed it up off the sprocket with machine power moving the lever.
Came off pretty easy.
The other side I needed the aid of the ceiling lift to pull it up high enough to rock bar it of the sprocket.
Pretty good luck getting them off.
Yah!!! First time doing this job.
I found out these bolts where heavily red loctited.
Wound up warming them up and cracking them off with a breaker bar /leverage bar.
Must be a reason for the loctite ,so I will reinstall them later with it .
Took a while but managed to get both side off.
Check them for wear.
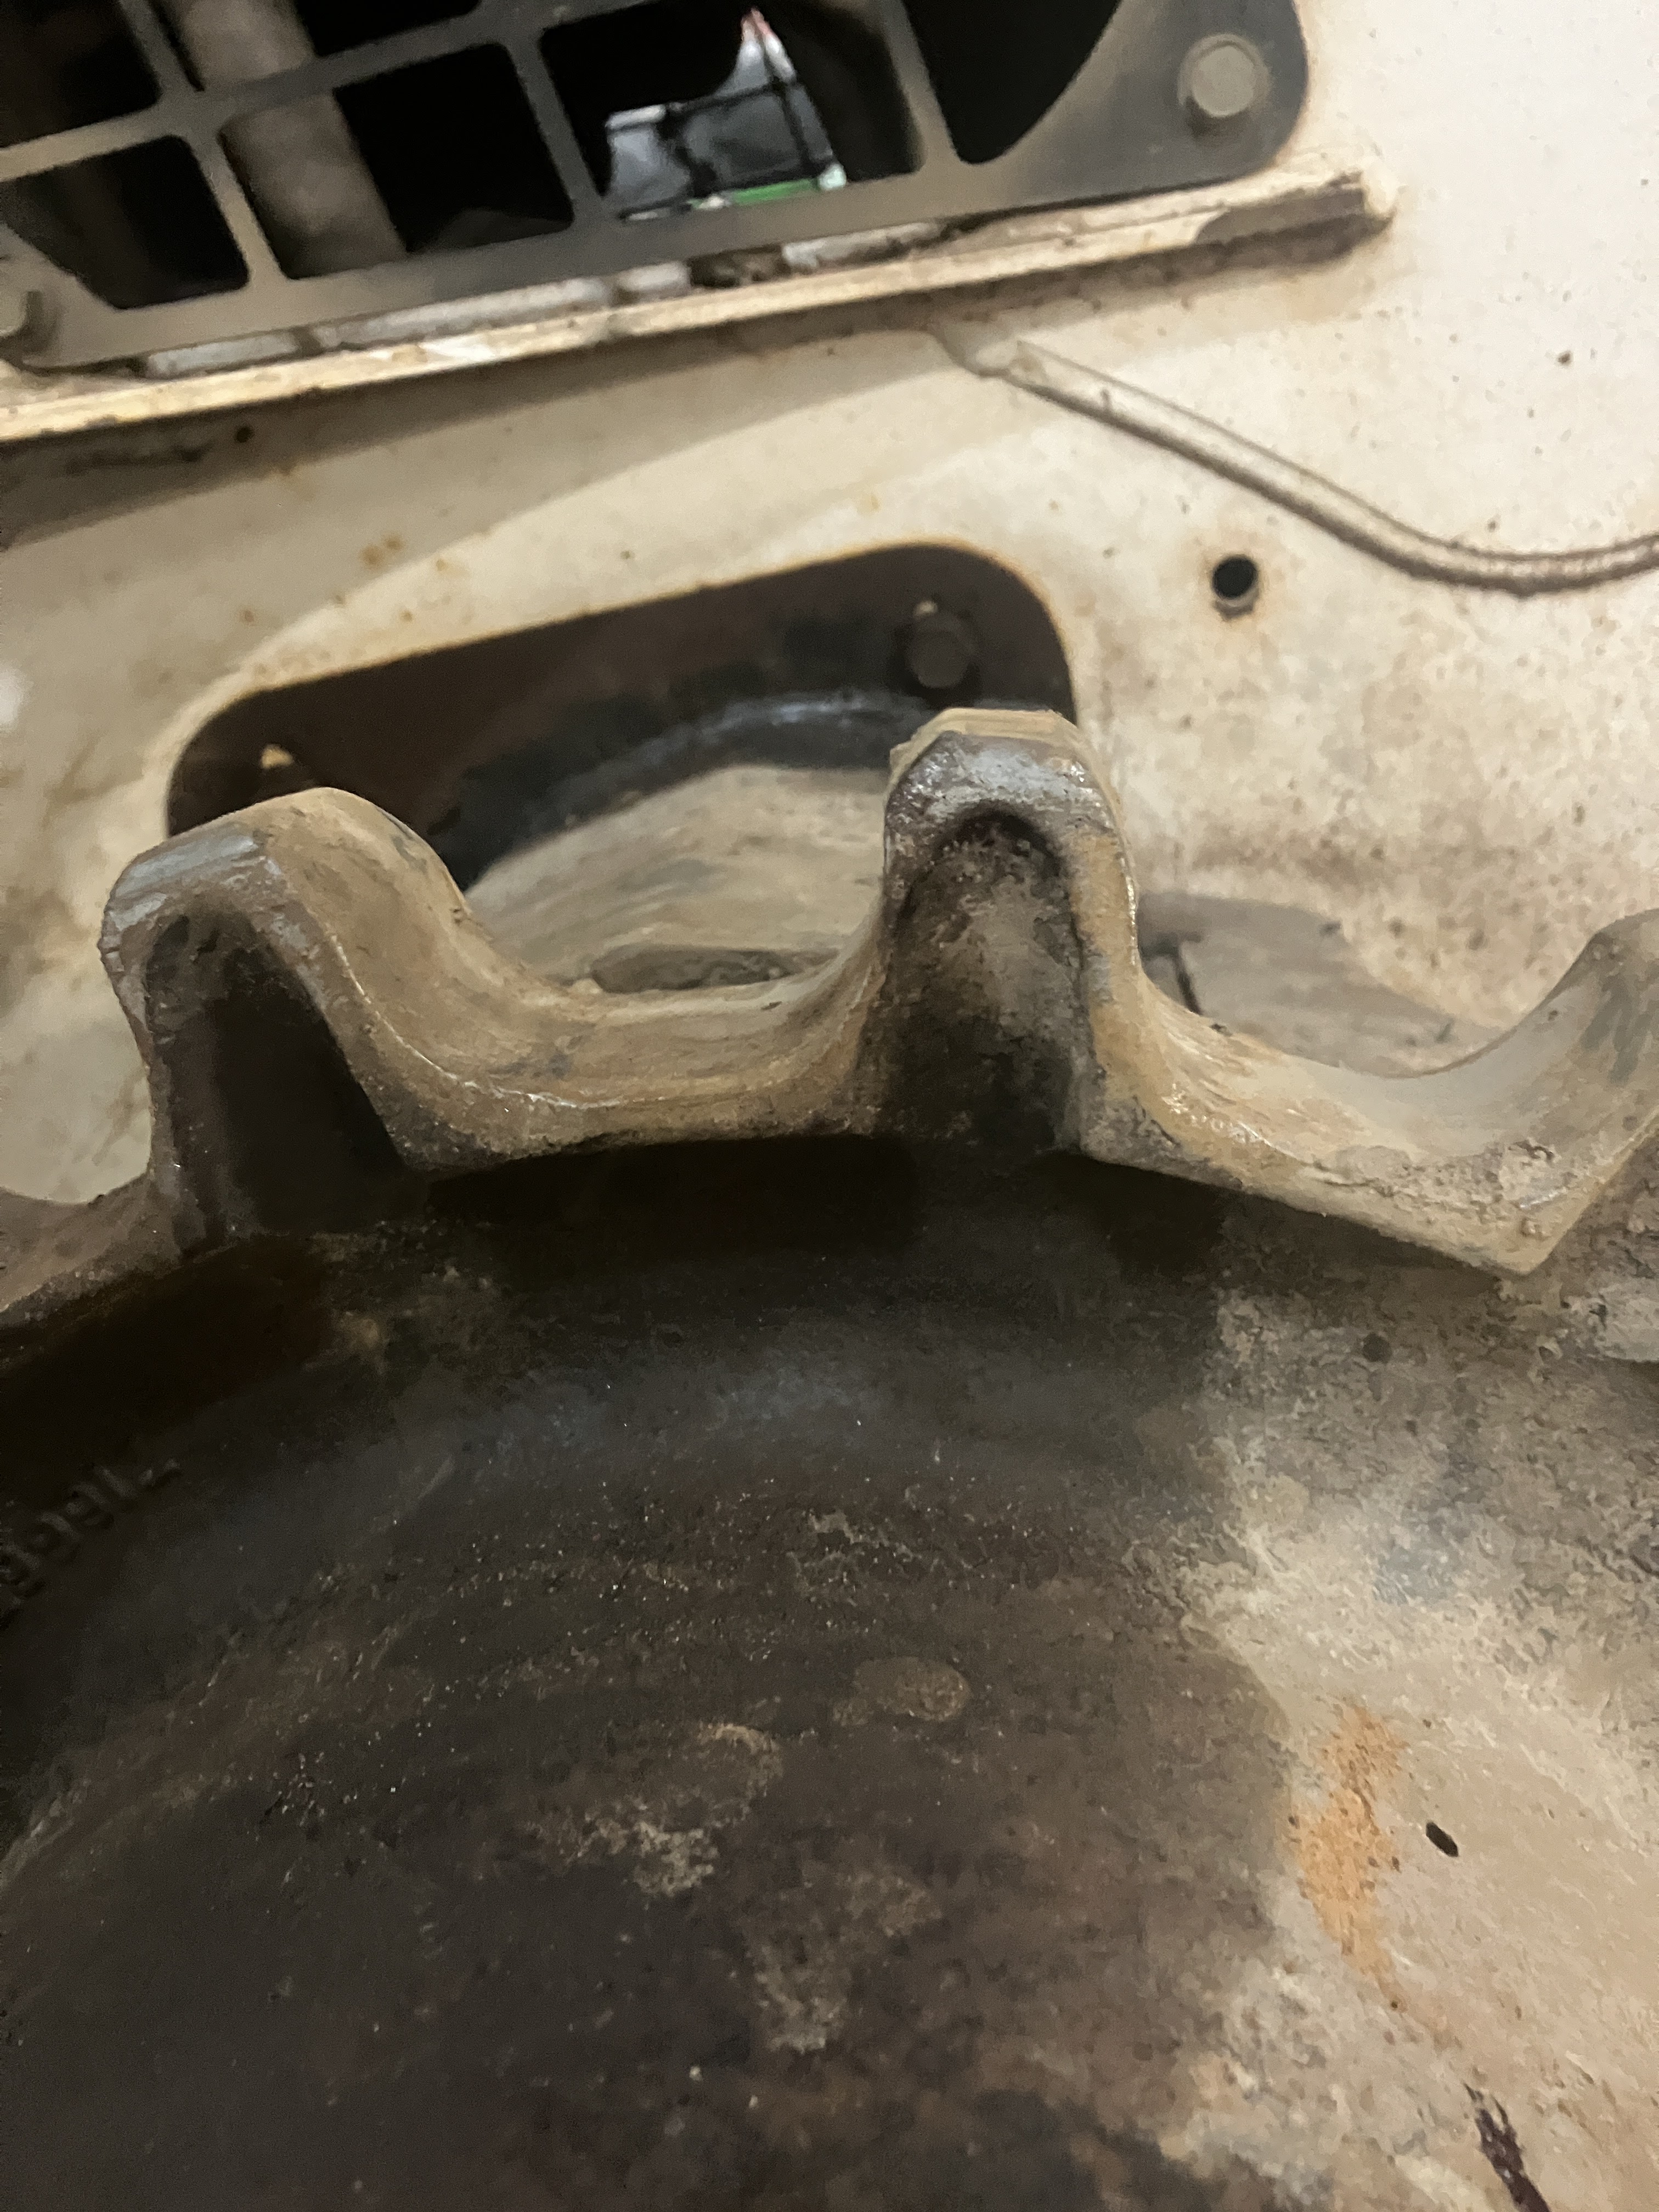
In my case they had some wear so I'm going to flip side to get more life out of them .
Hub drain and fill plugs nuts where pretty much worn down from erosion . Debrie sits between hub and sprocket grinding them down. Had to use the rescue socket.Great tool, I highly recommend them.
Buying new plugs and yes they are pricy for what they where.
Drained the hub oil out of both sides. Not much in this type .Only take 60ml.
They definantly haven't been changed in a long time.One side might have had 30 ml.
Tap and dyed threads and bolts before reassembling.
Found this pin had fell out while I check machine over.
New plug.
Only takes 60ml a side.
Pretty thick. Install lower drain plug then pour really slowly keeping the stream very thin.
While you have it apart take the shield over hose connections and clean it out.
Ready for the sprocket.
I haven't tried this but they say you can install the track and then sprocket after to make it easier.
If you have something to lift track up it should work great.
Installing the sprockets.
You can see the wear.
Probably will need sprockets next time .
Not sure if it was needed but I'm going with what I seen on disassembly.
Had no issues with loose bolts before.
Torque them to sequence and spec.
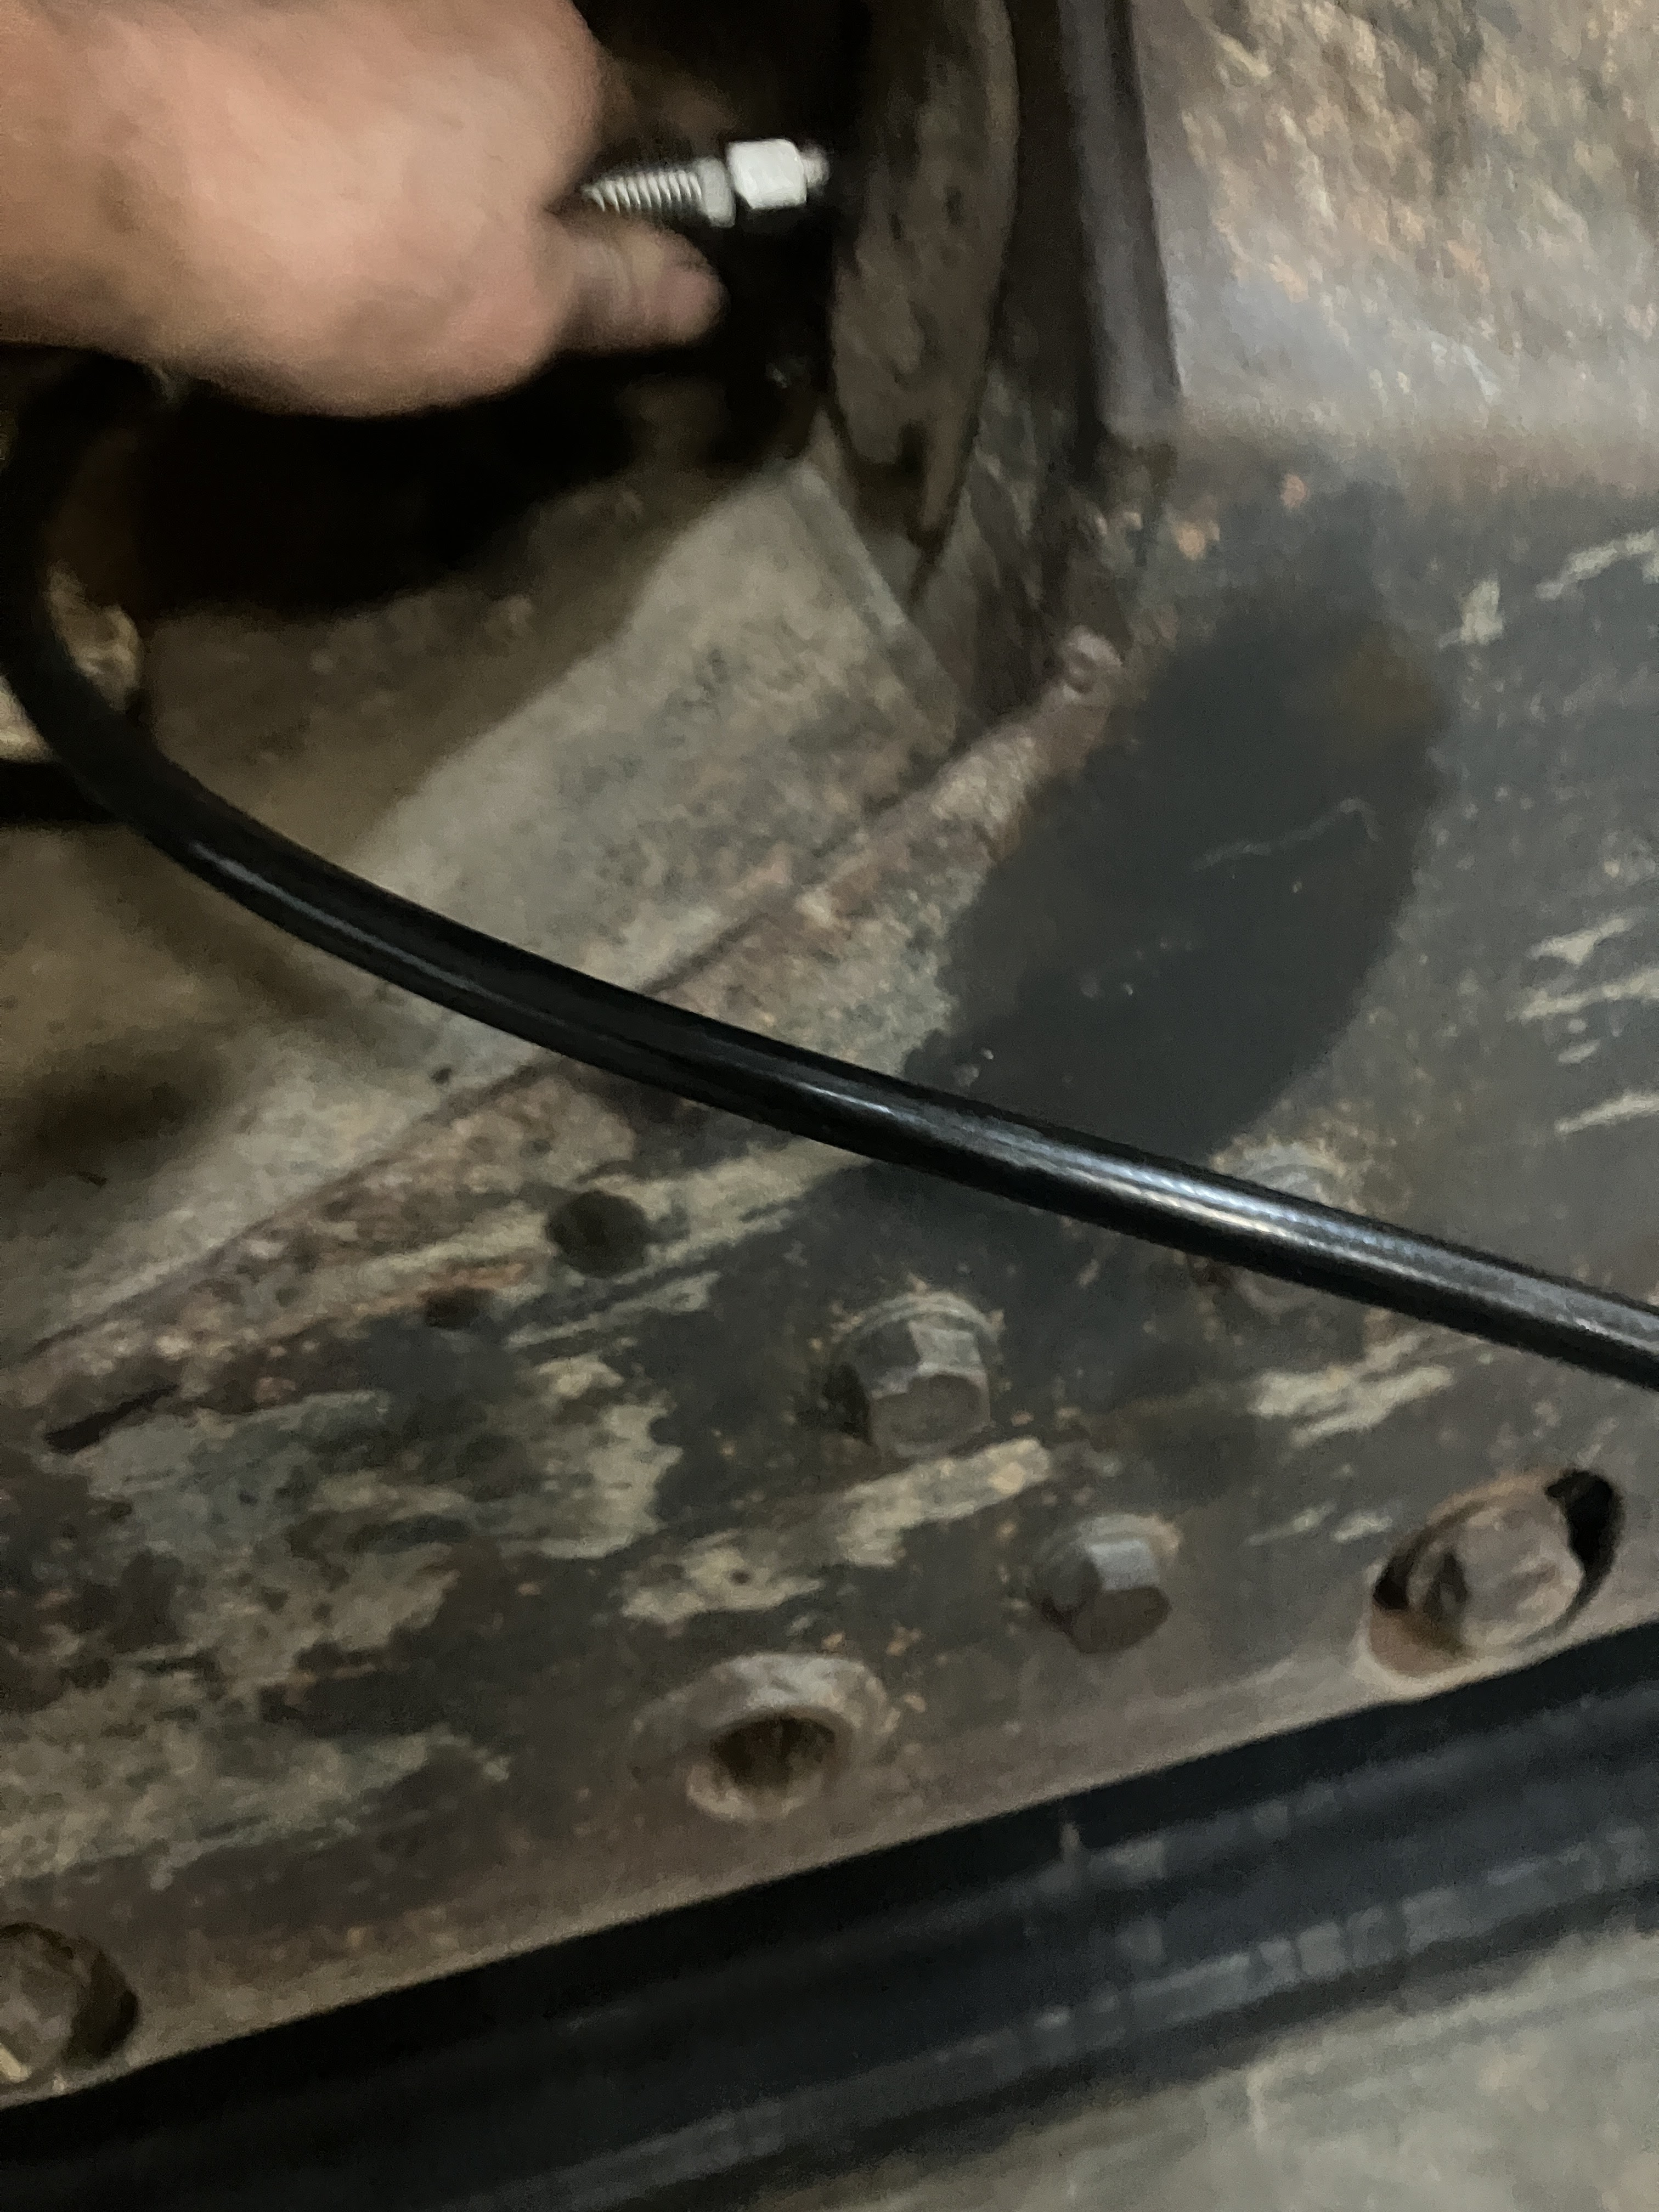
Make sure your bleeder are snugged back in.
Track time.
Using the ceiling lift to help raise the track to near or sprocket height.
You will have to push here and find the right height on belt to rock bar the lower boggie in ,if your lucky top will line up with sprocket.
If it does or doesn't detach sling and rebelt some where mid point between sprocket and front.
Pushing on rear will get it past framing.
Should look like next few pics before rock baring the front in place.
It's a bit of a struggle to get the front one on.
A few tips... raise and lower the sling to get the slack you need to get it on.
One side I slid it right in place with the rock bar.
The other I couldn't pull enough to get it to go but it was close enough to reuse the 1 1/2" tube stock to roll it in place with machine power.
Do this slowly and carefully.
Find a half inch spacer and pump grease back in till it touches.
I ran the track back and forth for a bit and rechecked the clearance.
Took 2.5 hours for hub oil/sprockerts and track install.
I'm thinking 5 to 6 hours if your not running for parts and doing a good cleaning .
Hope this hepls someone else.
I posted about it because of the lack of info on you tube and internet lol.