Tuesday, January 29, 2019

Toro HDXD park brake buzzer

Common problem with equipment . Sometimes they come with park brake buzzers like some of my 2015 TX gators or none at all . Not sure if their is a kit available but I've had to do this a few times on different equipment . Should come standard .OEM  brakes are not cheap to replace in golf !!  
Oh BTW it's not just a staff issue I have driven off with park brakes on and I know better . Being a diesel and adjustments to lift park brake handle to spec they can be driven off with out noticing till its to late .  

Remove seats and cab and plate behind roll bar .


A little PITA the first time you do one but having to do this a few times for different reasons its pretty easy . 


Mocked up what I wanted the plunger switches to do . The foot switch has to connect power when plunger is out . 


The first HDXD had a pig tail from fuel pump solenoid . This one from the top dresser had a spare pig tail and All I had to do is add a 10 amp fuse .


Key powered too . ... perfect .

Perfect fit to mount this switch on the inside to catch lever 


Looks good and works well .
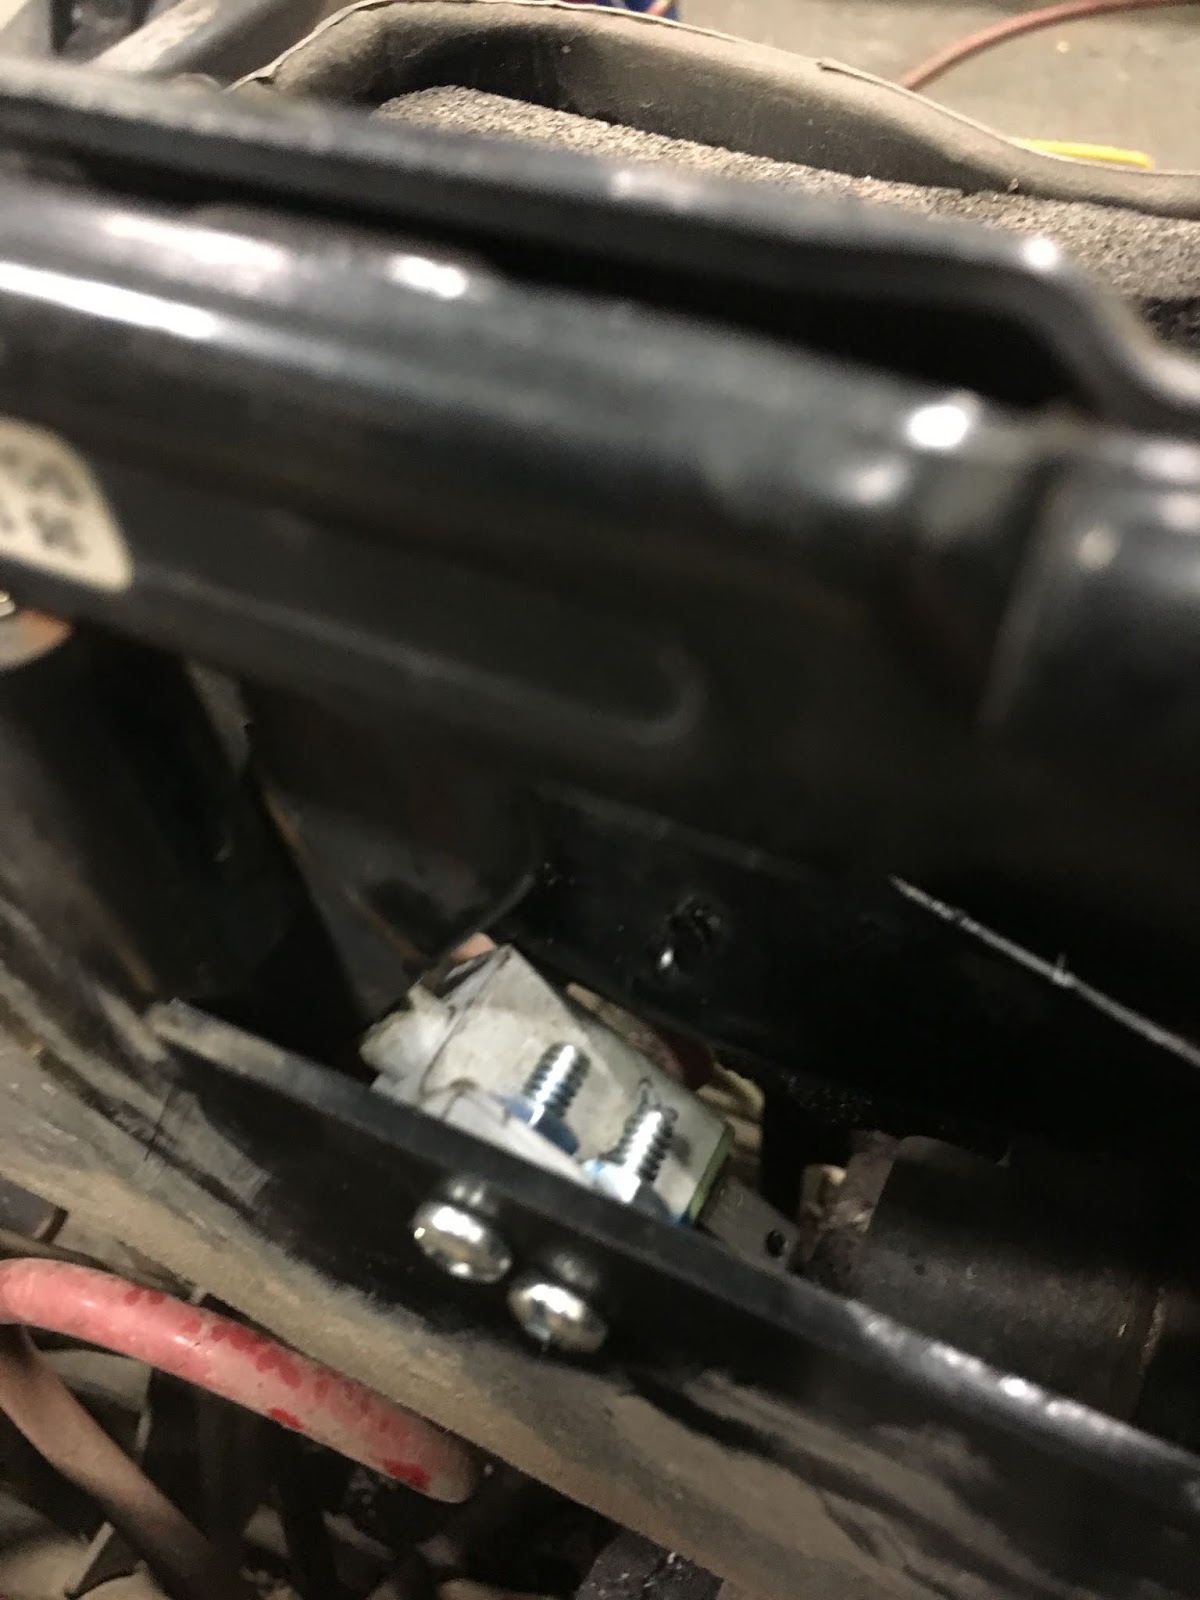


This swith is a Rotary #31-9658 from Vickers Marketing . Found on most lawn and garden tractors 


Foot pedal switch i mounted on the inside here. I'll get a pick later to add where the power source is . I'm using the pig tail connection in fuse panel from fuel pump which is already fused with a 10 amp . . 


Welded in a plate to catch button . 


this switch is the Rotary # 31-9659 from Vickers . Also found on most lawn and garden tractors 


Ran wiring as per my lay out 


Ran buzzer  ( Lawsons #28925 80 DBA )to just behind operators head . 

When park park brake is on plunger is in but no power goes to buzzer till throttle plunger extends completing the circuit . the throttle plunger has multiple connections to make contact where its plunging in or out

* Side note when welding in plate for throttle remove switch and also disconnect battery . The heat messed up my switch making for some fun trouble shooting .


Added these panel buttons to the units that have had bumper damage to keep them from poping out


Toro option for a cleaner air filter . Also works well . Didn't price one up I figured $$$.
Verses mine for $$ for 2 machines . 

Friday, December 7, 2018

Toro greensmaster 1600 drum bearings (student work)

Great project for my student to tackle . Lots going on with dismantling drums etc. 


Project ,replace all drum bearings and seals . 


Lots of parts ..some left hand threads . Some parts look like they come off a certain way but they don't . 


Wasn't planning on this repair . But I can show him how he could repair this if needed


Other than threads their supposed to look the same 


Finished dismantling and replaced bearing and seals in center hub . 

He's a pretty good welder so I let him tackle filling in the groove . 


Showed him a trick  by using a marker and sliding bearing on and off show where it needed to be filed down . We mixed up some metal based epoxy for imperfections on shaft . While we were waiting for it to cure a bit I explained that you can multi task if you have a few jobs on the go and trying to avoid down time . 


So he replaced a couple of badly chaffed hoses on one of our 7400


Showed him that by placing tripods under front decks you can force rear deck down for easy access for repair . He thought that was pretty cool . 


Finish a light filling and start assembling. Repaired part looks great . 

Lining up mounting holes and knocking it in place with blocks of wood .
Telling the student it's great to keep some wood blocks around to help protect and hold parts on jobs around the shop .


assembling drums together


 After he was done we drug out the levelling plate and showed him how the right side was adjustable to square reel and drum .
 Not to bad a job but was a great teaching tool for sure .


Below are picks of another machine that I had an outside bearing go and didn't notice that possible the inside ones might have been damaged too . This is the reason behind replacing all bearings while it's apart . That way everything gets inspected and you will avoid future down time on this unit. 


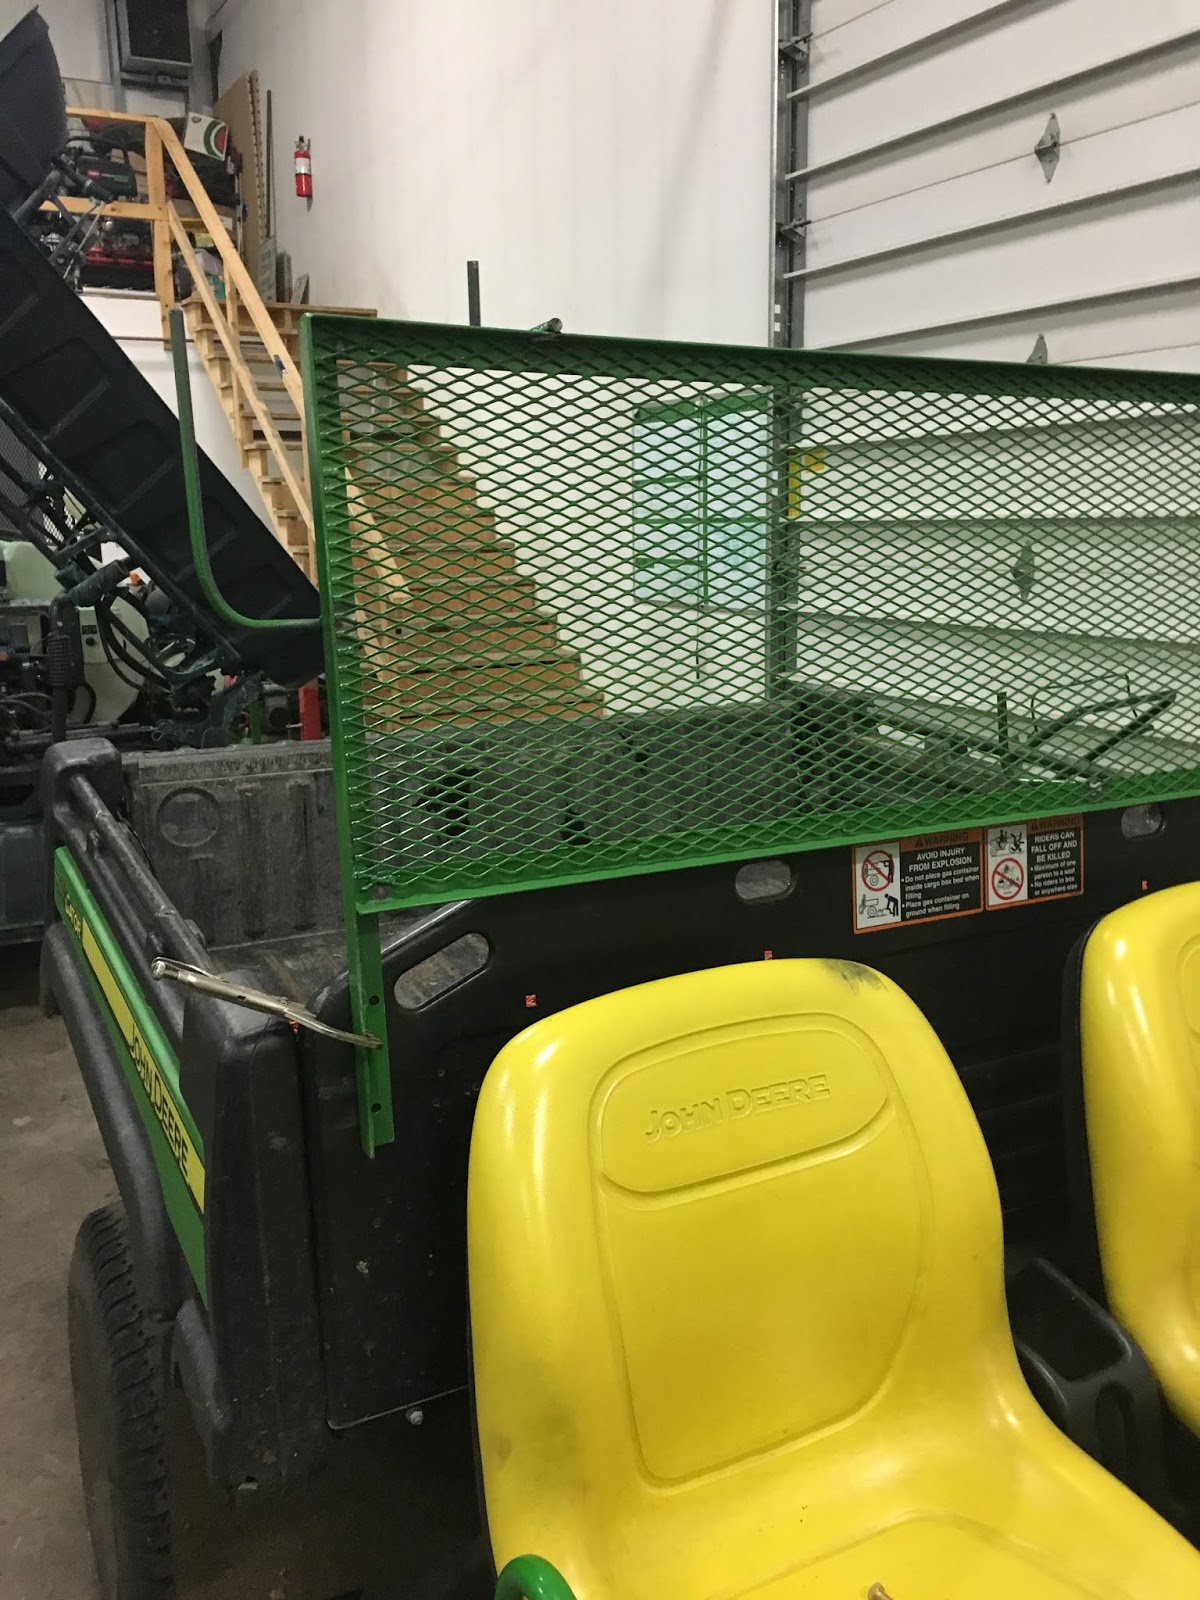
Had a  couple of hours to start building TX gator head protectors . 


Thursday, December 6, 2018

JD TX gator head protection and accessory rack

During the season we keep an Eye out to see if we can make things better, safer, and more efficient.

Chris (Superintendent) was concerned for the guys (and gal) driving away from play having to look back for errant shots. So, we came up with this plan to speed things up and make it safer. 


Students in today so after tackling bearing and seal replacement on a Toro greens master 1600 there was a little time for this project. Cutting out the measurement I relayed to him.  


A little reminder to drill holes out before welding together. It's much easier to use the drill press.


Materials all cut to size. For safety reasons I cut the mesh to size with cut off wheel. Already for paint 


This morning I'm doing a mockup of adding a few gear holding options. 
I've made snipper holders in the past but could never figure out an easy-to-use system on the TX gator. If it's not easy to use your wasting your time and money because the crew will not use it after leaving the shop.


Finally, the head screen made sense to mount side hooks for trimmers 


Holding everything in place with vise gripes till it figured out 


Even made a mount to keep hand blowers out of the dump bed. There getting beat up pretty bad from bouncing around. 


 Looking good 


Welding in hooks etc.


Pick of parts for 2 more racks. Student will make a bunch more next week. 


Material list. Around 40 to 50 $ and about 1.5 to 2 hours of time. 


A few more pics


 Bolting the first one on after paint dried 

It was a very easy build with a mig welder .


Took me a while to figure out an easy latch system to keep shaft from bouncing over the side. From my experience if its nor easy the staff will not use it. Took the hooks off and crimped one side closed and welded


The weld will keep it from falling off the pipe clamp. The above pic would eventually slide out 


Drilled a matching hole for another end. Simple just pull across snipper and attach to tailgate


 They can just dangle inside or out when not in use

One guy has folded it in too already and latched it to the welded area when not in use.


Looks great. Last for txs done yesterday.