Thursday, February 7, 2013

Adjusting Groomers on Toro 5410

 Groomers are all on . One left on the grinder .They all went on well with out to many issues . I had one problem with this one . When I put the cover on the levers would not raise the groomer on the drive side . After exchanging parts from a good working one I found that the floating plate was slightly warped . In the pick above I tried putting one washer on the cover stud ( right center in pic ) and when the cover went on it worked as well as the rest . Dealer was notified and pictures sent . Just in case there is a problem in the near future .
 A pic of the drive side of groomer and brush kit reassembled .
 
This is the HOC adjustment tool supplied with the mower ( 5410 ) there are two adjustment screws .The right side screw is for HOC ( height of cut ) The other one is for adjusting the groomer . A good place to start is set it at half the HOC . That's the setting I originally tried .With our grass type and course conditions I had to go to about 2/3 rds. the HOC
 
Set the HOC first . Leave groomer levers turned back pointing to rear of machine . 


Next flip the levers to the forward position and they are adjusted here ( no pinch bolts etc .)


The idea is to find a spot and hooking the bolt head on bedknife for HOC adjustment on one side and adjusting the groomer blade to just touch the flat surface of the groomer side of gauge .  . Do one side then the other till they are even .


 There are no pinch bolts to tighten afterwards on this type . Once it's set that's it .
 Levers forward ...engaged
 
Levers pointing back disengaged .
 
 
Groomers on page 52 to 54 .
Basically it's like combing your hair your trying to get to just above ground level ( not into the thatch layer ) to cut out lateral growth and thin it out resulting in dense growth for a better ball lie on the fairways .
In my area you only have 4 to 6 week window to groom . Keep a close eye on the results . You don't want to over do it before early/ mid summer hits .


Thursday, January 31, 2013

Groomers are in

 Yes they are here, now to get the reels ready for install . You will have to check the bearings and end play , adjust / replace as needed . Might be a good time to use the pi tape and see where you are at for wear on the reels . If they are near the wear limit , new reels should be installed .Might as well do it all in one shot it's a little bit of work .
The above pic is the bearing I'm going to try . My bearing supplier found this one for a match .
 I have 2 reels which feel bad just by hand spinning . This totals 4 reels now on this machine in under 1200 hrs.  .
When I removed the reel  bearings they were well packed in grease .There was no end play in the reel and were never adjusted from new . There might be an outside chance that the operator may have hit this area to hard with high pressure irrigation water forcing debris into thee bearing  . We have the same operator on the same machines 90 % of the time . The other machine has no issues and has more hrs. on it. Every year something like this happens and it's up to the tech to figure out what went wrong and where the changes need to be made .This spring I'll remind the operators not to hold the high pressure in the bearing of the  reels .
 
There was enough time to install new bearings and get the new groomer on one reel frame and started  doing the spin grind today . Nice groomers....easy install and can't wait for spring to get both units out on the course . I noticed a difference last season with just the one machine running them . As a golf course tech it should be part of your job to go check your work on the course . The grass will show you how your doing plus it doesn't hurt to have good operators running the gear .
Groomers ... front roller scrappers ...and brush kits ....what an awesome combination . Plus with the groomers the scrappers are on the top side and clean up really easy on the wash rack .
 Here is one of the bad  bearing cleaned up . Notice it's only one row of the ball bearings that are rough looking . It is also the row closest to the seal . Water must have been getting past the seal. Either way we are going to have to keep an eye on them and grease them enough to purge the water out . The swepco doesn't mix with water so I'll try greasing it till I see water drips .
One set completely done , another one on the grinder and working on putting the groomers on the rest . Also have one more bearing replacement on Left rear reel and installing new  bedknifes to grind .  . At least the bearings can easily be changed out .
New HD bedknife and relief /  spin grind . Whisper quite contact and cuts newsprint with no effort .  


Wednesday, January 30, 2013

Last large area mower in

 Finally down to my last mower . I'm working on the second Toro 5410 fairway mower . I left this one for the end because I'm waiting for the new groomers to come in to the dealer (http://www.veseysequipment.com/pages.cfm?pageid=104&page=cat) .They called me today and their on the way . It's one of our purchased items for this upcoming season . I did the other unit last winter about this time . http://golfcoursemechanics.blogspot.ca/2012/02/toro-5410-install-with-brushkits.html
 While waiting I'm doing the DPA adjuster upgrade to them like the other unit(http://golfcoursemechanics.blogspot.ca/2012/12/5410-hd-dpa-click-adjuster-upgrade.html) . Also checking the reels for bad bearings . I want to make sure they are 100% before installing the groomers . Two of the reels had a chunk missing out of one of the lands on the reel . Not really a concern but I like to relief grind everything in the winter and the finger rides on the land and would be impossibly to grind relief .

May not be the right thing to do but if I replaced the reels every year to be able to relief grind I would be looking at 4 reels every season on average @ a cost of over $2000.00 . So to save the club some money I can do this repair for the price of 1 welding rod . If you cut a cardboard template out first it works pretty good . I used an old bedknife from the 5410 an cut out a similar shape out of it including the  factory relief . For welding I have some 1/16 rods and kept the welder @ 30 amps . 

After welding it in grind the access weld off . Above and below pics I'm holding a center punch to measure the lands before and after the repair so I can get it as close as I can with the cut off wheel .
Finish off with some filling .That way when it goes on the grinder for a spin it will grind up faster . 


 The center reel ....bearings were quite rough and will replace them . I had another reel that was coned a bit and the bearings has some roughness to them also . The bearing store matched them with a little better grade bearing for about the same dealer price . So it will be a test to see how they will last .


Tuesday, January 29, 2013

Installing grease nipples in wheel hubs

I have found in the past that hubs that came with grease nipples already installed from the manufacturer are easier to maintain and rarely need bearings replaced  but just checked for adjustments .  
 
I decide to put them in the Toro pro force blower hubs today . To install a grease nipple be sure to drill in an area that misses the race on the back side of the hub  . In this case I also felt where the welds where that stops the race . I drilled a 7/32 hole between 2 welds . Top pic I'm tapping threads for 1/4 - 28 thread .
 
 Pic of the hole missing the race .

 I use a little loc tight on the threads of the grease nipple .
 Repack the bearing and install a new seal and put back on axle .
 Repack the front bearing and install the nut and adjust according to specs then lock in place with a new cotter pin . I'm greasing the bearing filling the cavity up between the races . I found this grease nipple a little short on this hub .
 So I went with one a little longer . This is where it's nice to have a good supply of hardware goods on hand .
Now I can top up the grease once in a while forcing water and debris out of the bearings .


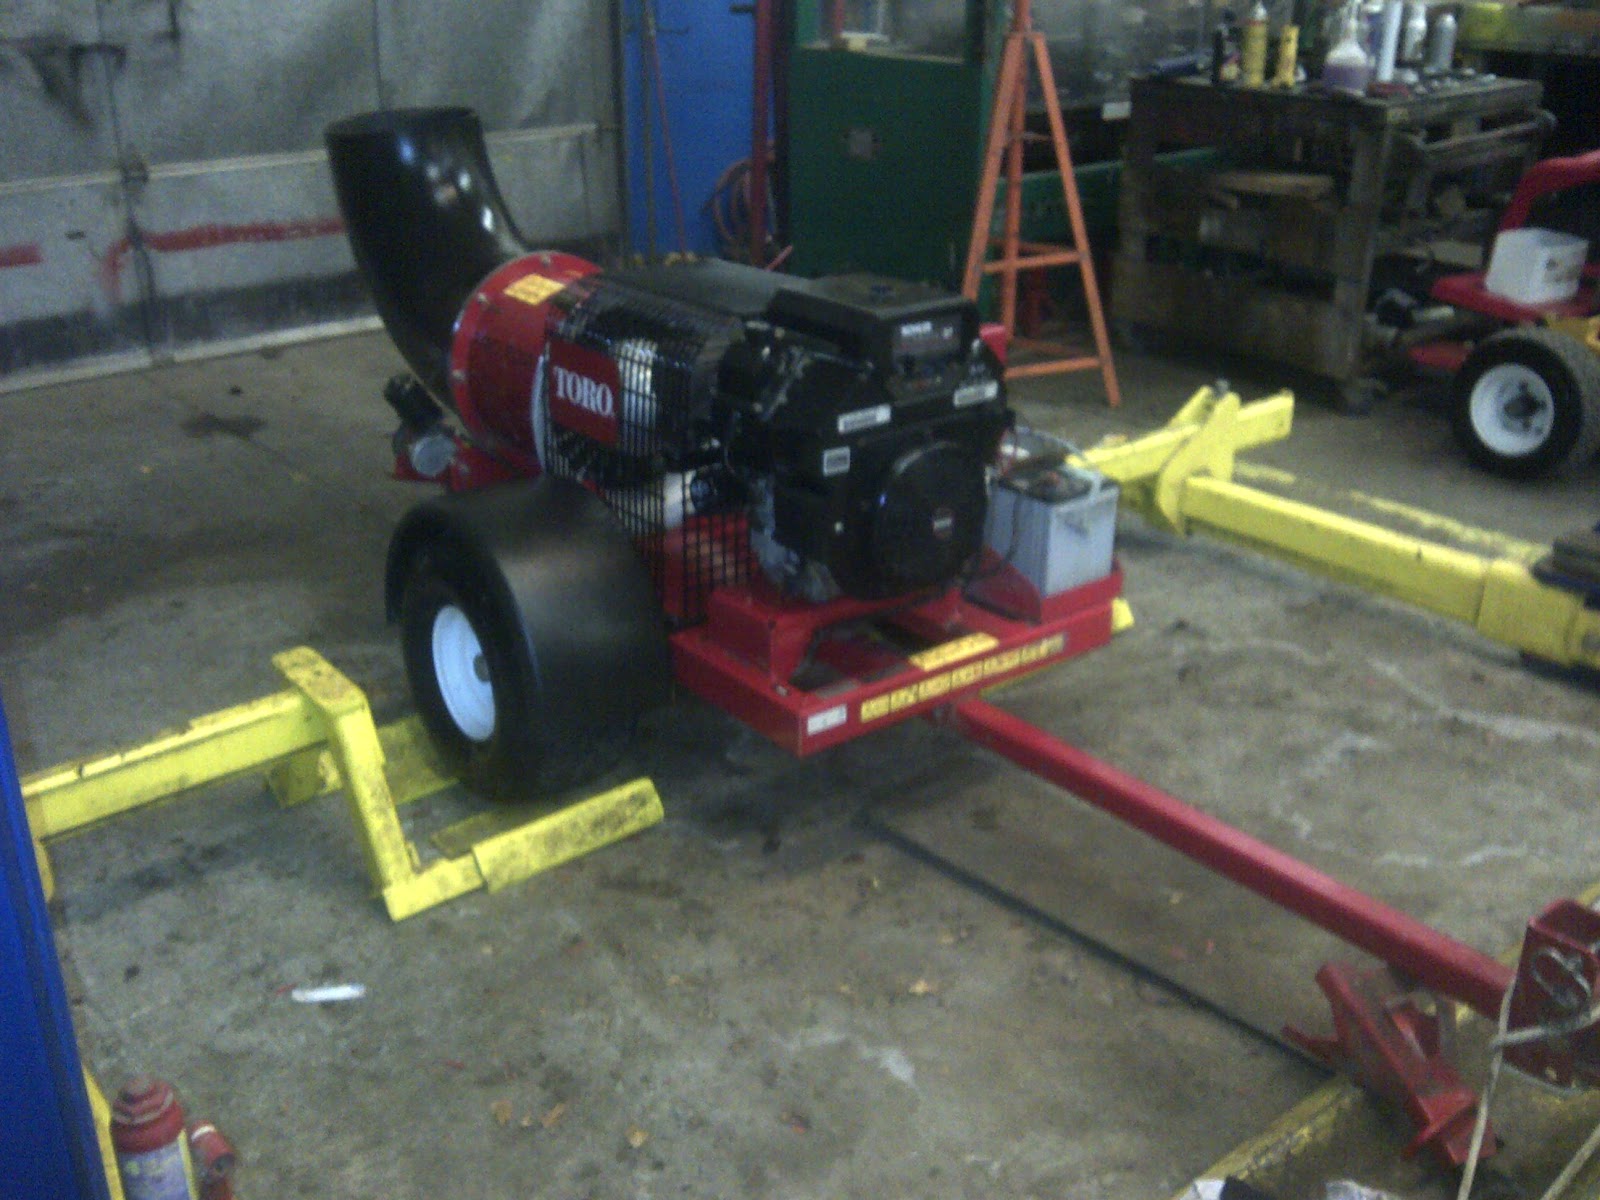
Toro pro force Gel Battery pic's (+ 1 year later )

 Here are some pics of the gel battery I had installed Dec. 12 2011.

Cleaned up battery terminals a little and washed off the battery . Still looks like the day it was installed . 
 All serviced and cleaned up and ready for next season .
2009 Toro Pro - force . 

Monday, January 28, 2013

Toro Pro - Force Gel Battery ( revisited)

http://golfcoursemechanics.blogspot.ca/2011/12/gel-battery-for-my-toro-pro-force.html

I posted the above a little over a year ago . The tow behind blower is in for maintenance . The battery area is as clean as it was when  installed ( minus dirt and leaves ) . No battery acid spills , no leaky battery , battery connections are still the same as the day I put them on . There is no sign of corrosion anywhere . I'm going to repack the trailer wheels tomorrow . They have some play . The hubs look to be the same as the tru-turf roller . I may put some grease nipples in these as well . I'll post some pic's soon . It is well worth the expense . With all the electronics and wiring harness around the battery area it's a great idea .

Friday, January 25, 2013

Tru-Turf roller winter maintenance

 The roller . Yes one of the most important tools for the superintendent . Now is a good time to go over it very well so it doesn't fail at an inopportune time . I'm always checking the chain . This model goes through them very fast . While checking the chain this winter I noticed it was stretched quite a bit as usual . When I cut a new chain I couldn't get it on the sprockets it was so far off I had thought I cut the chain to short . Once I lifted the trailer arm up so it's sitting on the rollers I noticed it fit very well . So the big drive drum bearings are worn out . No need to remove the drum . I'm using rope ratchets to hold it in place .This is the gear side . Gear has to be moved to take the bearing off .


 The other end comes off easily . Remove the bolt lock nut and washer on the end of the shaft then remove the bearing . There are 2  set screws on the collarof the bearing to be backed off also. I ordered the bearings from my bearing supplier and will have to wait a week or less . No hurry for repair is a good thing this time of year plus I'll be saving some money . Also noticed the rapid wear on the drive gear . I received one from the dealer but took note of the stamped # on the double 11 tooth gear for future reference to source out to my bearing supplier for next time . 
 
The wet area is from the engine maintenance . It will be cleaned up with the rest of the machine .


 Checked all the steering linkages . Only found these two to be bad this year . I keep a few of these in stock . You never know when ones going to fail and is good to have them on hand .


This year I decided to add grease nipples in the hubs . Seems they are wearing out every 2 years . By doing this I should be able to grease them once in a while forcing water /sand etc .out of the bearing .Once the drum bearings come in I should get the full season out of it with out any down time . At least that's my goal .  Not a very complicated machine with lots of easily changed wearable parts . Now's the time to change them . One more note by regreasing the smoothing sealed roller bearings I was able to get 2 season out of the roller before replacing them . Sure beats 2 sets per season(24 bearings smoothing rollers 48 for 2 seasons  ).Thanks  again Steve G for the tip from Golftechs .
http://golfcoursemechanics.blogspot.ca/2011/11/sealed-bearing-tip.html

Rotary Lift Plate holding clamps.


Had some down time the other day to make a little upgrade to my lift . As much as I love my lift the rear solid plate likes to kick back on me quite often .When it does I have to pull the machine ahead and readjust the plate and retry again .  The lift was retro fitted into the existing shop and the shop floor is not quite level where the lift is and may be one of the issues . We also have mostly AWD equipment because of the steep hills we have to mow and now I'm thinking it may be part of the problem of why it wants to kick one side out  . I had put a post on one of the tech sites about using rope ratchets to stop the movement of the plate. The mechanics on Golftechs showed  how they dealt with this small annoyance .One of the techs had a great idea and had drill a hole in his side plate and welded a nut over the hole and used a bolt to pinch it in place . So this is what I came up with and think it will work well for me in my shop. 

I'm going to use 2 for each plate  5/8 nut and bolts .My decision to use 2 bolt was so that the plate can't shift to one side . It will make it more stable and twice the holding power with less force . At least that's my idea .  
 Flipping the plate over I could easily weld the nuts to the bottom corners of the plate .


 Only takes a few miutes to do all 4 .
 Found some scrap 3/8 rod to cut up to make T handles .
 Weld to the top of the bolt head .
 Cleaned them up with a wire brush and some brake clean .
 Then painted them up .I had to reattach my head saver styrofoam (which I tested a few times along with some of the staff ) .Also this plate pretty much stays near the up rights most of the time so that the canopy and ROPS will clear the overhead bar . I use it in two other locations on the lift bar and it should still be easy to move with the T bolts backed off .
Doesn't take much force to hold it in place now but the true test will be this summer . I did crank on them pretty good and could see the plate actually move so it's going to get a good bite if needed .  Hopefully this will be one more thing to save some time . As a mechanic on a golf course you want to make things run as smoothly as possible to free up what little time you have in mid season . 
 
Update: Had the 4300 d and then the 5410  on the lift a few times recently and it worked flawlessly . Didn't budge and the wheels land square on the plate every time .

This was a quick fix to my problem . If you have the large taps it is thick enough to drill through and tap a thread to install the bolt . It will give the same effect .