Monday, January 26, 2015

Toro Front rotary deck roller rebuild


During the winter maintenance I knew the front roller bearings on the sidewinder were on their way out . The bearings felt dry and rolled very easily . I managed to make them last by spraying cable lube around the bearing area hoping the grease would solidify inside the bearing . Now is a good time to replace them before the bearing lets go completely . They are very hard to get them out if it happens plus the shaft ( bolt ) will be damaged .    


Started out by using a piece of 3/8 mild steel rod and driving one bearing out . 


Using the press to push the other one out by using the spacer sleeve inside roller . 


Pic of sleeve


Using a small extension and socket that match the shaft . Invert the socket like this keeps the business end from getting damaged .


The new style bearings are to be driven in with a special tool . My impact 1 1/4 socket was the perfect fit . As long as it doesn't damage the casing on the bearing and pushes evenly on the outside edge . 


New bearing number


Inner spacer shaft looks pretty bad but its mostly built up grass clippings ..came right off on the wire wheel .


Both bearing out .


I like to put grease inside cavity before installing bearings .


New bearing on the left . The're a little beefer. 


Press in the first bearing 


Lining up the inner spacer and bearing using the shaft/bolt.


I'll press in the second bearing .


Check the shaft bolt for wear.


Non grease-able bearings ..so during the season I use cable lube .Some gets in when it's liquid and gels up inside . I did get over 2000 Hrs. on the old set . 


Put some med (blue) loctite on the treads and re-install on machine

Tuesday, January 20, 2015

Tru-Turf drive gear shaft repair

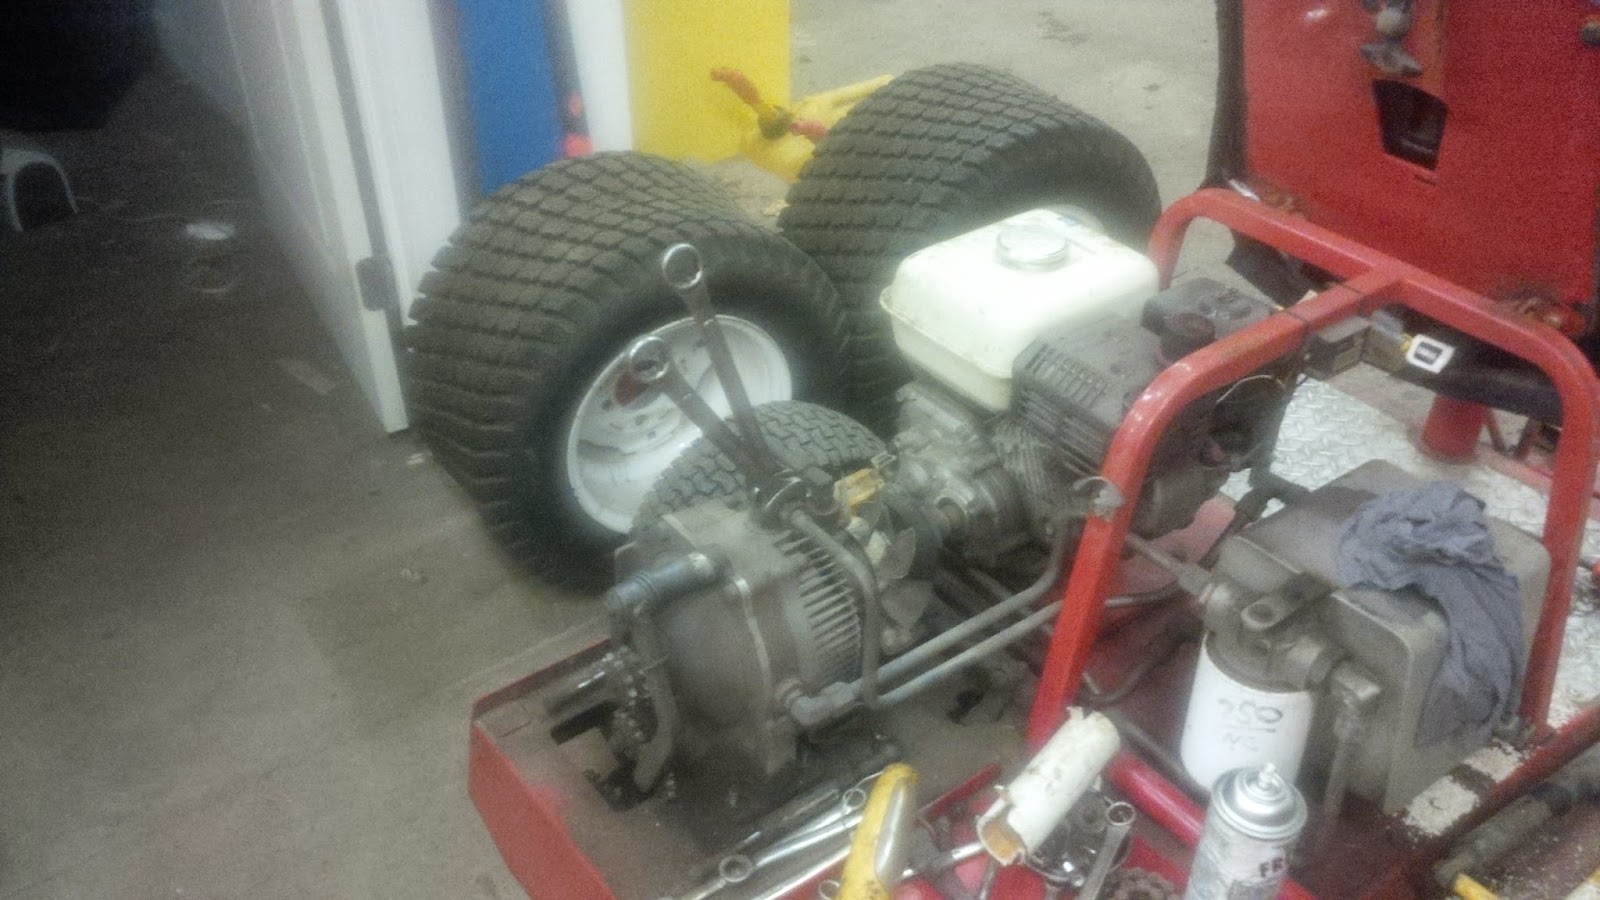
Our Tru - Turf roller drive gear has a lot of movement . Ordered the necessary parts for repair . Parts took months to come in . I'm glad it didn't start leaking . Laying up a roller during mid season wouldn't be a good thing . 


 Here is my home made drain extender .

Disconnected the drive coupler from engine 


Remove the shock linkage on both sides and double link chain . . 


Loosen off all 4 lines at pump 


remove bolt for pedal linkage and 4 base nuts on pump ( studs are welded in on underside).  . 


Lift up a carefully pull out making sure not to damage any steel lines ,.


Clean up in parts washer bin .


Fit pretty good in my large drain pan ...trying to avoid spilling oil everywhere. Remove both chain tensioners 


Remove drive gear bolt and and  key most likely will have to be replaced . There is a lot of torquing back and forth .  


Next I removed the 4 bolts that hold the bracket in place .


Tensioner bracket. 


To split the pump there are 2 torx head screws that have to be removed 


  Pull pump apart by hand . There is a rubber seal between the halves . There are 4 large pump balls that you want to keep in place .


 I wrapped a rag around them and covered it to keep it clean . 

 Now we are at the problem part .


New parts . After waiting many months the wrong shaft was delivered ( single gear ) ? How does this happen when you order from an OEM # I'll have to make it work ...Not having a roller in the spring is not an option . Most of it is keyed on the first section . Dealer was contacted about the problem for records . 


Remove the cir-clip holding the shaft in place 


Pushed the shaft and bearing out with the press .Could easily be tapped out with a hammer 


Remove the old seal 


New seal sits flush in bottom . Using a socket this way works great 


New seal in place .


 Pressed in the new bearing . and pushed new shaft in and installed cir-clip.


Installed gear and new key . Notice that it was a little short . 

  
Shimmed up the gap and installed a longer bolt .


Assemble both halves and re-install torx screw  to hold pump halves together . Reassemble I reverse order . Change Hydraulic filter and new fluid . 


I was amazed on how much wear took place . Old bearing wasn't seized and in good condition . seal was also in good shape .


Wednesday, December 17, 2014

Toro 5410 reel motor rebuild

While grinding reels I noticed grease oozing out of one . On closer inspection it looked unusually wet


I knew which reel it was on machine because they are pre-marked before removal . The reel motor in question was cleaned off well and left hanging . Next day you could see the dyed oil leaking out . 


Easier to remount reel motor to remove hoses .


Elevating the lines will keep them from leaking out hydraulic fluid or you can cap them off.

Cap off fittings before cleaning


A little ZEP and small brushes did a great job .


Instructions say to mark a line across the top


Empty out the hydraulic oil .Shop service manual available on Toro site . Read over the directions before starting .

Put in vise just tight enough to loosen of bolts


Kit from Toro . Most of the time it's just the shaft seal that is gone . I'll take mine apart and check for wear .1900 hrs on this one .


Saving some packing material from deliveries makes a nice clean foam surface to lay out the parts


Remove all the seals . I'll leave one section on gears to keep them in their positions.


Pre lube seals with vasaline ( not something I carry in the shop )but pipe lube works great to .


Install new seals the section ones where a bit hard to get in and have to be almost flush . Otherwise spline will not turn . I also wrapped the sharp splines with Teflon tape to protect the seal when in stalling end caps .


Tighten hand tight and torque to spec in a criss x cross manner a little at a time till you reach 11 to 15 ft.lbs, Re-install on mower and run ..check for leaks . The instructions are great and fairly easy to do .