There are a lot of down falls to keeping a dirty sprayer at the end of the season . First and for most if your equipment shed loses heat for a few days in our climate you can pretty much count on a new head valving chamber on the Toro 1250 sprayers . They will crack when the temps are below zero if not properly put to bed with plumbers anti freeze through the system ,possibly the gauges will break also , I've seen the flow manager sensor wheel pulled off the shaft , split hoses etc. Foaming systems should be run dry also . Not left full . The next big issue is that your leaving chemicals in the system to corrode stainless steel parts and rot seals and hoses. . Thirdly the chemicals will settle out and scale up and when the system is started up again plugging up screens .
Lets face the facts Spraying systems are VERY expensive to repair .Not only that but if your sprayer fails loaded with expensive mixed products it can get to be a big headache for the superintendent and mechanic .Not much fun having to store a load for repair ( short term ) or having to repair it not cleaned . Were fortunate to have 2 sprayers so we can at least save the mix and pump it into the other rig .
The mechanics headache;..... most of us are not licensed to deal with chemicals and have no idea what or how the tank was mixed putting ourselves at risk . Sure some mixes are less toxic than a cup of coffee but the fact is the parts that we repair are more concentrated from build up . ,I have held a spray license in the past ( recently expired ) so I do have some knowledge of the processes and responsibility of the spray tech .
Most of the time during the season you can get away with a few 50 gallon flushes with clean water to clean the system out ( soluble products , liquid fertilizers etc .) after your done . If your using pesticides your tank should defiantly be clean out with a good tank cleaner/ neutralizer .
IT IS THE SPRAY TECH'S RESPONSIBILITY TO CLEAN SPRAY EQUIPMENT AND HANDLE CHEMICALS USED IN THE GOLF INDUSTRY . HE IS THE ONE TRAINED AND LICENSED TO DO SO .
These are Facts . Hopefully it will be taken as an educational reminder and not as a negative blog post .

This is what we see sometimes when it's time to service spray equipment for next season . I know at the end of the season it's go..go ..go to get things done and the irrigation is shut down making things difficult for cleaning especially in the freezing temperatures . But there are a few calm spring like days in our winters to take advantage of to finish this important job .

Not to bad this year only a little left in the tank but the system is still full of the last chemical mix .

Our old sprayer was fairly clean ( double rinsed 50 gallon flush with clean water) but foamer was left full . Maybe an over site but foaming agent is not an anti freeze and this tank would have surely split if it was left outside .

Friday was a perfect day to clean the sprayers . The proper way is to remove all the screens and nozzles and clean them in a separate container and clean the tank with them left off . It is also recommended to to boost your tank pressure .Trying to clean a sprayer with screens and nozzles in place is less effective . The 1250 Toro where able to get up to 100 PSI .Let the cleaning solution agitate in the tank for 15 minutes . Perfect for forcing and flushing debris out of the system . When everything is flushed out the open nozzle holders the pressure should be zero because there is no back pressure from screens .If you have a reading then there maybe a blockage in the system . Systems are to be TRIPLE rinsed according to your operator manual .

Screens yes they are to be used they are there to protect the spray system from things like caps , plastic from containers , oversize particles that may affect your flow meter etc. Some products may plug the main screen more than others and may need to be cleaned after each load . There are a couple of options for tank screens . If yours is plugging up bad all the time you should check to see if the right micron main tank screen is being used or you may need to change how your premixing wettable powders etc . When ever something is changed in the spray system calibrate the tank and boom pressure they will fluctuate up and down .
Screens yes they are to be used they are there to protect the spray system from things like caps , plastic from containers , oversize particles that may affect your flow meter etc. Some products may plug the main screen more than others and may need to be cleaned after each load . There are a couple of options for tank screens . If yours is plugging up bad all the time you should check to see if the right micron main tank screen is being used or you may need to change how your premixing wettable powders etc . When ever something is changed in the spray system calibrate the tank and boom pressure they will fluctuate up and down .

I talked to the staff at Halifax seed and they gave me this product . It's more for pesticide clean up but does descale the system very well . One cup for 50 gallons . $30 dollars a gallon . Doesn't take long to fill the tank to 50 gallons with a garden hose from the main building .Took me a few hours to double flush both sprayers getting them in and out of cold storage and travel time from main building and wash rack I even used the wand off the old sprayers to clean the outside off both machine . Worked pretty good to get some of it off . At least it will be neutralized to finish the cleaning later .

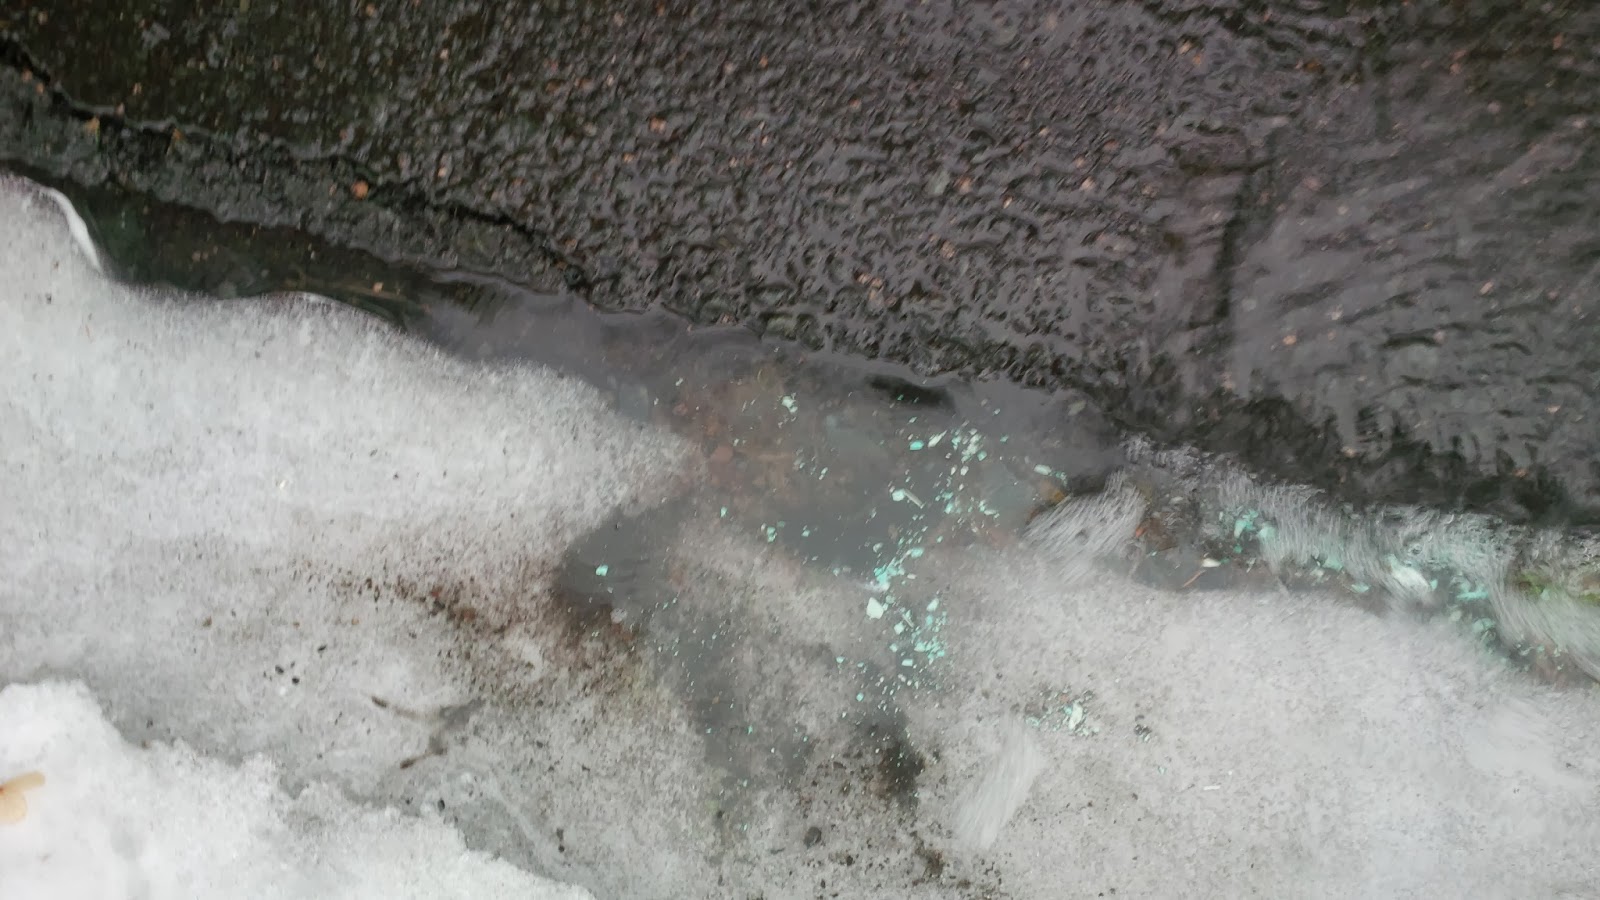
All those paint chip looking things in the pick is the scaling removed in the process . This would have surely plugged nozzles throwing the PSI. off and not getting proper coverage of your products .

When your all done run plumbers anti freeze through the system till it comes out the nozzle openings . Let run for a bit then shut down .
Disconnect the main line to the pump when your finished . That will help drain the system out . The pump will still have liquid in it but the plumbers ant-freeze will protect the pump..

This is what a technician / mechanic at your course should be looking at . Clean... NO breathtaking odor from old products left in the tank . It actually has no smell at all . With minimal protection we can service the spray side of the system safely . I did clean the system myself this time just to see what it was all about . I cannot believe how EASY it is to do and leaves me wondering WHY it is sometimes not done .
Stay tuned more sprayer lack of maintenance and cleaning pictures from an out source .
Courtesy of Smithco Hypro

Abrasives

Chemical Wear

Pump not flushed

SS 1

Impeller ran dry .
Pictures below courtesy of
Mark Luffy
Service Manager
Krigger & Company, Inc.
Clicking on logo will take you to their web page .
Clicking on logo will take you to their web page .

Improper mixing or mixing of incompatible products .

Not long now . Days are getting longer and you can feel the heat from the Sun when it's out . Even some reports of robins in the news .... a good sign.


