Wednesday, March 19, 2014

Reel rack build

Building a Reel Rack.
I'm getting a small collection of reels now and my current location in my shop is not working anymore plus I have to pick them out of the shelves and walk them to the machine most times . 
The rack will have casters and hold 2 sets of verticutters ,spare 3150 reels and 2 sets of GK IV reels . 


Started of with some scribbling a few days before . First I figure out how to build it and refer to ones I've seen on tech  sites. Try to build it on paper to avoid mistakes . Break down all the parts and right down the sizes and amounts of each . There are some things I'll figure out as I go . 


 Using a metal cutting chop saw makes quick work on breaking down the lengths of tubing .  


I'm going to be using 1/8th wall 1.5 " square tube stock . For the laterals that the reels will sit on I'm using 1/8th. wall 2"x 1".


Squaring up the base . It's around 32"x 35"


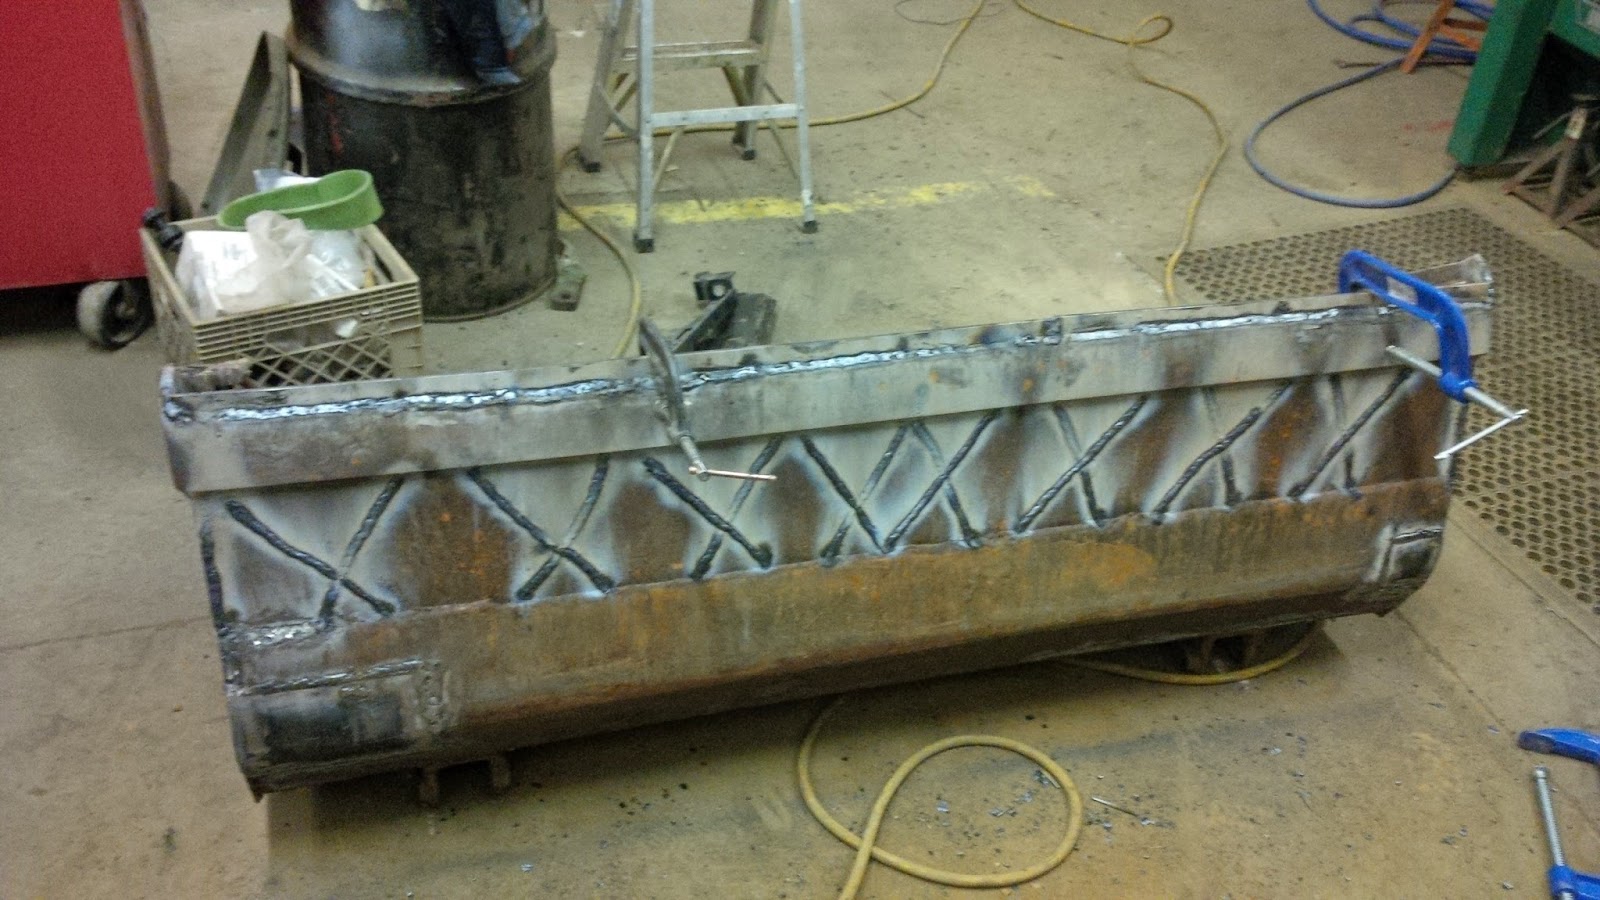
Welded the first shelf on the bottom of 4 uprights . Then held them in place about 16" apart and tack the 2 tops then tacked the 4 bottoms  . The up rights where not cut on angle to butt up . I'll be using a pieces of square stock to weld up between them . Just quicker for me to build it this way . In the back round you can see my current set up . A little tricky to get it tacked up by yourself . 


Next using clamps to hold reel shelves 90 degrees to the uprights . I'm using a level on it's side to get the pieces to match flat .I spaced them every 12 ". so there will be 11" between them . My tallest reel is around 9 " for the hook . 


After welding the top put a reel on it and make adjustments by tapping up on the shelf so they are sitting on the front and rear rollers . Finish welding the underside and sides . 


Well I'm almost done one side and hope to finish it tomorrow . Caster wheels will go on last . When I get back from vacation I'll clean it up check the welds and prime / paint . 

I'll post more picture later . After it's all said and done it's going to hold one set of reels on bottom shelf and 4 sets of 3 on rack . 
Fully loaded its going to run close to 900 lbs. rolling on casters to where it's need in the shop.
Had time today to finish it and rearrange the shop a bit before vacation . Good time for me to take off . Guys should be back soon .most of the snow is gone and grass is slow to come back to life . Hard to believe that we were mowing greens March 22 last year . 


Finished all the shelves for reels .Now attaching the caster wheels . There was a little concern about the weight but after cleaning the slag chips and debris on the floor it rolled around pretty well fully loaded . 


Wheels are on . 


A little test fitting


checked the welds and added a few more supports . Doubled up the caster area to pick up the whole plate . 


Removed all the stuff I had in this corner and rearranged elsewhere in the shop . Looks pretty good and enough room for the new set of greens reels coming soon .  Holds 15 reels .


Thursday, March 13, 2014

Loader repairs

I noticed the other day that my repair wasn't working out as well as planned .Also the bucket had a few holes worn in and the front edge was worn so bad that the sides left lines when back dragging..

Only 4 pins to pull to remove from the loader . My ceiling hoist made quick work to get it on the roll top for patch work on the bottom . 


Had to clamp a piece of thick walled tube square stock to help straighten out the front edge so a new one could be welded in .


Did a bunch of welds on the bottom to help strengthen it up a bit . 


Almost done .


Took a while to straighten the top section . It had been used to pull with  .Not a good idea . 


There was a piece of solid pipe to help strengthen the top and made a couple of hook up areas so it will prevent damage to the bucket in the future . 


Fresh coat of paint.


Not perfect but should last a few more years . 


This area last year was completely missing . I had stacked a couple of 1/4 steel plate that held for a while till it started to oval the hole . 


My junk pile had a few pieces of 1 " thick stock and drilled a hole opening to fit the pin . Lined the new piece up and marked out the plate and cut it out with a cut off wheel . On level flooring in shop I was able to put the bucket kick stand down and lowered the bucket . Made welding in the new collar in the right location easier . 


I'm not a welder but do OK with what I know . Welding in thick pieces of steel involves grinding back a good V groove so you can get good penetration then just keep stacking welds till its all filled in . 


Haven't had any thing pull apart so I must be doing OK . 


All done good for a few more years maybe more .


Wednesday, March 5, 2014

Toro 1250 sprayer Park Brake Buzzer install

This problem I have heard talk about on a few forum sites. There are a few of these Toro style machines that are confusing to get a park brake buzzer installed on them. Of course, guys will drive off leaving them on and wearing out brakes. Yes, you could adjust the brake so it will stall the machine, but you wouldn't be able to pull the handle up and stretch the cable prematurely.  I have occasionally done the same thing, so I can't just blame the staff or training for it. Waiting for parts for the sprayer so I decided to tackle this issue. I did lay out parts switches and connections hooked up to a battery for a test run of what I wanted to do. 


 Put a Club Car micro switch here to activate the alarm when the handle is pulled up or left on.


Going to use a truck reverse buzzer later. Just trying out different locations. I'll install one under the seat on the right middle by the frame.

Ok now comes the thinking part. What switch I was going to tie into? The best option was to use the neutral interlock switch which is activated by pressing the brake pedal. My problem now is that it is only a 2-amp circuit and I'm going to need a bigger circuit to run for the buzzer etc.
The best way to get more amps was to use a relay. I'm using the one below. Just a common 4 pin one. #30 is direct battery power fused with a 10-amp fuse. Should be enough for what I need and won't burn out the CC micro switch since they have a 10-amp circuit. #85 and #86 cut or splice into the wires going to the neutral interlock switch. I cut mine closer to the relay panel before the harness connection. It shouldn't matter which one they go on. If the relay has a diode or there is a diode in the circuit, then reverse them. #87 takes the 10-amp power to the micro switch. What happens is the magnetic coil between 85 and 86 gets energized when the foot brake switch gets activated. That triggers the points to close connecting battery power up 87. That way you won't blow the 2-amp fuse.


Running wire to # 30 on relay. 


Run a wire from micro switch to #87 of relay. Run another wire to buzzer and to ground from buzzer. If it works in reverse, then switch wires on micro switch.


Cut or splice in wires to 85 and 86 from neutral solenoid switch. I chose to cut and put them together on one end of butt connector. Do one line at a time so they don't get mixed up. 


Mount relay with the rest of them.


Wires hooked to micro switch.


A few more shots of wire connections 


Use heat shrink covers on connections. The butt connectors came with heat shrink built in. 


Picture of neutral lock solenoid. 


Great tools plug the clips on positive and negative battery terminals.


Then you can probe around and see what is negative and positive. green is negative. 


Red positive. Some wires will show green till a switch is activated then turns red . 


Great for checking grounds.


Fantastic crimping tool. Perfect crimp every time. 


Cleaning up wiring cutting them to size and split wire loom them to give it a factory install look. 


A few more pics below.


\Notice the battery location. Much better here.


After zip tying everything up I rechecked to see if it was working and to my surprise it did not. Found a broken ground wire and repaired it. 

Waiting for my truck type reverse buzzer to arrive.