Always read the manual and follow the safety precautions to prevent serious injury.
Getting ready to do more off season grinding and decided to take a few pictures for my blog.
Before starting check the HOC (height of cut) and if there are any mowing issues check that the reel frame is square, and bearings are good in both reels and rollers. Good time to grease them to.

John Deere 2500 E second machine getting ready with the first reel.

Too thin to get another grind out of them.

Going to try the JRM this time and see how they do. I'll get back to these in a bit.

Back to grinding. I'm going to start of relief grinding the cylinder. The factory reels have a back cut on the blades to help reduce contact area. Basically, you're just thinning the blade out. I like this process to speed up spin grind time during the season. The pointer shows the relief grind. There is a fair amount of relief left on this unit. Usually, I let them get down past the halfway point so I can still see the relief grind to set up grinder to the factory angle. I have some 1600 Toro walkers that will be just spin ground do to the fact they are solid mounted units. Spin grinding alone on the Bernhard system does provide some relief.

The relief grinding attachment is mounted to the side of the grinder. It does a great job but is a manual process and does involve some reel cutting theory.

Slide the reel back onto grinder.
The table has to be dropped a bit first.

Then the relief unit is unpinned and folded down.

Lifting the table back up locks it into some notches on the opposite end.

Now centering the reel pull up so the rear roller goes in the bracket. I have an attachment on top here to protect the rear roller brush kits. is an adjustment screw to pull the rear roller closer of farther away changing the angle of the reel unit. You may or will have to adjust this if you cannot get the stone away from front roller or not able to get the adjustments on grinder to line up.

The attachment comes with different mounting options to make it work on most model reel units.
Find a good clamping point on reel frame. The first time setting one up I would keep the grinding head off to one side out of the way. Try having it about a 45-degree angle for a starting point. Clamp both side. There are two adjustments one for clamping and one on rail.

Now you can position the hand grinder in place.

There are a few adjustments on grinder to get close to the angle you want on reel. This will move head up and down.

The left one can fine tune the finger that the reel land rides on. the right one adjusts how close to the stone the guide finger is. (should be as close as possible)

The ones on the grinding head rail I use to even outside to side for reel contact to stone on the guide finger.

Working on one side find your angle by making adjustments and scratch the land to match. Having used a Foley 388 in the past and older model Foley grinders at my previous course I was able to set it up fairly quickly.

Scratch mark is pretty much where it should be on the factory angle.

Nice little wheel attachment to help move reel back and forth with light pressure on finger. I let it drag in my fingers one way and turn it manually the other while transversing grinding head

While the grinder is NOT on go back and forth looking and the ends to see how close the grinder is to the reel. right bottom of grinder will adjust the in feed. If the in feed is not even on the ends move
these adjusters on either end up or down. Doesn't take much movement to make a big difference when it gets close. Any adjustments made will affect other adjustments. e.g.: check in-feed adjustments during and after any adjustment to make sure it's not jamming on the stone.

If for some reason the reel head angle doesn't work and grinder is hitting front roller etc. . Then loosen the frame clamps a little and adjust with this screw knob to get a steeper angle. If you do this the process starts all over. The best part is the following next units takes very little time to set up. Thing to watch out for is forgetting to loosen of clamps and roller will rides out of holder. Grinding head sliders back and forth on theses rail. A little stiff to use but the machine is brand new.

Grinding head stops. Adjust the stops so the finger comes of the reel on the hand wheel drive side. It's easier to see when moving to next land to grind. On the opposite end adjust stop so reel land rolls off finger a bit but not completely off. You're grinding ONE land at a time back and forth before moving to next one.

In feed adjuster.


When checking the grind make sure, you're not grinding 2 blades at once. The more lands on a reel the more accurate you're going to have to be.

Mark one land as a reference point.

Make a few light passes on a couple of lands and check how it looks. Fine tune some adjustments to get it even. Usually, the ends of older reels get beat around and may look thinner on the ends. they should look even on the ends and same spacing across the middle.

Grind each land back and forth till you reach your starting point. I like to go clockwise around and adjust in-feed then counter clockwise. The idea is to get as even a grind as possible . (The first 4-5 lands are ground a little more than the last ones so by going the other direction you can keep it more accurate )Grind down leaving a 1/16" or 1/32" left . they will spin up in a couple of minutes .

If you have never relief ground before I'd suggest to do a 7-8 reel blade ( fairway unit ) to get the hang of it . Also when going from one land to the next watch the finger land placement so not to nick the ends . Especially important on an 11-14 blade greens units . It does grind pretty aggressively . Pretty impressed on how quick it was to relief grind an 11 blade reel .

Back to beknives .

Remove screws and discard . If the screw driver and wrench doesn't work

then resort to the punch and hammer .

clean off the old bedbar surface

my 4.5 " grinder made quick work of it .

Block sand after to keep the surface smooth and flat .

Clean the screw holes out and I use never seize to help keep corrosion down .

sliding the new knife back and forth to smooth out compound evenly .

I like starting off with the centre and ends first . Lightly turned down to get the blade screws centred in bevels of knife . Install the rest of the screws and torque from the centre out. I did notice that the back of bedknive was shorter than the OEM ones ?Maybe to prevent dragging on lower heights of cut on worn down reels ?

Yes NEW bedknives have to be ground . No 2 bedbars are the same in the field once they are used . Centring the bedknife on the Anglemaster . I have a little shim ( around .5")I use to get the adjustment even on both ends . Make sure the bedknive is flat on the bar . Tighten up the clamps /holders .


Adjust this clamp to keep pressure on back of bedbar to prevent movement . After adjustments make sure bedknive is still flat on bar .

I do a light cleaning and lube after my grinding sessions . Wiping up light oil residue.

Bar sitting flat . If you don't think the rails will corrode ,,,,look at my new unit after shipping .

Scuffing the new bedknife

A new bedknife gets the dial moved to zero and stays there . If it was used you score the wear area and set to zero then move adjustment tilt handle to required top face angle . I have found out (trial and error)that I could play around with this setting depending on how much wear.

Setting up the stops for auto transverse grinding head . push it fully against the stops then push stop and head over till it clears the bedknife .

If the shim I used was under a half inch the grinding head might hit the bedbar mounts . After top facing back grinding head way back and tip handle ( in this case)to 15 degrees

knocking any burrs off with a piece of hardwood .

Before spinning my first reel I'll set the beknive back in frame . If you had mowing issues it's a good time to check for conning . Install bedbar bolts but leave adjusters off . Let the new bedknife sit against the reel and measure any differences. If it's off by more than 10 thousands of an inch ,,,,now would be a good time to correct it by setting up your grinder as per usual then add or subtract the difference in the grinding towers . Almost like a landscaping transit. Think hard to make the right measurements . They say 10 thousands of an inch because the bedbar can torque that much without affecting the cut . Personally if I see it and its measurable I'll correct it if the opportunity presents itself .
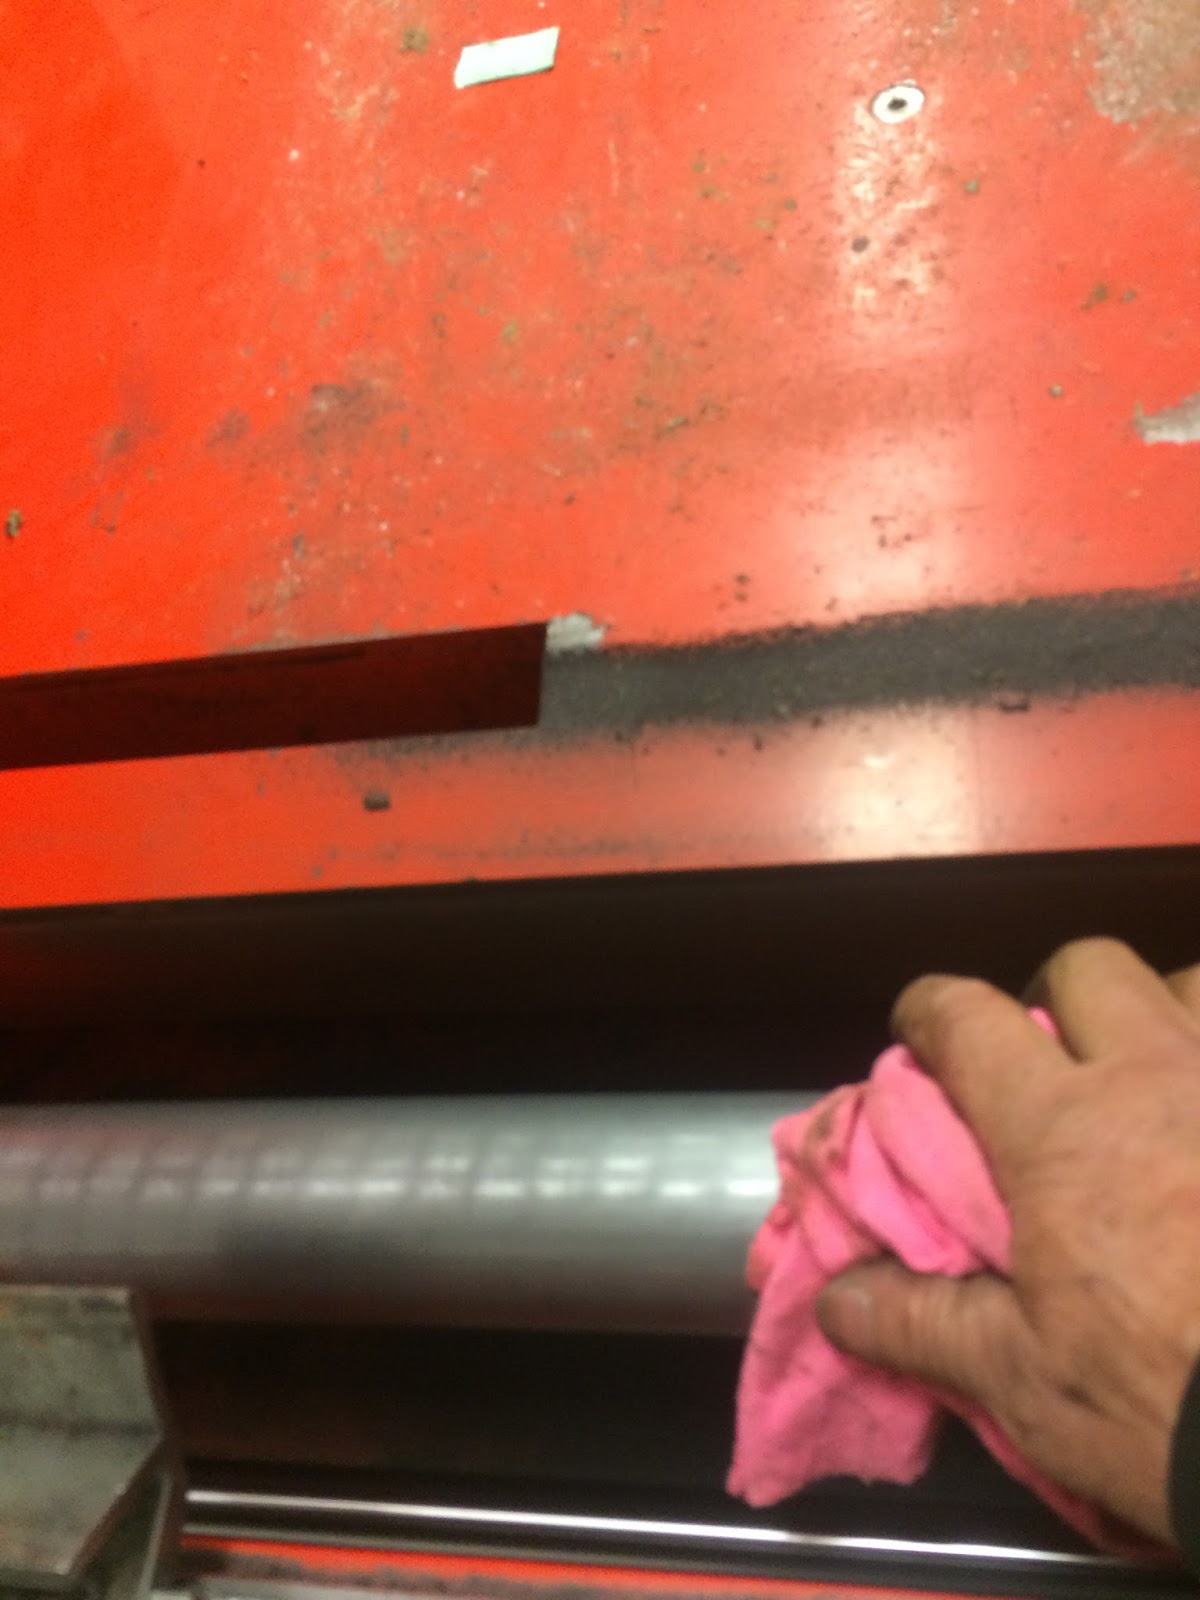
same deal wiping down before starting set up .

Back off the towers first evenly

Pull reel to centre of grinder and adjust and line up front roller brackets .

On the first reel I like having the bedknife on for adjustments . Trying to spin grind as close to bedknive as possible . You can record the settings for next time . After the first reel goes on the rest set up in no time .

When adjusting the trasversing stone setting only go to the halfway point on stone . Then stone never leaves the reel . Bernhard grinding stone towers are spring loaded .

adjustments are made here . You can loosen both brackets and move them evenly using the bar .


You can record this setting for this model reel to avoid this step next time . Caution there are a few reels that need the bedbar in place to give support the reel frame .

Before installing the drive I'll disengage the transverse and adjust the stone so it feels even going across while spinning the reel backwards ,

Brush kits are in the way for rear roller hold down . I found using the bracket this way work good on this model .


After the initial set up .
On a recent seminar the instructor set up the grind quickly by spinning the reel and stone but transveresing by hand . Works great and a little faster set up .

Once it sounds light and even you can re zero the towers by pushing the button twice on each side .You can now adjust for conning if needed then re-zero.

Back off adjustments to -5 to -10 before locking in transverse for the stone to grind . Adjust back up to zero and then evenly a couple of thousand at a time .

The perfect no contact cut should cut the first piece of folded cut strip and pinch the second .


After cut set up I'll set my greens HOC to around .200 to make for a quick adjustment in the spring either way depending on conditions .

The drive coupler can easily be moved from one side to the other. There is a plug in on opposite side.
I'll update some more and adjust post as I get feedback .
Keep them sharp!
Great post. When setting up your reel to spin grind do u center the stone to your reel spline? I was taught that the stone should be towards your front roller in about a 1oclock position. Is it different with bernard grinders? We have a neary 555sri grinder but looking at buying either foley or bernhard.
ReplyDeleteYou set it up by leave bebknife on to get the right setting . I just write it down for next time
Delete