Our new material handler developed a tear . I did a temporary stitch job to make it last till a new belt came . Surprisingly it lasted a few weeks getting the remaining fall work and new tee decks near completion . Great machine and saved the crew loads of man hours .
Yes it is a big job to change since the belt comes as one complete piece .
They can be taken somewhere to get a joint installed saving on disassembling the machine .

One of the guys cleaned it all up for me .

Originally I was going to lift it out as per instruction using the shop over head beam .
After much thinking and planning I decided to go a different route . Same route the guys at Veseys used a few years back .


Disassemble all the hardware in rear of hopper . I also flipped the tailgate up .
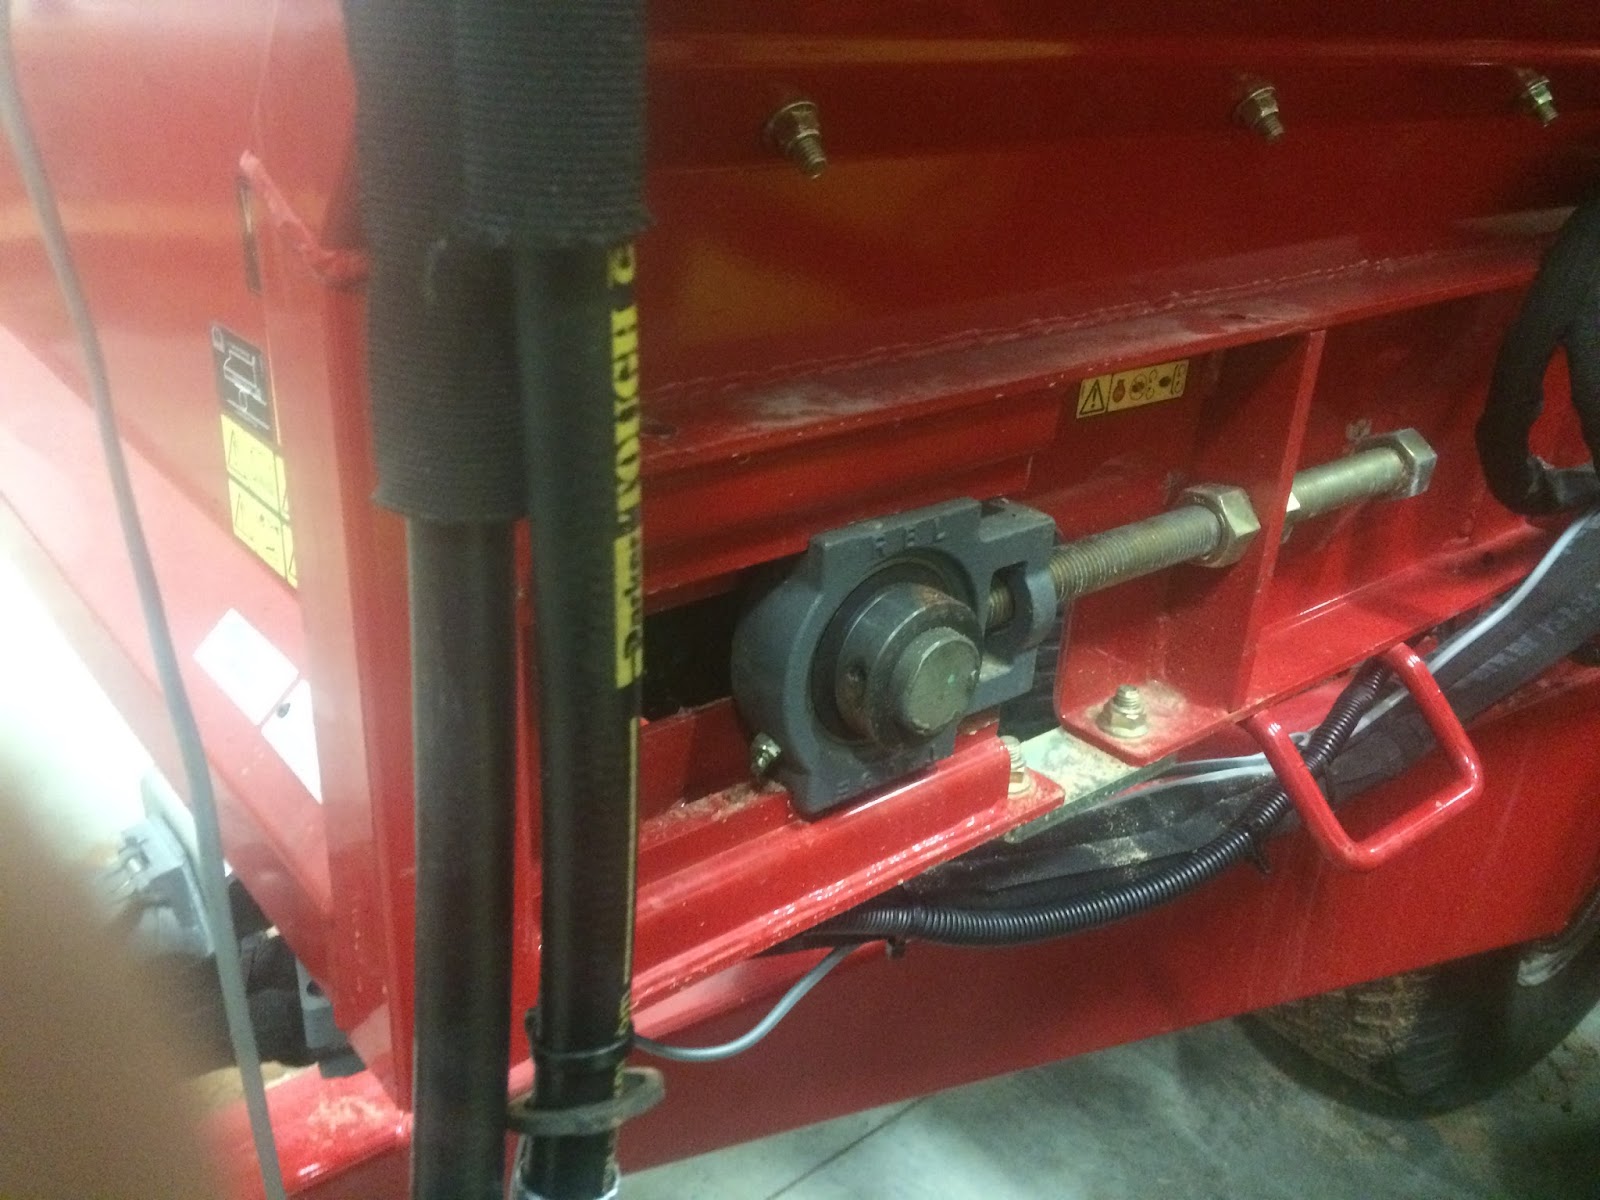
Front adjusters ...bearing case slides in grooves .

Hydraulic driven chain . Pump can just stay on .


These bearing collars lock bearing to shaft . They actually turn on bearing and set screw holds it in place .

Chain tensioner removed .

Lots of torque here .The idler gear is actually pushed down and held in place with an Allan head set screw . You will need to heat it up to get it to turn . ( left in picture )

Remove the driven gear . This machine is new an older model will need a puller .

Removed the collar on bearings and slide them off the drive roller shaft . The drive rollers are pretty heavy . ON REASSEMBLY THE LEFT SIDE (direction of travel )THE BOLTS NEED TO BE INSTALLED BEFORE ASSEMBLING THE DRIVE ROLLER. If you forget ...it will have to come back out to install them .

Because I am sliding the roller tray out the back the rear roller and brackets had to be removed .The large nut on the left was removed ..the one on the right I moved over to pinch the centre one in place . That way I'm not changing the factory setting .

Front was the same removed adjusters trying to keep the original setting on both sides . The front is awkward to work from but managed to loosen everything off .

Bearing housing are grooved and slide in the track ..at the point where it drops out I slid the shaft off one end to slide the bearing out the rest of the way . Reinstalling the the bracket made for a good resting area for the end of the shaft so you can get the other side apart. This roller is also very heavy .

The fenders make good shelves for parts .

I like to install things back the same way so marking one end of shaft with an R or L for reference .

Remove all the rubber shields and plates on side and front . The extra room will be needed for the belt to fold up on top .


Front panel . On reassembly you will need to re silicon to help keep sand / material out .

A good thing about a scissor lift is that they are mobile . I get a chuckle now because originally I didn't know what I was going to use it for . Use it everyday . Sliding it over I could raise it and push it in under the rear section to pick up the end of the roller tray .

24 bolts later and it's ready to drag out .

Both my magnetic trays are loaded up with nuts and bolts .

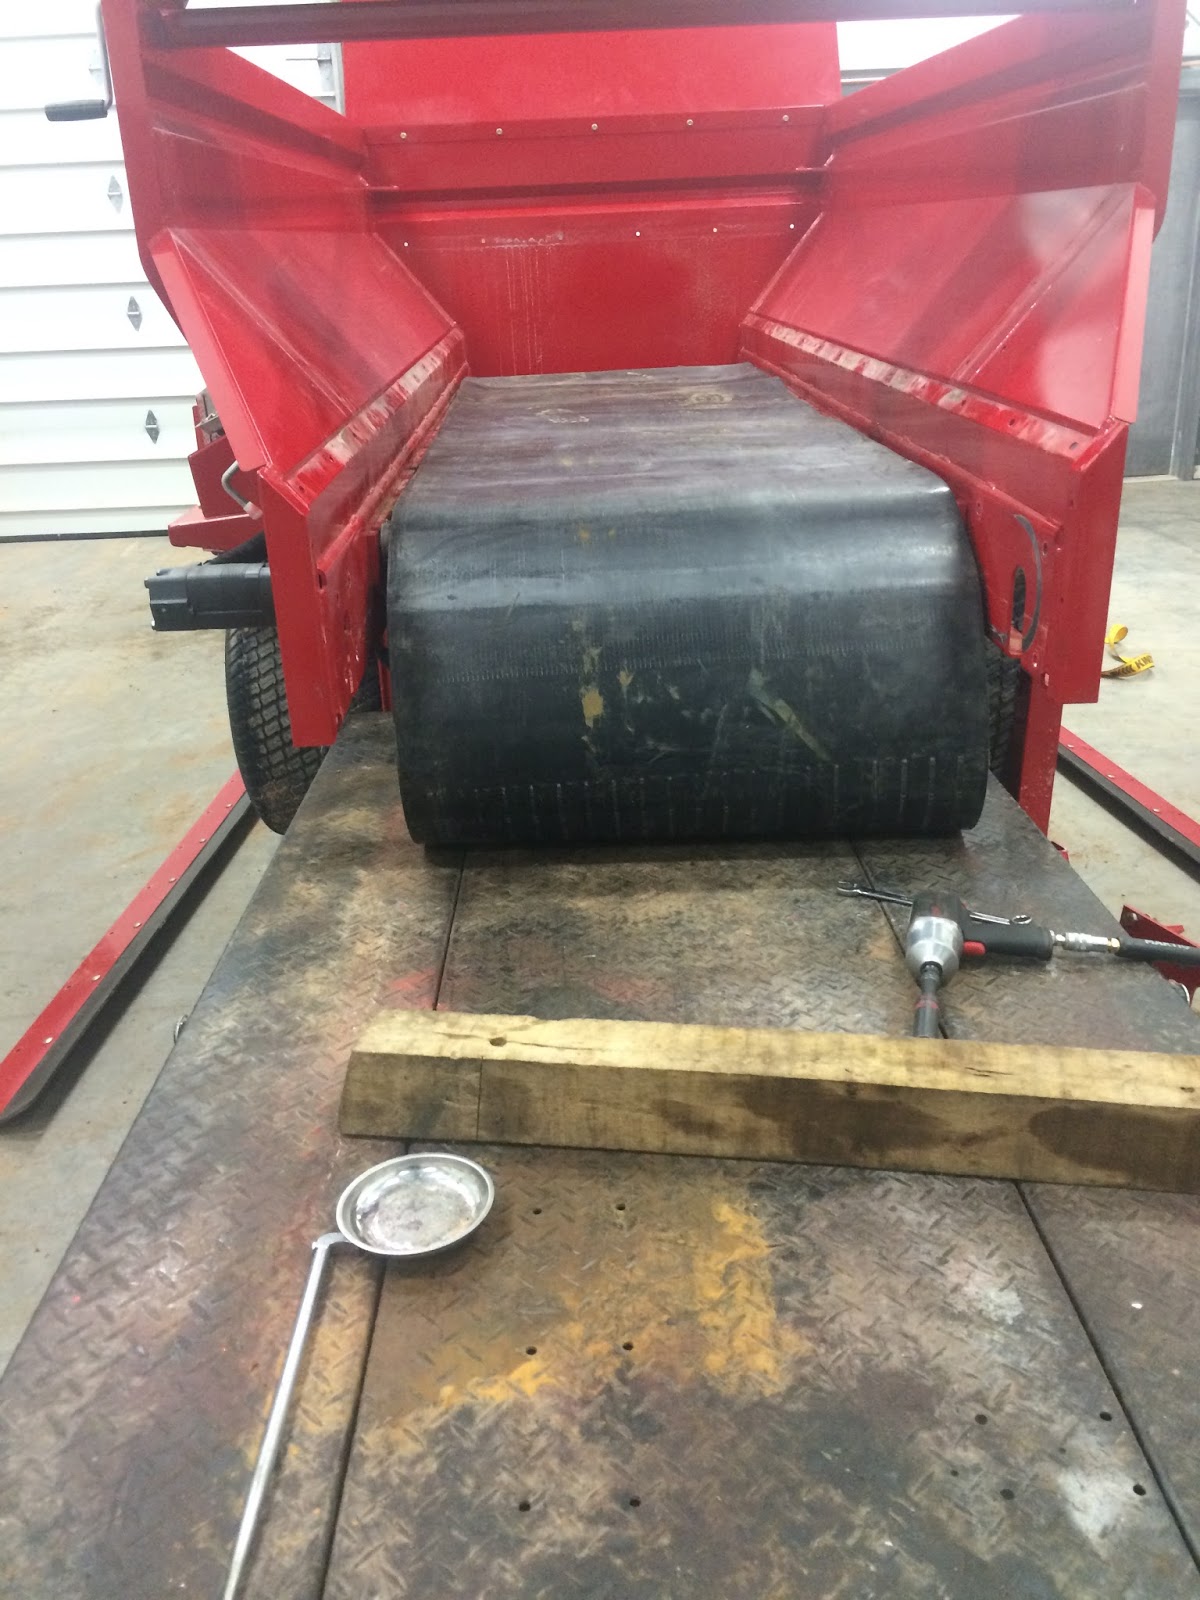
the roller just pop out easily . Wrapping a strap around the frame I was able to grab a hold and walk backwards on the scissor lift . Actually drug back easily .

and out .

The roll top from Lawsons came in pretty handy to hold tools .

Remove the remaining rollers . No tools just lift up and out .

Directional arrow faces rear of machine .

Flip the roller tray on end .


I was just able to muscle the belt over the frame and flip back down onto scissor lift . Scissor lift was on the floor for belt install . Slide the rollers back in under the belt

Lining everything up .

Right side panel floats and I was able to put a piece of re-bar in to spread the opening a couple inches wider .

Pushed it in as far I could almost half way .Using straps I was able to get it the rest of the way fairly easy .


Lining up the holes for bolts to go back in . Going to the back end first I dropped the scissor lift and placed a 6x6 under the roller tray frame .This way I'm able to raise and lower one end to get it started . An alignment tool to push in a bolt hole help greatly .

Loosely tighten 2 bolts and moved to the front . To raise the front I move the strap to the top centre .

Perfect !! the worse is over .
Getting ready to install rear drive roller .
Man power 1 about 5.5 to 6 hours into it now , Might need a guy tomorrow to shove the bolts through and hold for the rubber shields ,

Getting ready to install the front roller .Clean everything up well . I set one bearing in place and started the adjuster to hold it in place .

Slide the roller on belt . tapping the bearing casing a bit to get the angle needed to start the shaft in the bearing .

Leaving these plates in place gave the roller shaft a place to sit

Now I was ready to put bearing on and raise shaft up to slide in place .

Straighten the belt out before adjusting

Keep them roughly even . Later on will run the belt for final adjustments .

Greased all the bearings etc.

Putting duct tape over the bolts made easy to installation the nuts by yourself .


End panel next.

All done ....looks great .
With good planning it wasn't as huge a job I had thought it would be .
P.S. This is a new machine and it came apart very easily . If it was 20 years old I would have replaced all 4 bearings and used the cutting torch to cut off any troublesome bolts to speed things up .