We have few '98 Club Car turf II left here . They don't owe us anything with 25 years of service . This unit was still running well but smoked a lot going down hill and started consuming a fair amount of oil . A machine this old we like to keep running with minimal expense . You can do a ring job for under $200 plus your shop time 6 to 8 hours .
Engine out and on the roll top . 30 min. to an hour .
Remove bolt holding the primary clutch on . It a clockwise off bolt .
The outside edge is threaded to use a puller . I like to put a little grease on the end . Using my impact gun use just enough tension to pop it off .
Off the engine . Stand off to the side in case it decides to fly off .
This engine runs clockwise . There are some models that run counter clock wise . So if your installing starter/generators you want to be sure you purchase the right one and pay attention to wiring .
Little tip from my shop teacher in trade school . If a bolt is rounded a bit ... tap the head with a hammer and try again . Works 90% of the time . Had a little problem with one of the side case bolts . Heat shields were removed previously .
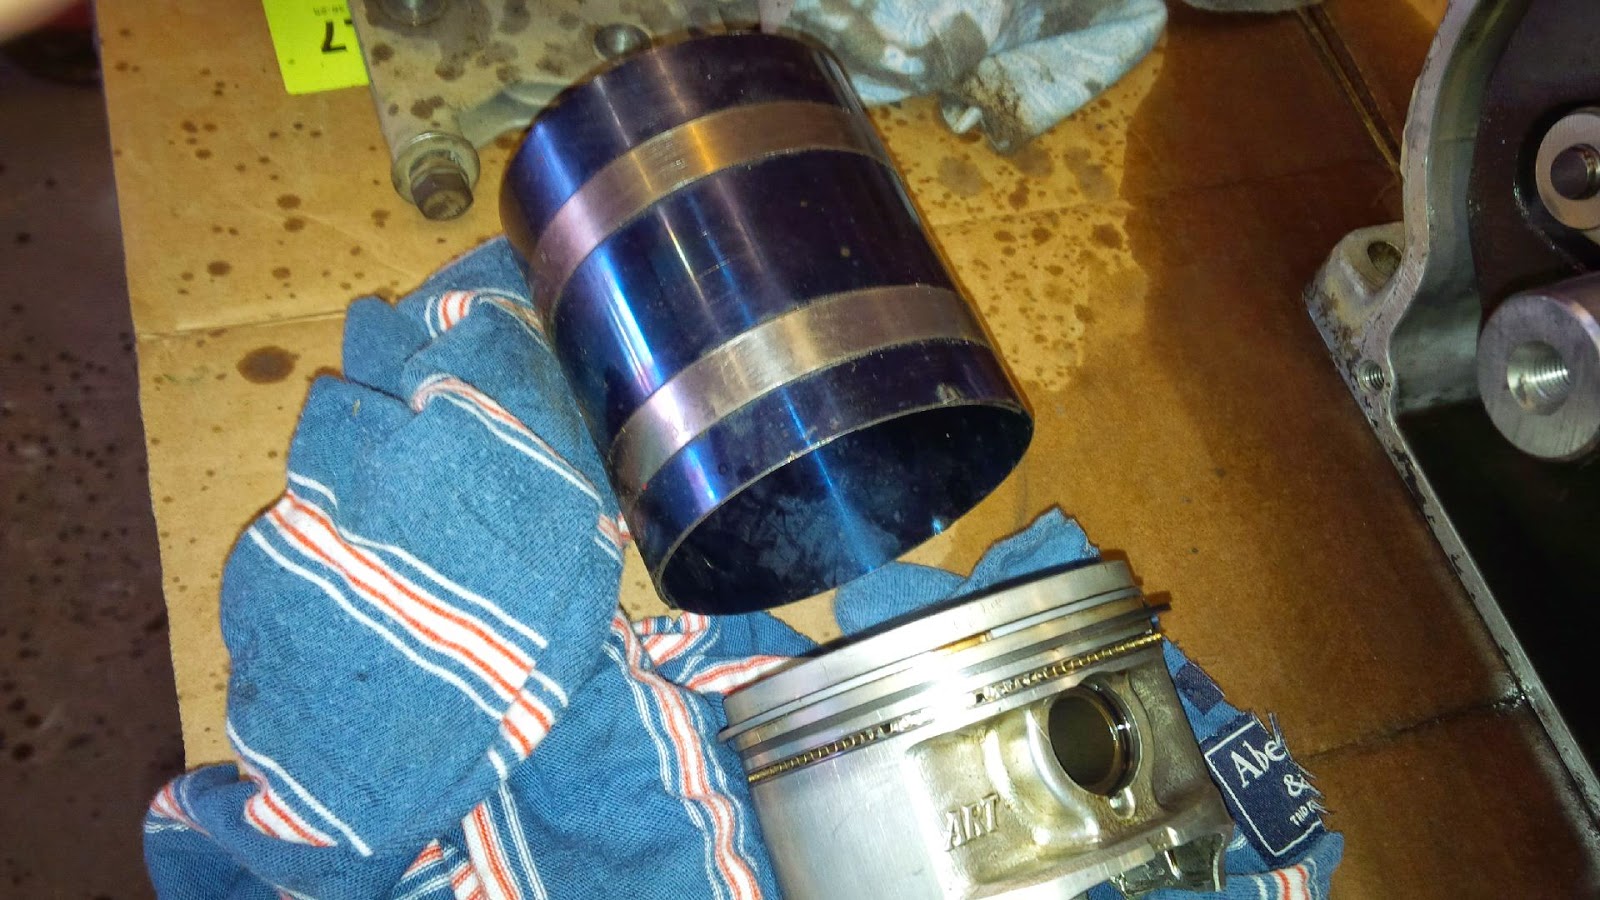
Removed Head . I like to crack all the bolts loose a bit before removing them . Piston looks fairly clean .
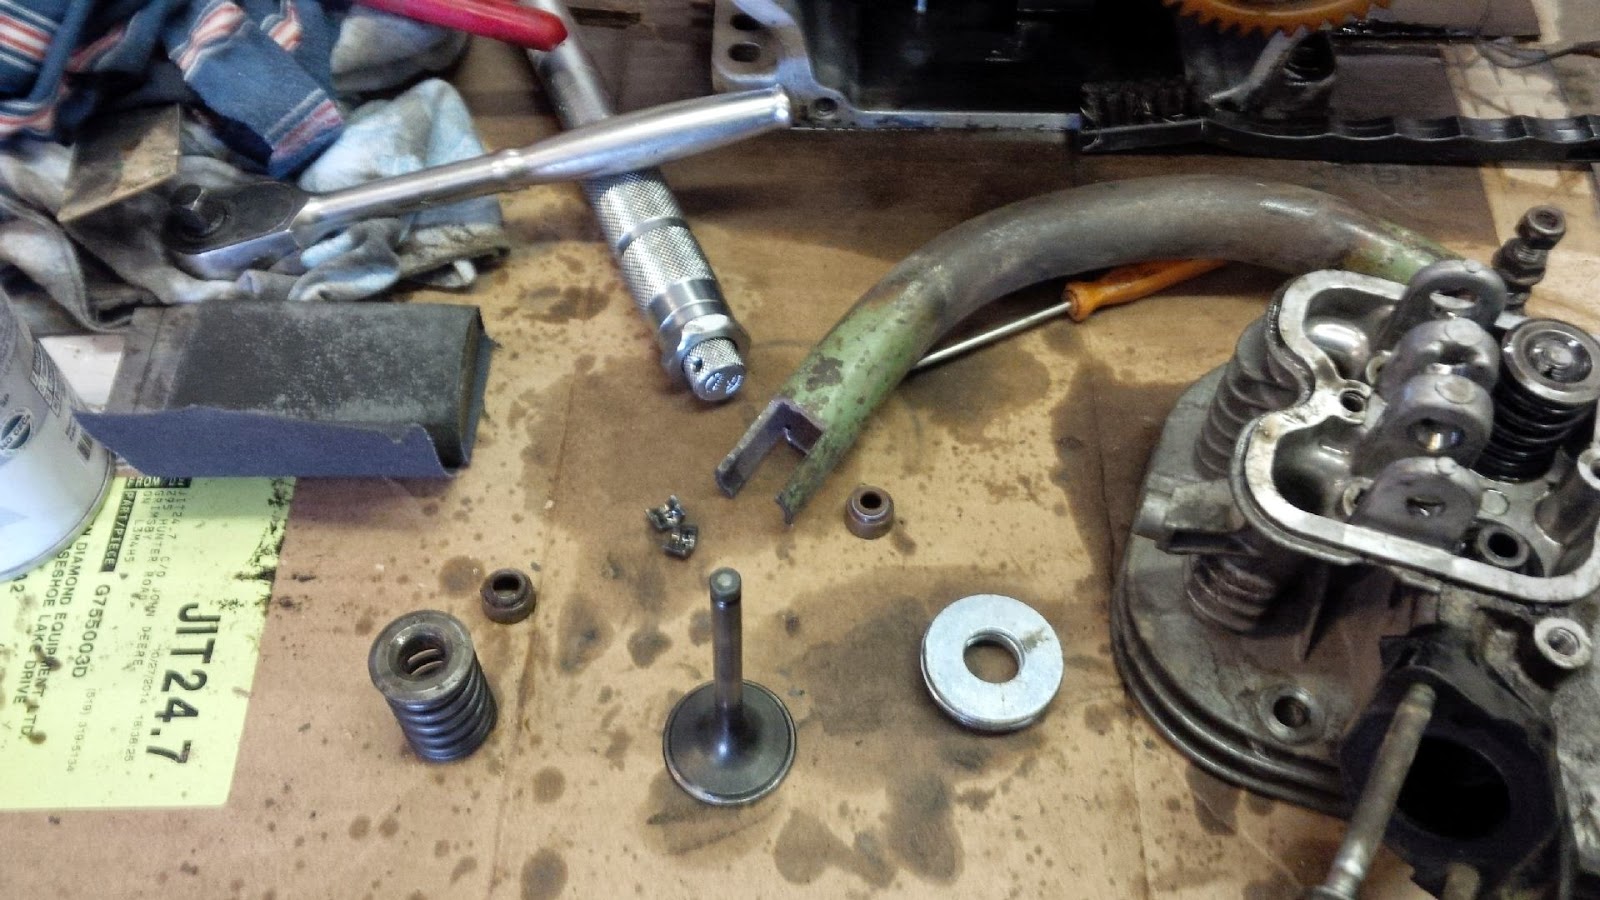
Magnetic trays are great keep valve train parts in such an order to put them back in the same location later . Found a mystery washer in head .
This is as far as I'm going for tear down to replace rings . Remove connecting rod bolts . I use a small punch to mark cap and connecting rod on one side so it can be assembled back together . The cause was a broken top ring .
Pay attention to the top 2 rings . They have a little R on them that goes to the up side .
Always check ring end gap and file ends down if they are to tight . Specs are in the service manual .
Before installing rings you will have to deglaze the cylinder wall so the new rings can seat properly . I'm using 10w30 motor oil for lubrication . Clean everything up before rebuilding engine .
You should see scratch marks up and down cylinder .
Ring compression sleeve .
Lots of oil on piston and cylinder.
Using the but end of a wooden hammer works well to tap it back in . Watch out for the crankshaft journal . Line the connecting rod up . Piston only goes in one way and is marked on top . Service manual is very detailed .
Lining up connecting rod and installing bearing cap.
use the torque settings in the manual . You will have to rotate it either way to get the wrench in their .
Clean up block and head for head gasket install .
I don't have a valve spring compressor . I'm using my shop made tool a magnet and large washers .
Set the washer on the valve then press down ..I use the magnet to get the valve retainers out . If you give them a light tap first they will loosen up for easier removal .
Both valves needed a good cleaning .Most likely from burning oil all summer .
All ready for head gasket .
The pins(sleeves)in head help hold the gasket in place . Head gaskets are installed dry .
Should only go on one way .
Torque specs are in the service manual and recommend torquing head bolts in 4 increments .
I also line up timing marks so rocker arm install will be easier . The valves are not tight in this position .
Torquing head bolts like most gaskets they are done from the center out criss crossing pattern .
Slide the pin in lining up rocker arms .
Don't forget to install the mystery washer that you see in center of picture .
Case gaskets surfaces should be nice and clean and installed dry .
Don't forget to re-install spacer washers .
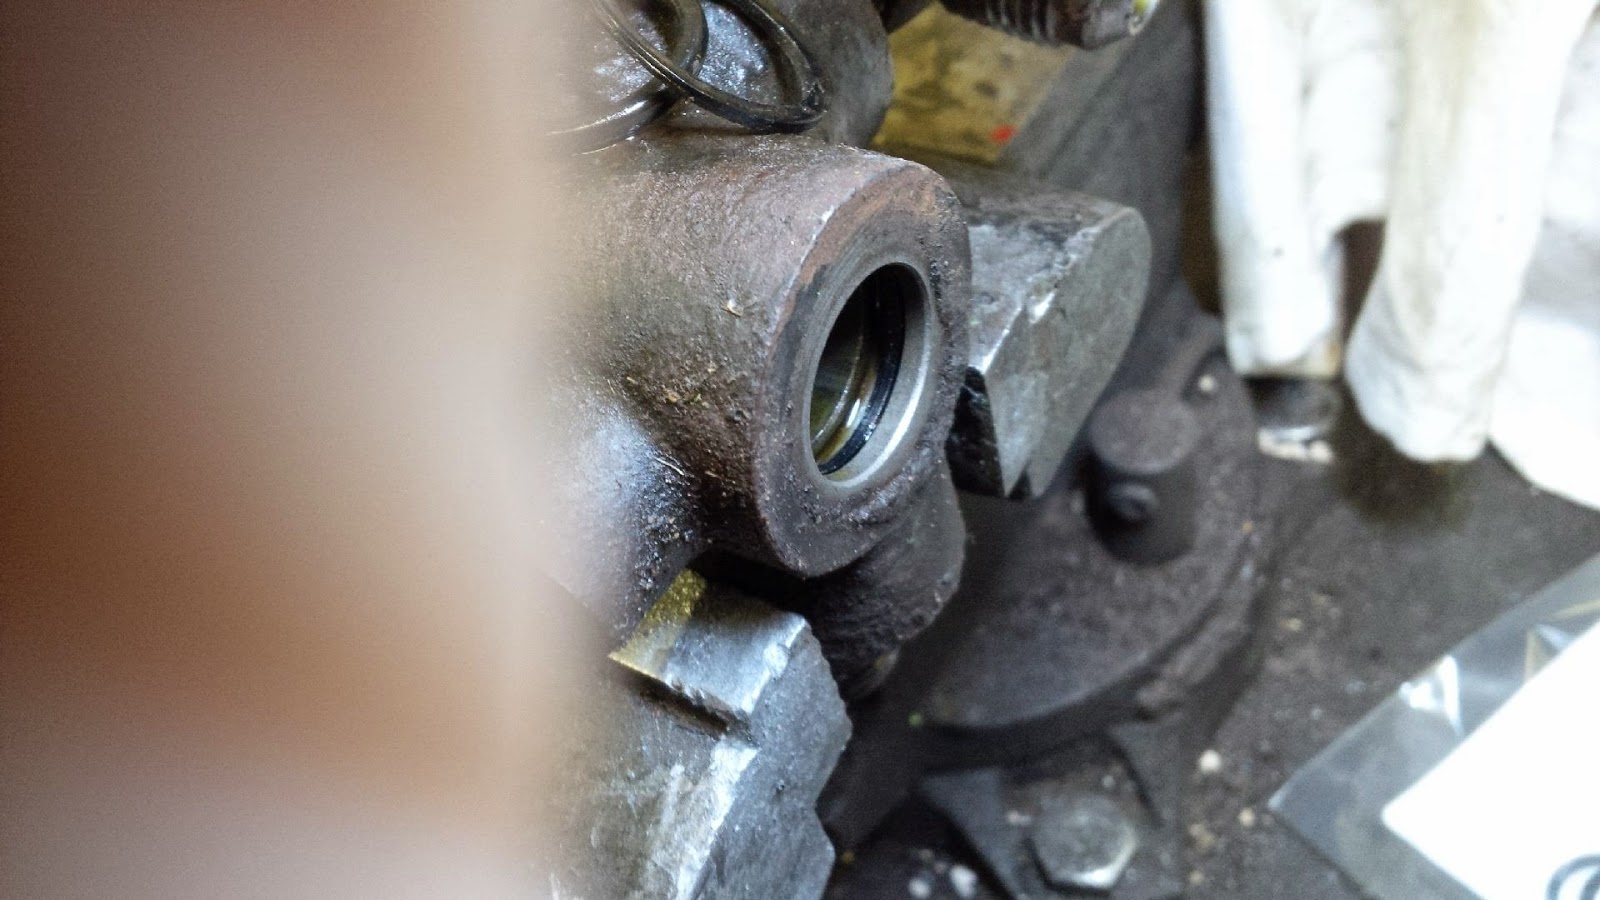
Replace crankshaft seal too.
Crankcase cover has to be torque down to specs too. Same idea work from the center out in a criss cross pattern . The service manual shows the proper pattern .
re install primary clutch ,..new oil filter..plug and oil .
Clean the engine cradle out.
re-install engine.
Hook up all wires and cables . Usually they are laying near their location . If it's your first time label everything before removal .
On the back of engine their are 2 studs that line up in the center location .
9/16 or 14mm can tighten them up from the under side . So when removing engine just take the 2 center nuts out on backing plate .
Install and tighten 4 engine mount bolts Try to line up in original location . You should be able to see the washer marks .
May have been the cause of the problem . Air tube was so thin it wore a good 2 " split in it . Temperary fix till the part comes in .


.jpg)


.jpg)