During the grow in 10 seasons ago it was getting labor intensive to hand mow and use trimmers to clean up overgrown treelined side cart path edges.
After the second season we dedicated one 7400 A mower for the job to free up staff to do other need tasks on the course.
My idea at the time was to use this machine and save the other 3 units on roller wear and damages.
Last season we traded the unit in and were left to going back to hand mowing, the other 7400 A is now the pre fairway cut machine.
I knew this was coming eventually and had an idea to try something out.
Looking around at my junk pile I managed to take a good engine and deck from different machine to get a base unit started.

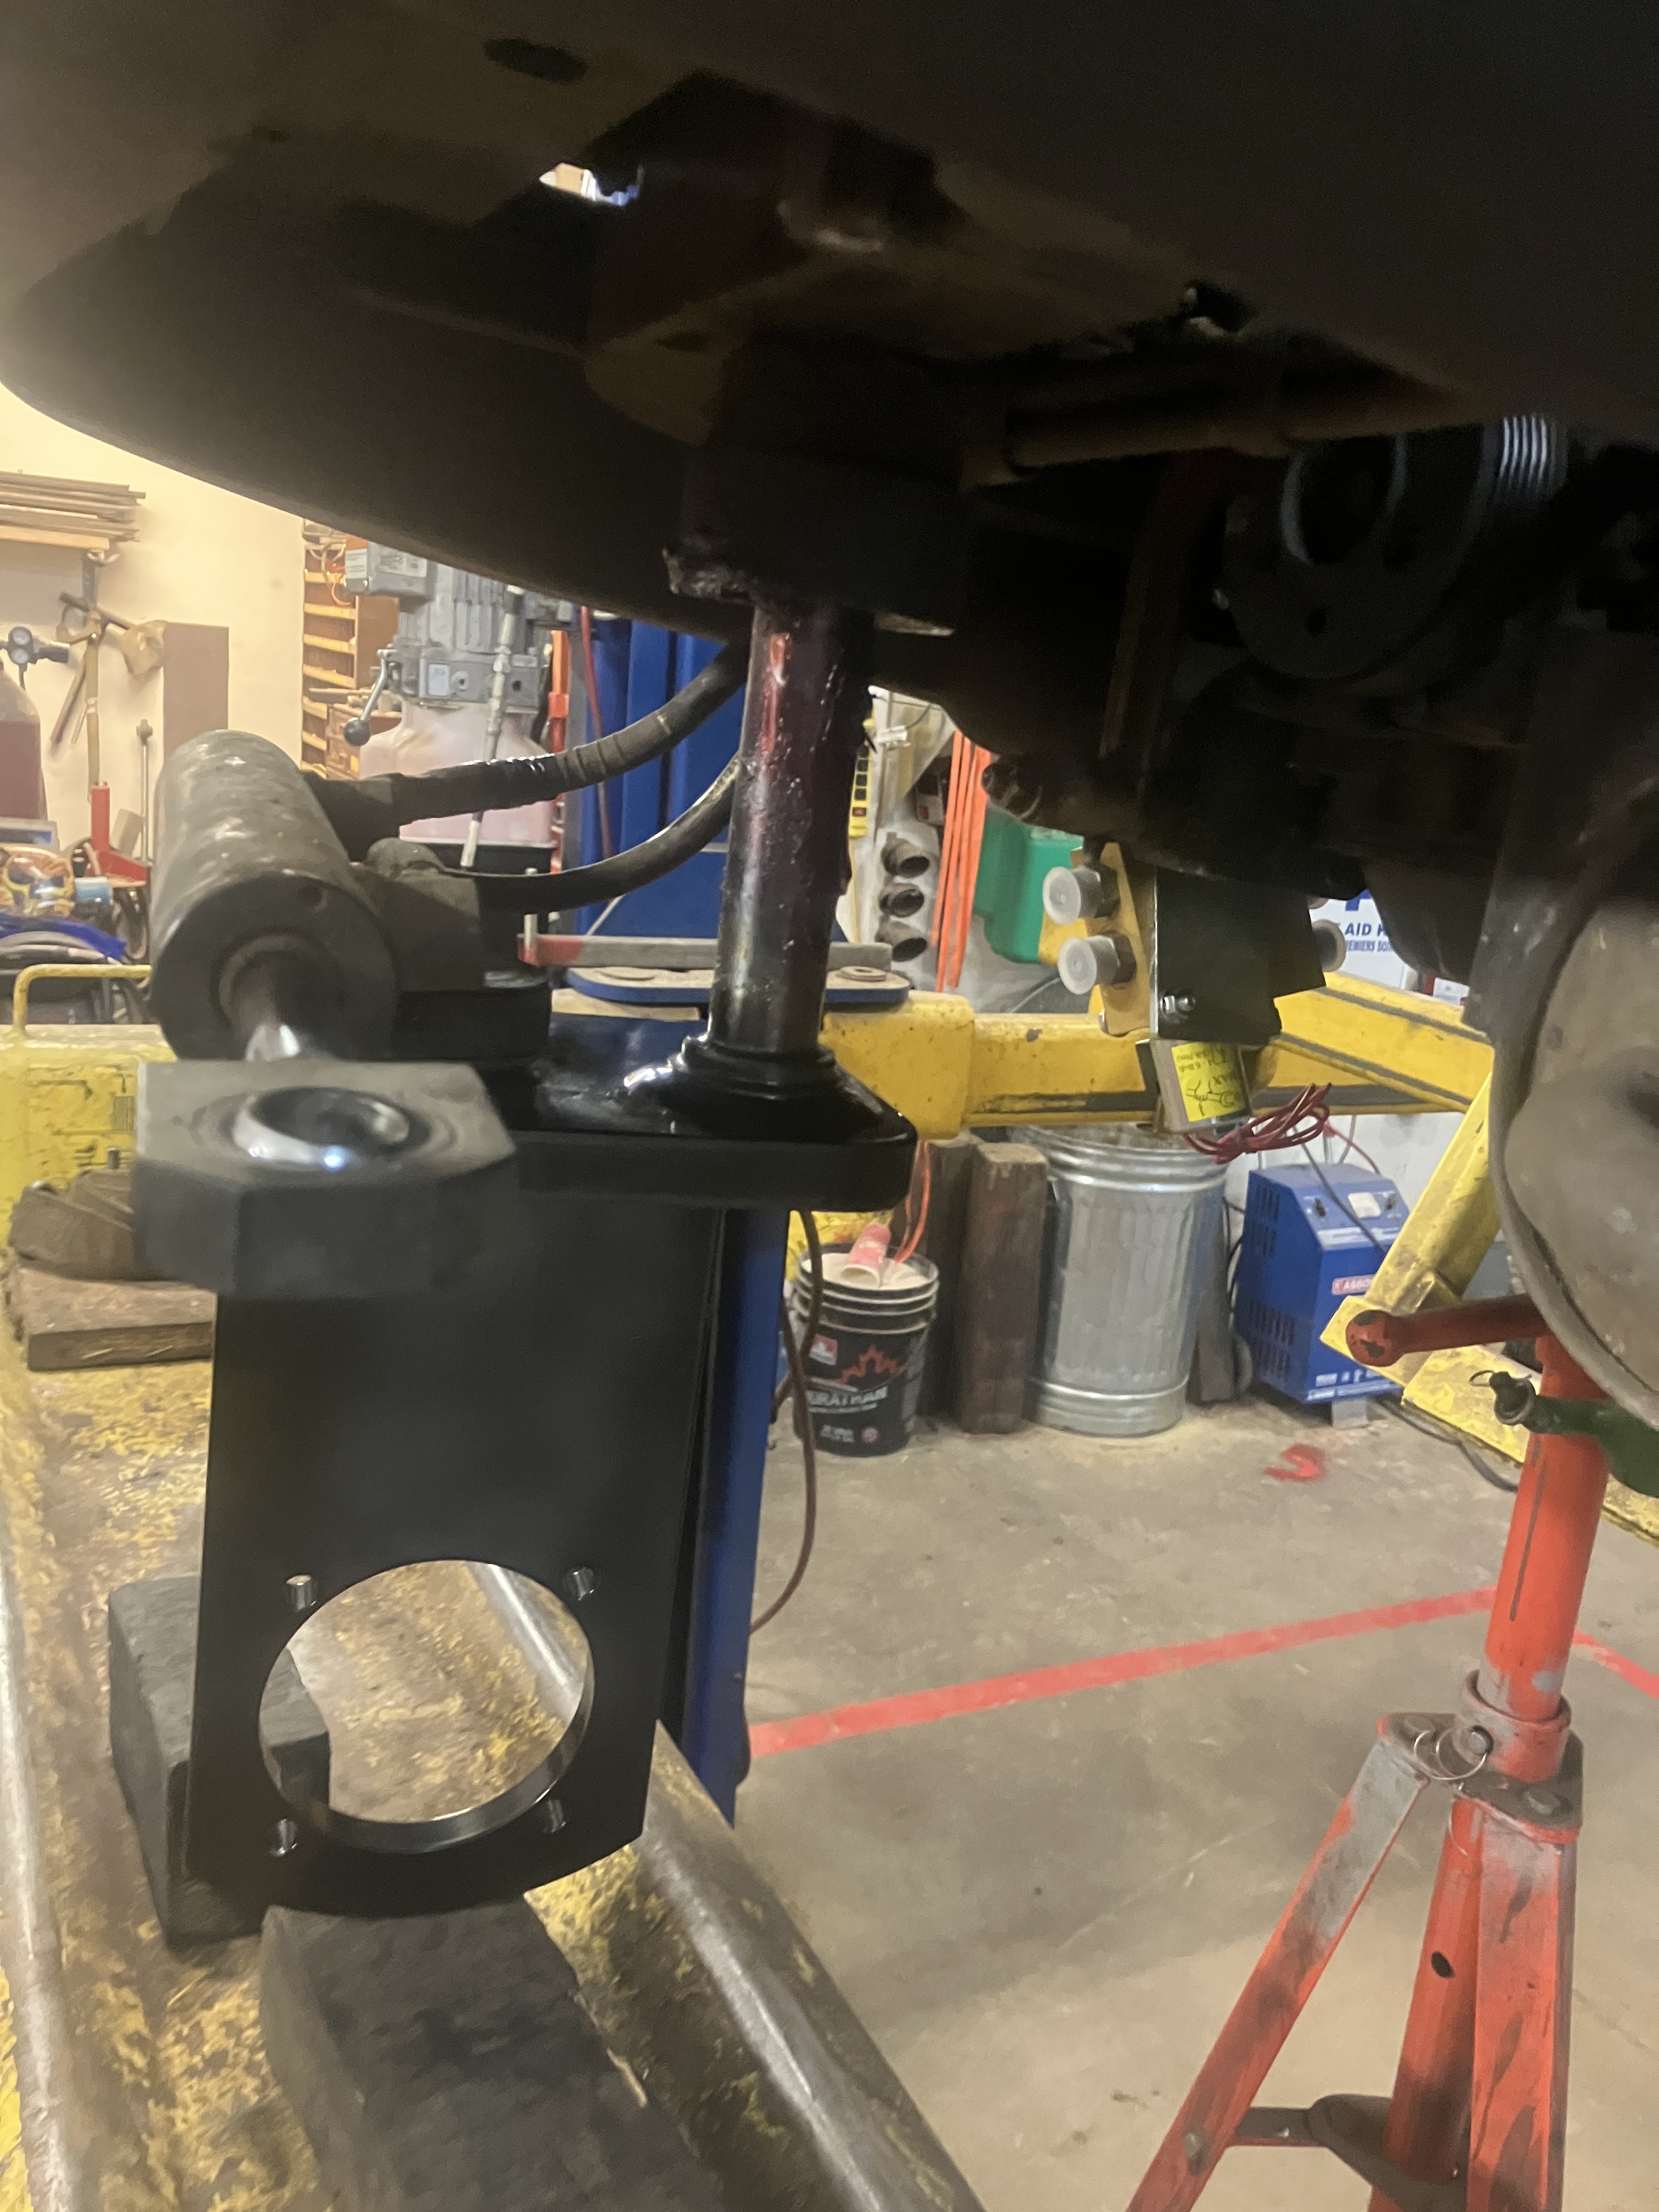
Doing a test fit. so far so good. I love our TX gator because of the square trough access in the body I can make attachments to go on the machine.

1.5" square tube stock 1/8 " thick make a good solid bar to attach mower too. Stick a bolt on one end and slide it through the frame.

1.5" angle from some scrape pieces to bolt to deck of mower and a hinge point for mower to be able to follow the ground.
Once I had the angles right, I tacked it all together.

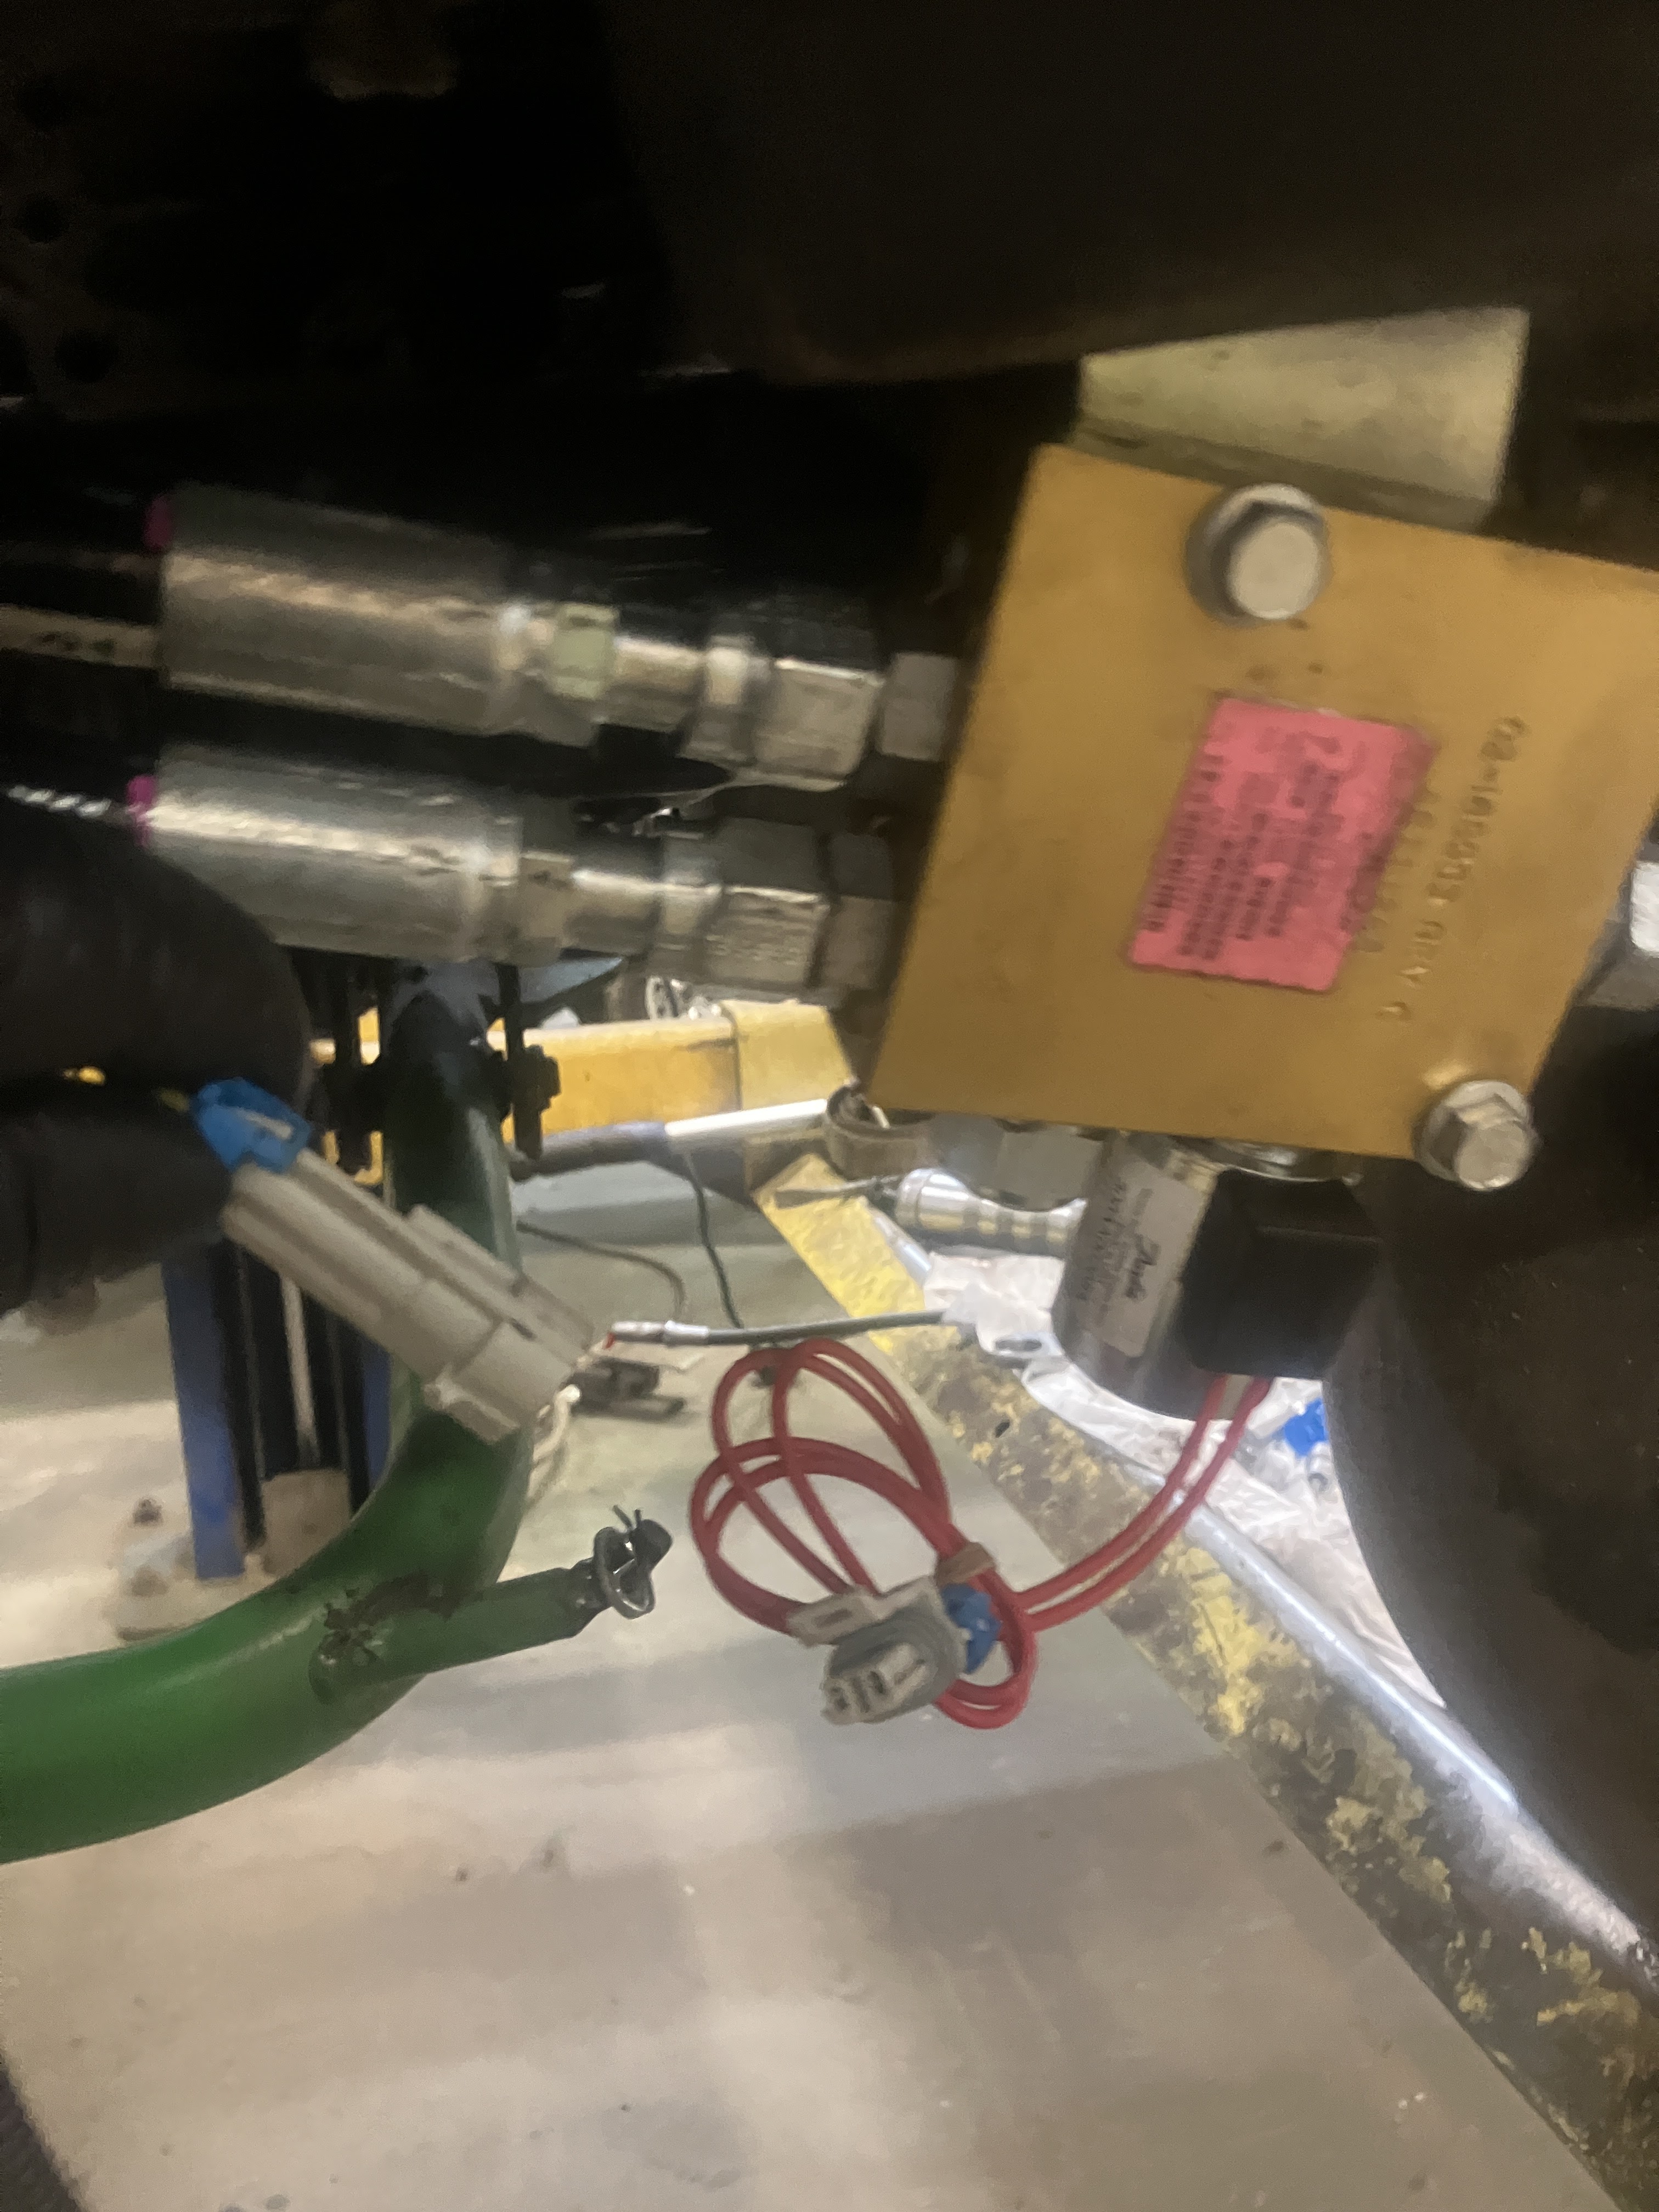
Found out a little bonus was to attach a chain on mower and loop it over the snipper holder bracket so when you lifted the box it would tip mower up off the wheels to change direction. Add a stiffening rod to take some to the play out.

A little early morning try out on the back nine. Did the front 9 the day before.
Worked better than expected.
I mowed the course twice now. blade stayed sharp.
Took 6 hours total and 4 lawn mower tanks of gas.
I'm doing a few upgrades to prevent post hits on the wheels.

Easily comes off in a couple of minutes and takes little space for storage.
If you look closely left of engine is the pull cable to take brake off.
Couple of videos.

Some upgraded steel wheels and bolted a guard for rear wheel so if there is a strike it will deflect away without damaging the wheel.
Also have to go at a walk mow speed maybe up to 7-8 miles per hour in good areas.
For obvious reasons I'll be doing cut and will train our best operator too.
To make it safe you would need an electric start engine (tap into gator battery) and operator seat pad switch so if they get of the machine the engine shuts down.
Maybe I'll get lucky and find a roadside giveaway. LOL
Original build was at no new cost to us.