As most of you know on the East coast of Canada "if you want fall rain just pull out the aerators "
Having an issue after coring fairways taking way too long to bust them up with just dragging steel mat.
Sand capped fairways with bent grass.
Recycling some material back into the holes.
It's seldom if ever ideal conditions being so late in the season for this process.
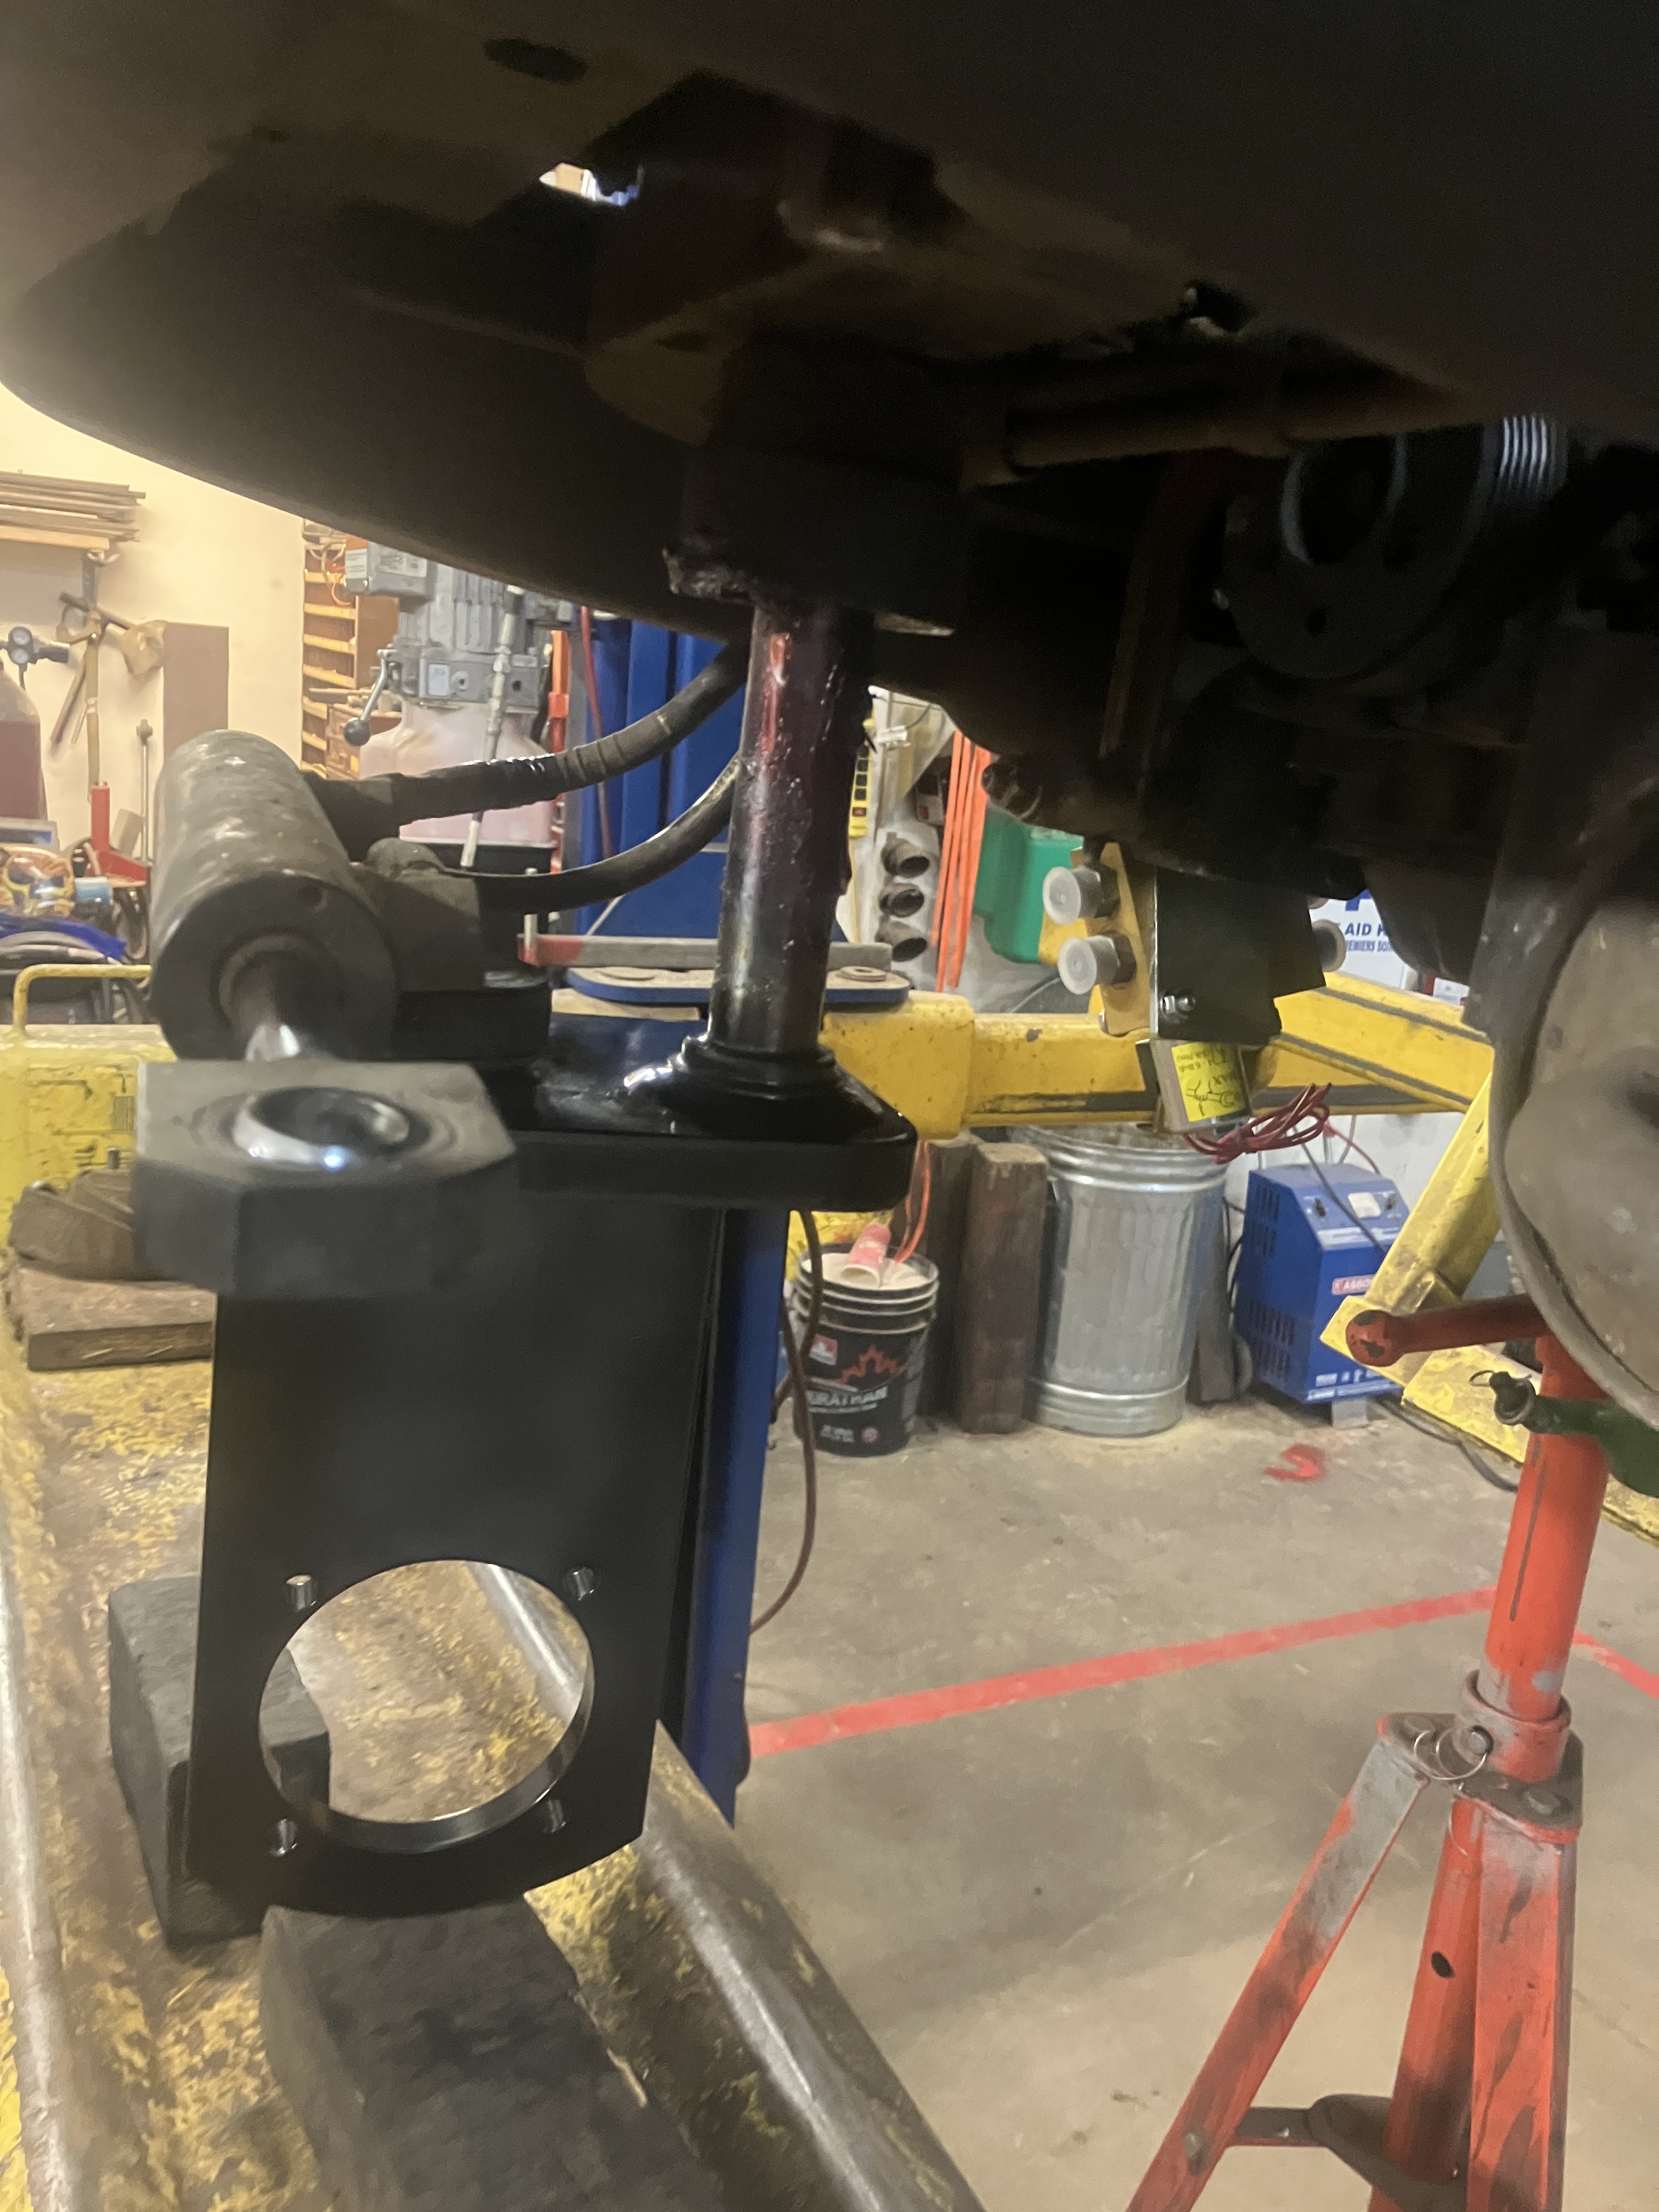
This season we reversed the front roller mounts to get more room before the blades, so it doesn't jam them up as often.
Set the groomers to zero. (just touching the shop floor)
Cores were wet and did a pretty good job.
But we can do better, I think.
I know there are rollers out there for this situation but at a great cost.
A little winter project.
Ordered these front deck rollers from Vickers to try.
A little to big so cut them in half.
Beveled the edges on grinder to match other side.
A little heat from the torch to smooth them out.
Decided to go with 5/8' cold rolled steel for a roller shaft.
cut at 25"
Drill the pilot hole first for the 1/4-28 zerk going in later.
Using a smaller drill bit to drill in end shaft as far as I could get it.
and another hole were the end of first hole wound up.
Tapping threads for zerk.
Blew out and installed zerk and passed some grease through.
Drill a 1/8" hole for a roll pin fora stopper.
Using 1/2 washer and holing them out in pairs for ends of rollers.
Turned out great and not as bad as I thought it would be.
Got 2 made today and installed on to see if it will adjust down more.
Turned out great and will open up the area in front of blades for more direct chopping instead of front rollers flattening the whole space.
I'm thinking of doing the rear rollers to and using this set up just for aeration.
Will be a quick flip over to get the back on the regular rollers and set into the turf for our regular in season set up.
I'll update next fall and see how it went either way.